In this tutorial we rely on a project template in order to have a common structure that can be easily used by data scientists and devops engineers. Having structure in a project ensures all the pieces required for the ML and DevOps lifecycles are present and easily discoverable.
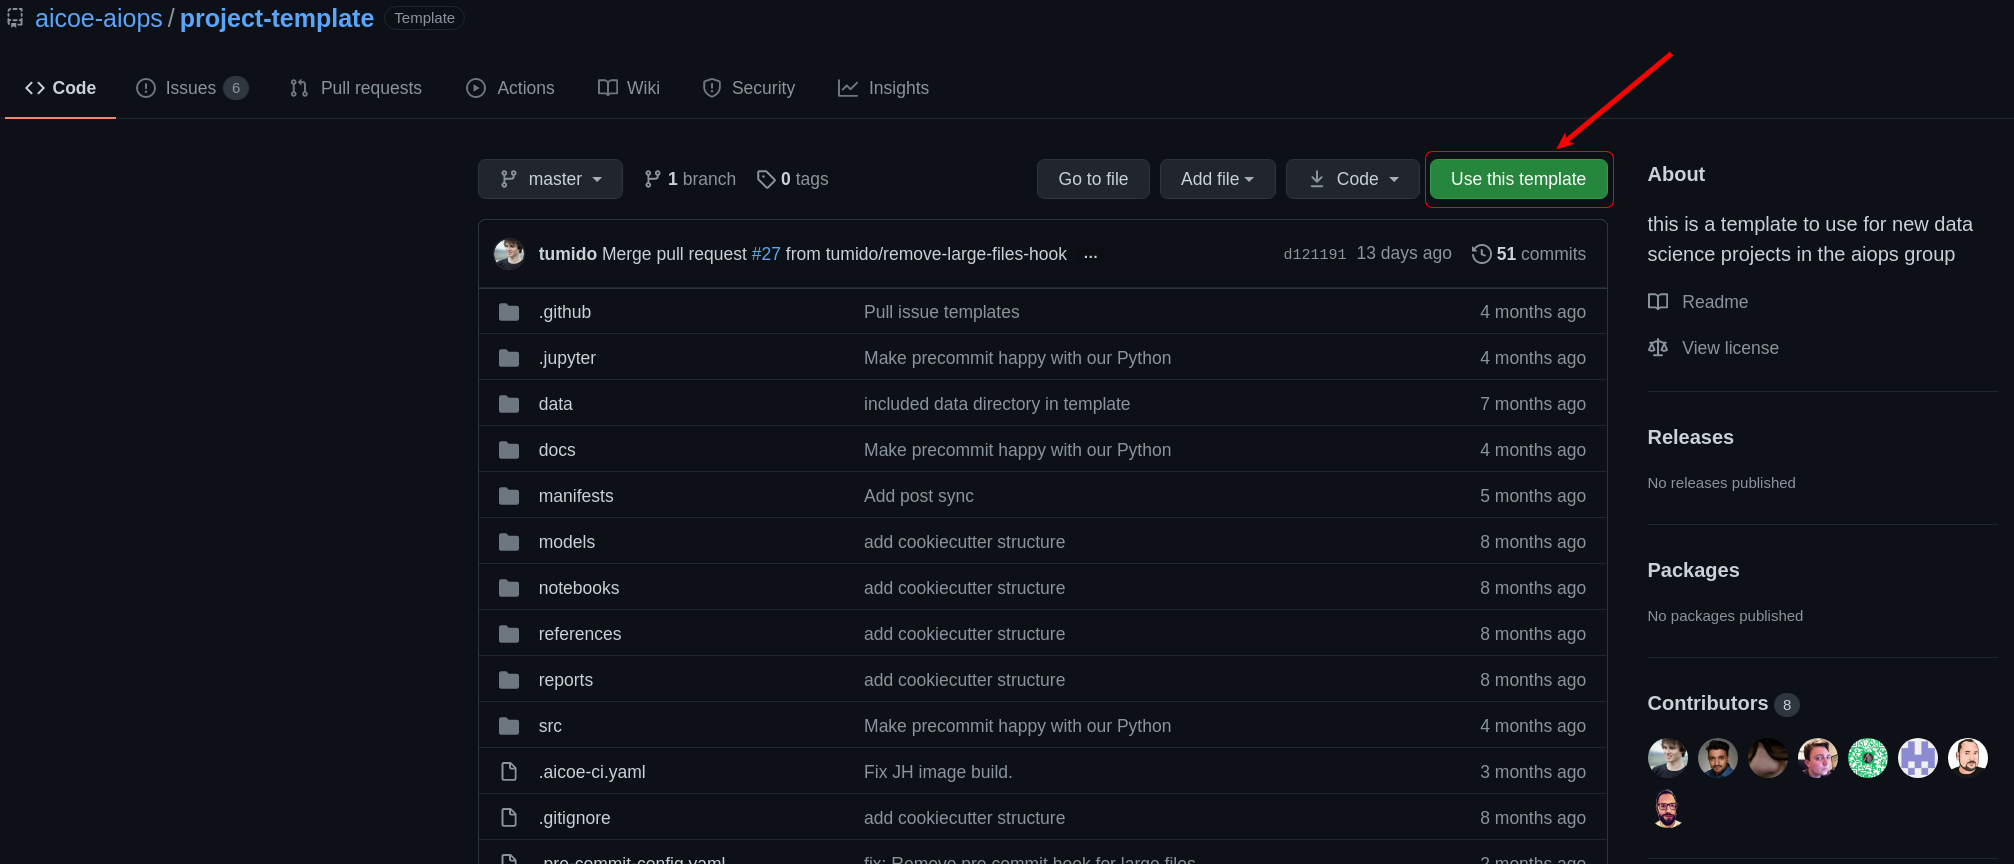
If you want to use this template for your AI project, go to the project template here and click the Use the template button provided in the repository.
To begin, you'll need to fork this repository to create your own copy. If you're unsure how, look at Fork a Repo from GitHub docs.
If you are viewing this tutorial in the Jupyter Book rendered by Project Meteor, you can simply hover over the rocket icon on the top right of the page, and click on the JupyterHub option. This will take you to a JupyterLab environment spawned with the Elyra AIDevSecOps Tutorial image. Alternatively, you can also access this environment by clicking the JupyterHub button on the spawning page of the Meteor web application.
Moreover, using Meteor, the URL of your GitHub repo already add your repo to JupyterLab Git extension. Therefore that repo is already synced and managed by the extension.
If you're viewing this tutorial outside of the Jupyter Book rendered by Project Meteor, you can instead access the JupyterHub deployed on the Operate First cluster.
-
Click this link to visit the Operate First JupyterHub.
-
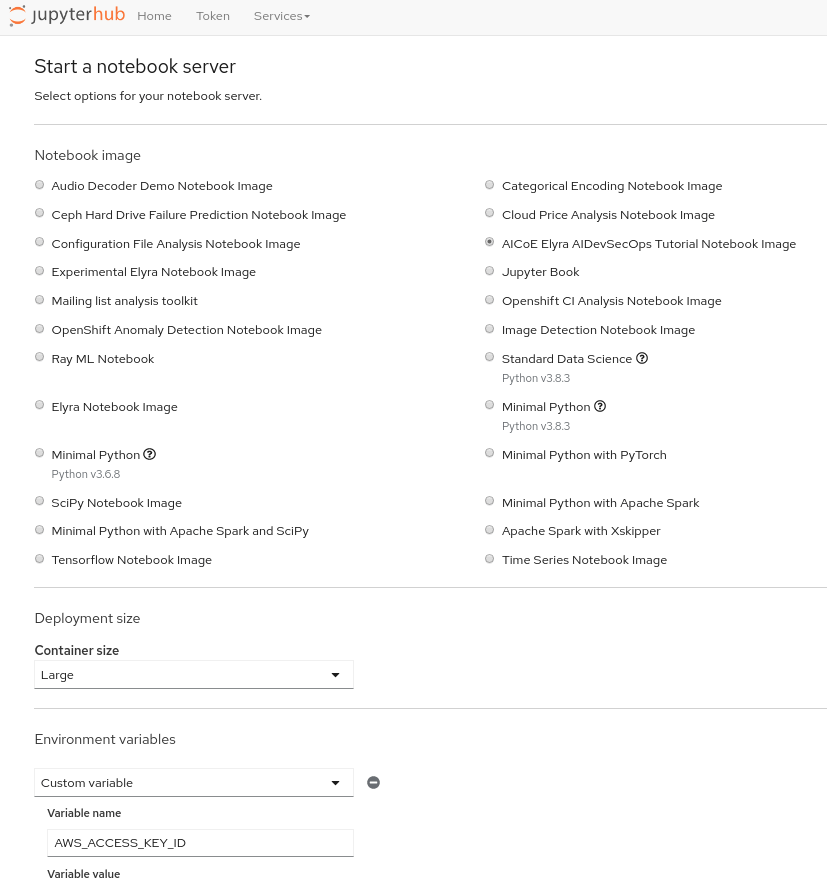
Select the image called
AICoE Elyra AIDevSecOps Tutorial Notebook Image. -
Select
Largefor container size. -
Insert the environment variables required using the add button in JupyterLab UI:
AWS_ACCESS_KEY_IDAWS_SECRET_ACCESS_KEYOBJECT_STORAGE_ENDPOINT_URLOBJECT_STORAGE_BUCKET_NAME
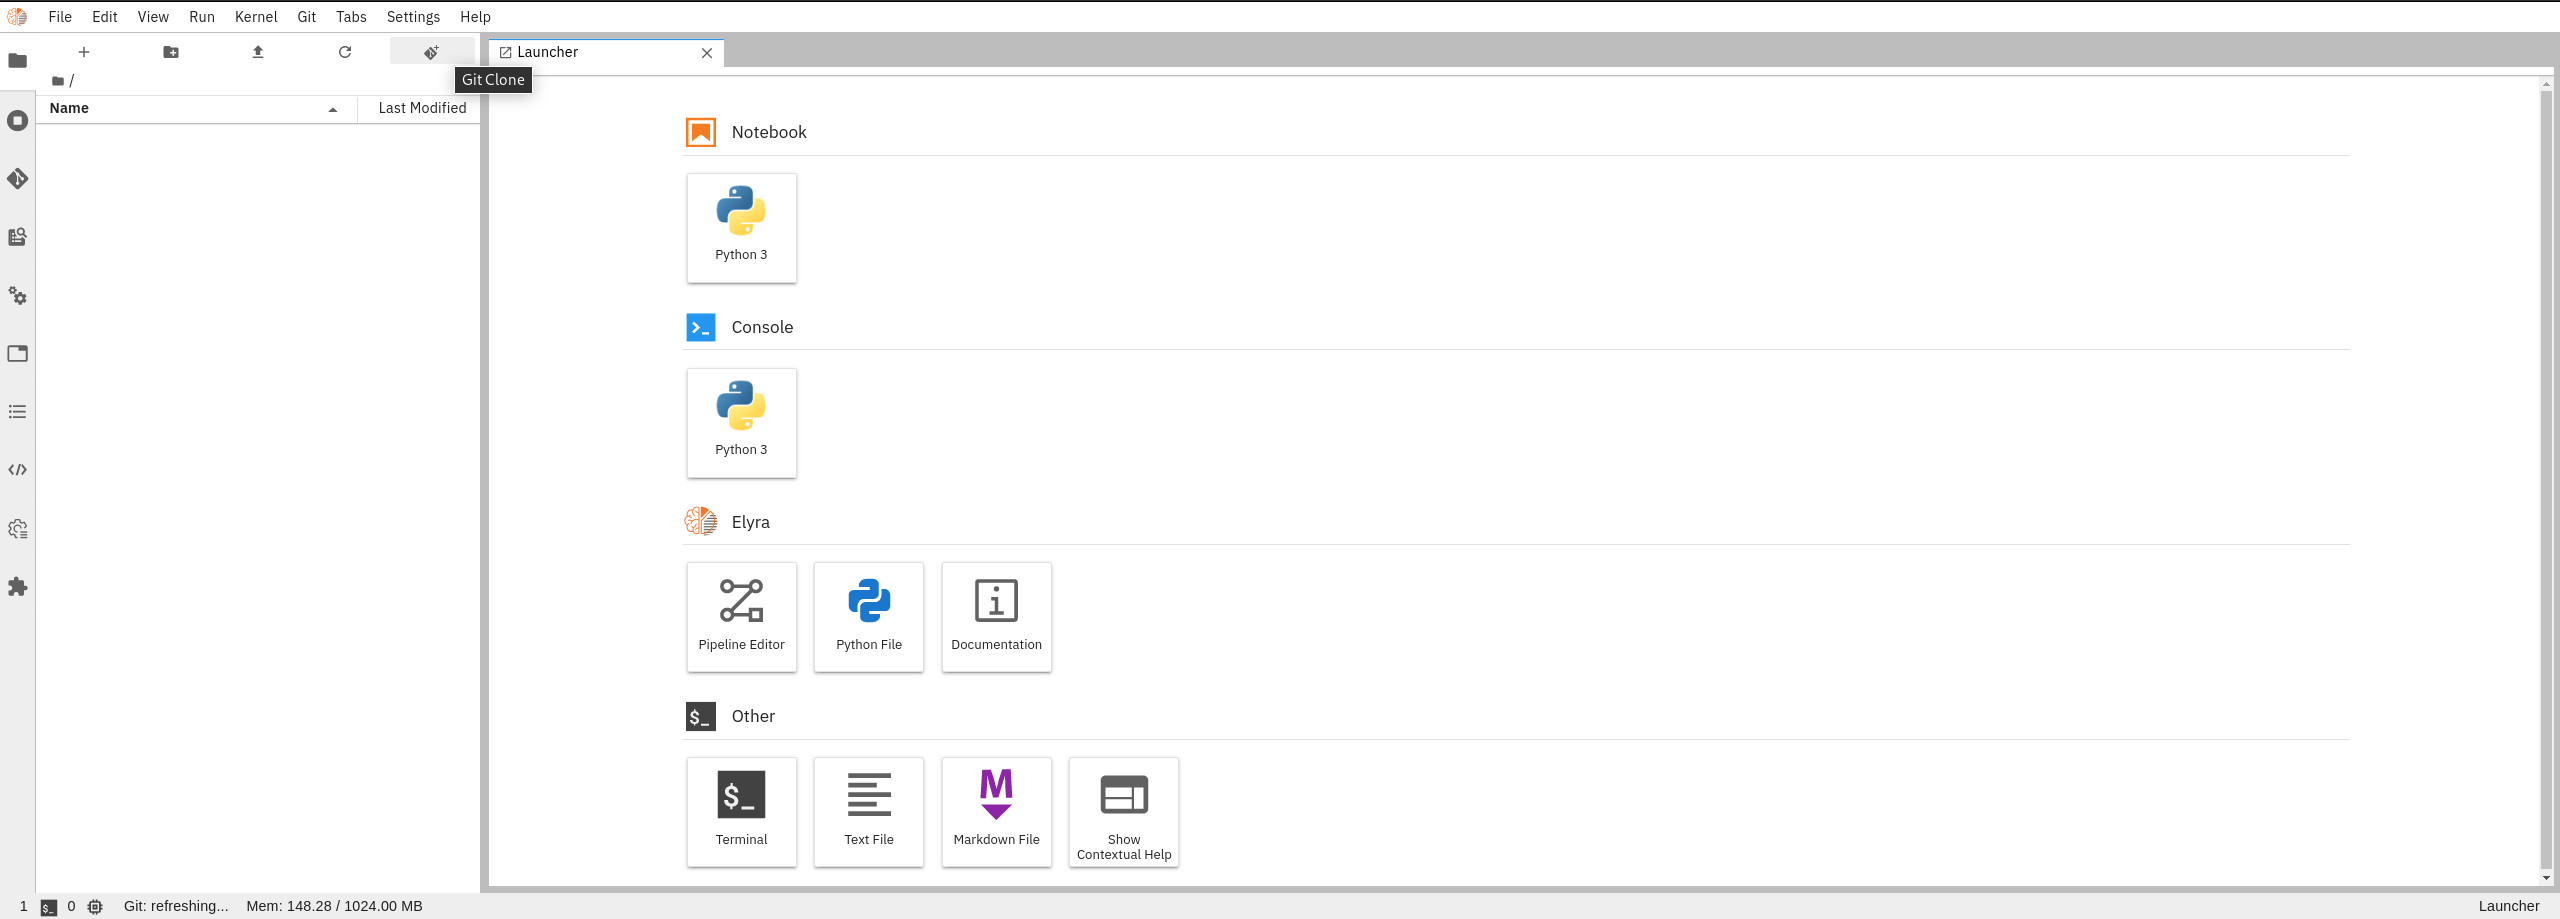
Once your image is ready and you are in the Jupyterlab UI, you can use the Git extension provided to clone this repo.
-
Click the Git extension button from Jupyterlab UI:
-
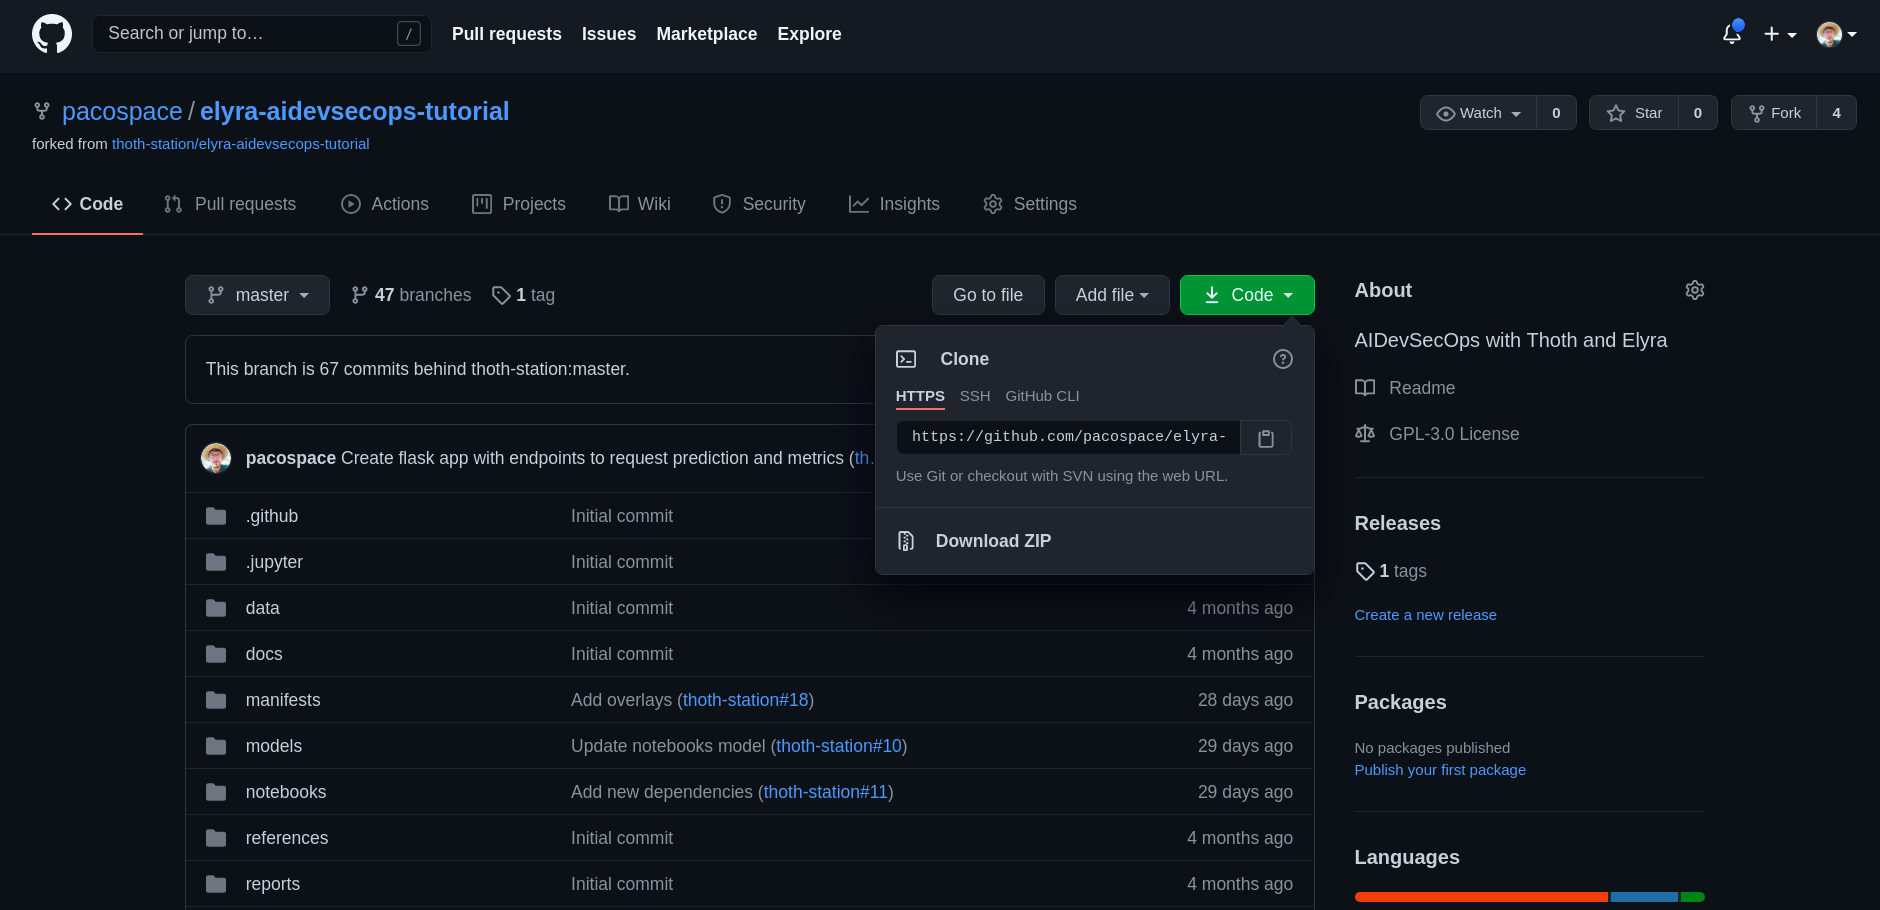
Take HTTPS link of the GitHub repo you want to clone, for this tutorial use your forked one from this repo:
-
Insert the link taken from your forked repo in the JupyterLab Git Extension: e.g.
https://github.com/thoth-station/elyra-aidevsecops-tutorial.git


