Don't get me wrong, Spin-The-Bottle: Space Edition was a great game, but you didn't start this Bloc Book to make that. At least I hope not, if so, please stop now because your quest is over. For those of you still interested in building Swiftris, we must unceremoniously delete every unnecessary file provided to us by Xcode.
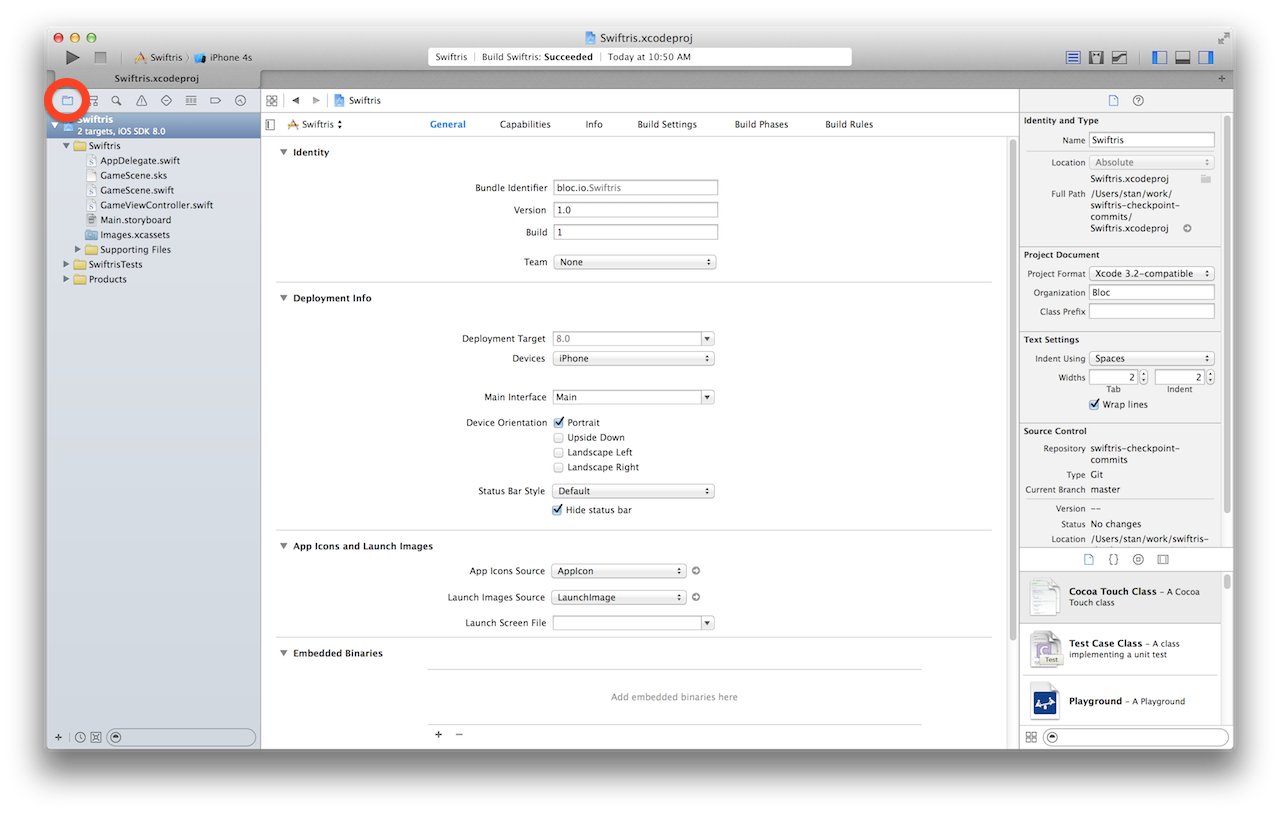
Open Project Navigator by either clicking the designated icon or pressing ⌘ + 1:
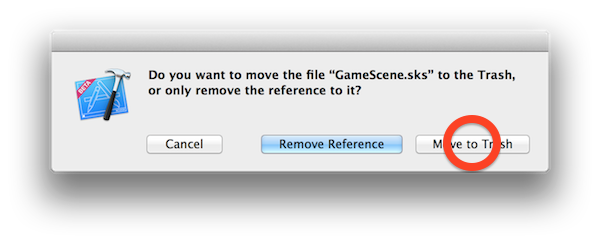
Right-click GameScene.sks and choose the Delete option:
When asked to confirm, make sure to choose Move to trash:
To get rid of the aimless space ship once and for all, click the Assets.xcassets folder and highlight the Spaceship entry, press the delete key to delete that sucker.
Having slaughtered those files which are of no use, we must now purge our project of any and all code which we do not require. There's no need to have lingering source code designed to support inept space pilots. Delete the lines marked in red within their corresponding files:
import SpriteKit

class GameScene: SKScene {
-    override func didMoveToView(view: SKView) {
-        /* Setup your scene here */
-        let myLabel = SKLabelNode(fontNamed:"Chalkduster")
-        myLabel.text = "Hello, World!";
-        myLabel.fontSize = 65;
-        myLabel.position = CGPoint(x:CGRectGetMidX(self.frame), y:CGRectGetMidY(self.frame));
-
-        self.addChild(myLabel)
-    }

-    override func touchesBegan(touches: NSSet, withEvent event: UIEvent) {
-        /* Called when a touch begins */
-
-        for touch: AnyObject in touches {
-            let location = touch.locationInNode(self)
-
-            let sprite = SKSpriteNode(imageNamed:"Spaceship")
-
-            sprite.xScale = 0.5
-            sprite.yScale = 0.5
-            sprite.position = location
-
-            let action = SKAction.rotateByAngle(CGFloat(M_PI), duration:1)
-
-            sprite.runAction(SKAction.repeatActionForever(action))
-
-            self.addChild(sprite)
-        }
-    }

    override func update(currentTime: CFTimeInterval) {
        /* Called before each frame is rendered */
    }
}
That was a lot, but there's more:
import UIKit
import SpriteKit

-extension SKNode {
-   class func unarchiveFromFile(file : NSString) -> SKNode? {
-
-        let path = NSBundle.mainBundle().pathForResource(file, ofType: "sks")
-
-        var sceneData = NSData.dataWithContentsOfFile(path, options: .DataReadingMappedIfSafe, error: nil)
-        var archiver = NSKeyedUnarchiver(forReadingWithData: sceneData)
-
-        archiver.setClass(self.classForKeyedUnarchiver(), forClassName: "SKScene")
-        let scene = archiver.decodeObjectForKey(NSKeyedArchiveRootObjectKey) as GameScene
-        archiver.finishDecoding()
-        return scene
-    }
-}

class GameViewController: UIViewController {

    override func viewDidLoad() {
        super.viewDidLoad()

-        if let scene = GameScene.unarchiveFromFile("GameScene") as? GameScene {
-            // Configure the view.
-            let skView = self.view as! SKView
-            skView.showsFPS = true
-            skView.showsNodeCount = true

-            /* Sprite Kit applies additional optimizations to improve rendering performance */
-            skView.ignoresSiblingOrder = true

-            /* Set the scale mode to scale to fit the window */
-            scene.scaleMode = .AspectFill

-            skView.presentScene(scene)
-        }
    }

-    override func shouldAutorotate() -> Bool {
-        return true
-    }

-    override func supportedInterfaceOrientations() -> Int {
-        if UIDevice.currentDevice().userInterfaceIdiom == .Phone {
-            return Int(UIInterfaceOrientationMask.AllButUpsideDown.rawValue)
-        } else {
-            return Int(UIInterfaceOrientationMask.All.rawValue)
-        }
-    }

-    override func didReceiveMemoryWarning() {
-        super.didReceiveMemoryWarning()
-        // Release any cached data, images, etc that aren't in use.
-    }

    override func prefersStatusBarHidden() -> Bool {
        return true
    }
}
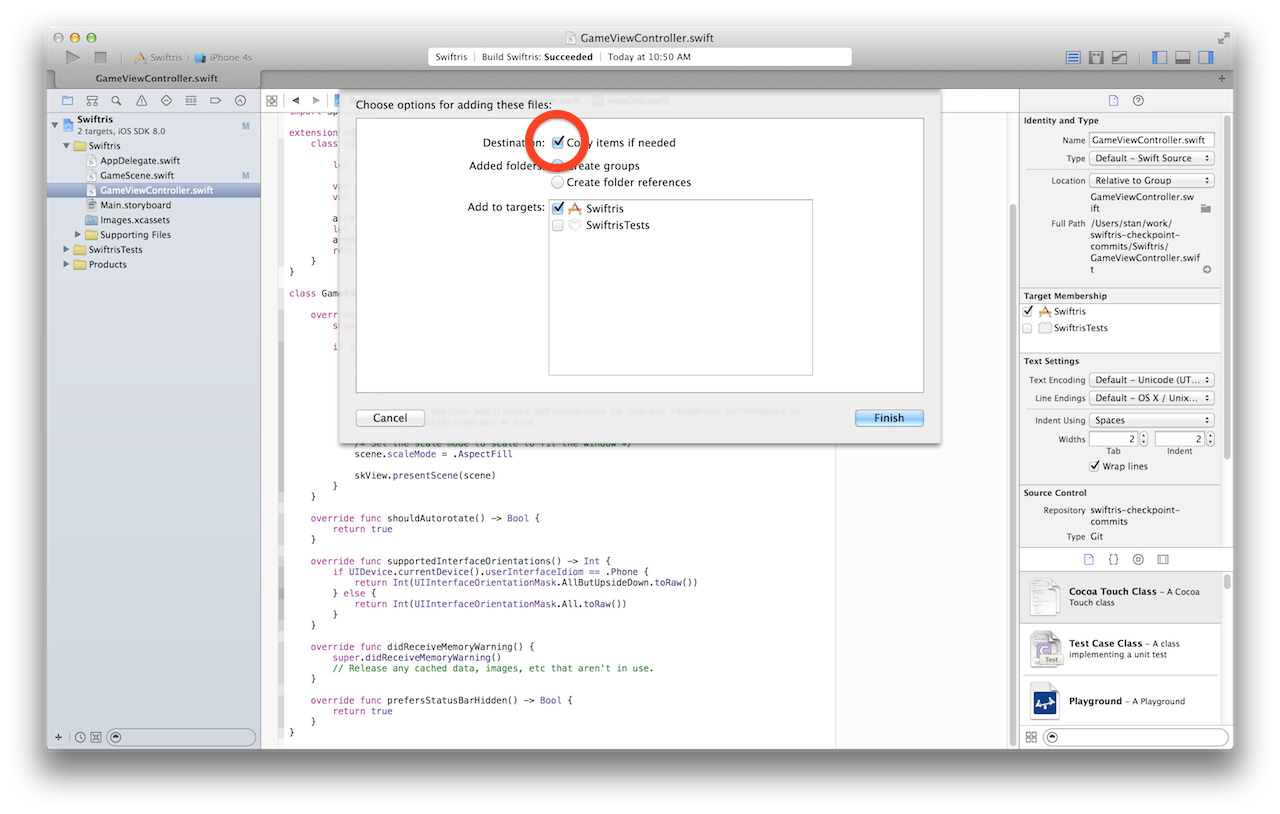
To experience Swiftris in all its visual and auditory glory, we're going to need images and sounds, respectively. Download the necessary assets to your Desktop or Downloads folder, anywhere other than the Swiftris project directory. Unzip the archive and perform a drag-and-drop of the Sounds folder into the Project Navigator above the Supporting Files directory. The following window should appear:
Make sure to check the Copy items if necessary option. This will place a copy of the directory, and the sound files within it, into your Swiftris project and directory. Click Finish. Repeat this task with the Sprites.atlas folder. Next, select the images found within the Images directory and drag them into the Assets.xcassets folder found in Project Navigator.
Once again, make sure you've checked the Copy items if needed box. Lastly, click on Assets.xcassets to open the window and highlight AppIcon. Drag and drop the appropriate icon file from the downloaded Blocs folder into its respective slot: 29pt, 40pt and 60pt.
All this dragging and dropping has my clicking hand beat, let's just code already!
Let's put those new background images to work. We'll begin by establishing GameScene inside of GameViewController. GameScene will be responsible for displaying everything for Swiftris: it will render the Tetrominos, the background, and the game board. Furthermore, GameScene will be responsible for playing the sounds and keeping track of the time.
GameViewController will be responsible for handling user input and communicating between GameScene and a game logic class you'll write soon.
If you're working with Swift for the first time, we highly encourage you to type each line by hand to get a feel for the language in your fingers… it sounds dirty but it's good for you.
+required init(coder aDecoder: NSCoder) {
+    fatalError("NSCoder not supported")
+}

+override init(size: CGSize) {
+    super.init(size: size)

+    anchorPoint = CGPoint(x: 0, y: 1.0)

+    let background = SKSpriteNode(imageNamed: "background")
+    background.position = CGPoint(x: 0, y: 0)
+    background.anchorPoint = CGPoint(x: 0, y: 1.0)
+    addChild(background)
+}
OpenGL powers SpriteKit so its coordinate system is opposite to iOS' native Cocoa coordinates. (0, 0) in SpriteKit is the bottom-left corner. We will draw Swiftris from the top down so we anchor our game in the top-left corner of the screen: (0, 1.0). We then create an SKSpriteNode capable of representing our background image and we add it to the scene.
backgroundis the variable's name, Swift infers its type to be that ofSKSpriteNodeand the keywordletindicates that it can not be re-assigned.letis akin to Java'sfinal.
+var scene: GameScene!

override func viewDidLoad() {
    super.viewDidLoad()

+    // Configure the view.
+    let skView = view as! SKView
+    skView.multipleTouchEnabled = false

+    // Create and configure the scene.
+    scene = GameScene(size: skView.bounds.size)
+    scene.scaleMode = .AspectFill

+    // Present the scene.
+    skView.presentScene(scene)
}
The
as!operator is a forced downcast. Theviewobject is of typeSKView, but before downcasting, our code treated it like a basicUIView. Without downcasting, we are unable to accessSKViewmethods and properties, such aspresentScene(SKScene).
In GameViewController we've added a member variable, scene. Its declaration: var scene: GameScene! lets us know that it's a variable, its name is scene, its type is GameScene and it's a non-optional value which we will assign at some point.
Swift typically enforces instantiation either in-line where you declare the variable or during the initializer, init…. To avoid this rule, we've added an ! after the type.
In viewDidLoad() we assign scene as promised, using the initializer we had just written moments ago. We tell it to fill the screen and then ask our view to present that scene to the user. Run Swiftris and you should see a super cool background appear. Not titillating enough for you? Read on to continue the fun.