Template repository for getting started quickly with Deploying Your Contracts to your Private Testnet with Catapulta.sh Chain Ops Suite for Foundry projects.
This repository contains the foundational Foundry project, including Catapula and Nouns protocol smart contracts, as well as deployment scripts.
Requirements
Click "Use this template" to create a new repository with this repo as the initial state.
- Git clone this repository and enter to the repository directory:
git clone https://github.com/BuildBearLabs/Catapulta.git
cd Catapulta
- Install dependencies,
forge install
npm install
- Generate a new private key with Catapulta, is stored offline in your .env, or add your own as
PRIVATE_KEYin the .env file stored at the root of the project
npx catapulta wallet

# Output:
# Wallet address: 0x6B193d5604e09f1737E33cFc4B06fb3f2C7fC3CE
# Private key appended to your .env file.
- Setup your
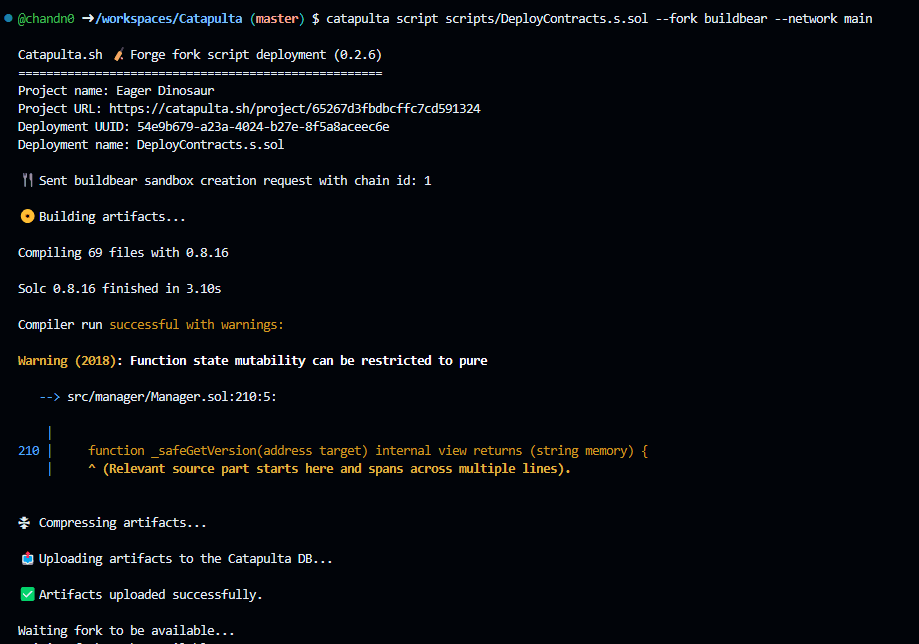
CATAPULTA_API_KEYinto your .env, generate one at Catapulta dashboard - To deploy the contracts to the Ethereum Mainnet fork, run the following command. This command creates a Private Ethereum Mainnet fork from the latest block, deploys and verifies your contracts on Private Testnet.
catapulta script scripts/DeployContracts.s.sol --fork buildbear --network main
-
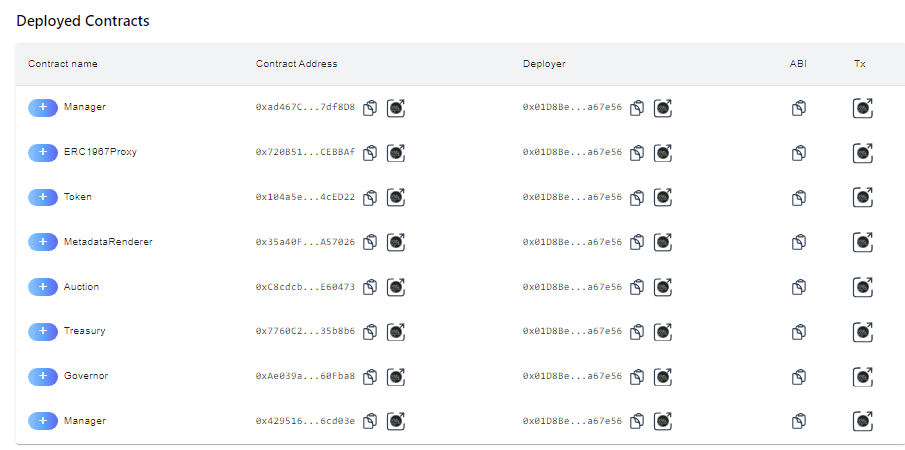
Access the deployment report conveniently through the Catapulta UI.
- All deployed contracts are conveniently listed for your reference.
- Access essential Testnet details, including the Block Explorer, to view transactions and interact with your deployed contracts.
- Utilize the Faucet to mint unlimited native and ERC20 Tokens.
- Copy the RPC for seamless connectivity to your Testnet within your Hardhat and Foundry projects, allowing you to execute scripts with ease.
-
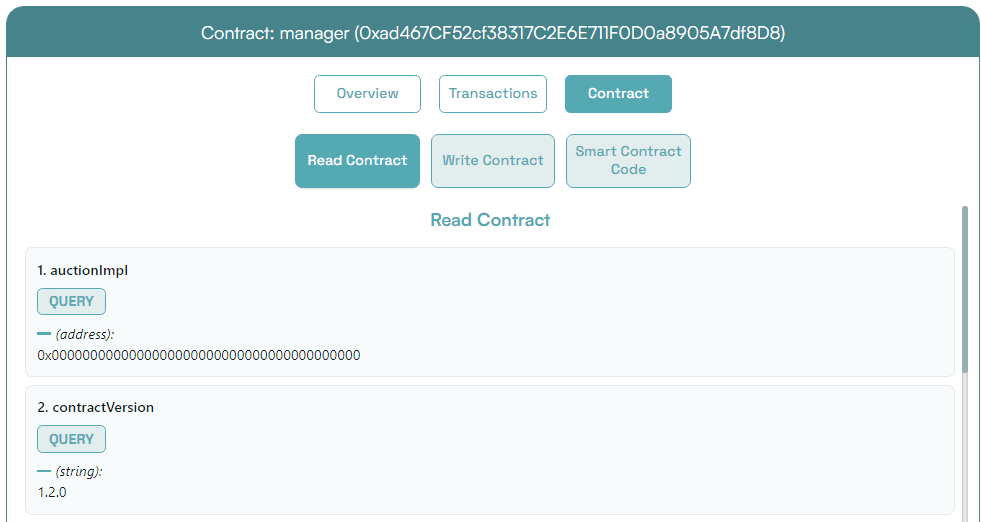
Click on the deployed contract address, and you will be redirected to the contract page on the BuildBear Explorer. From there, you can interact with the read and write functions of your contract to test its functionality.
This project uses Foundry and Catapulta. See the book for instructions on how to install and use Foundry.


