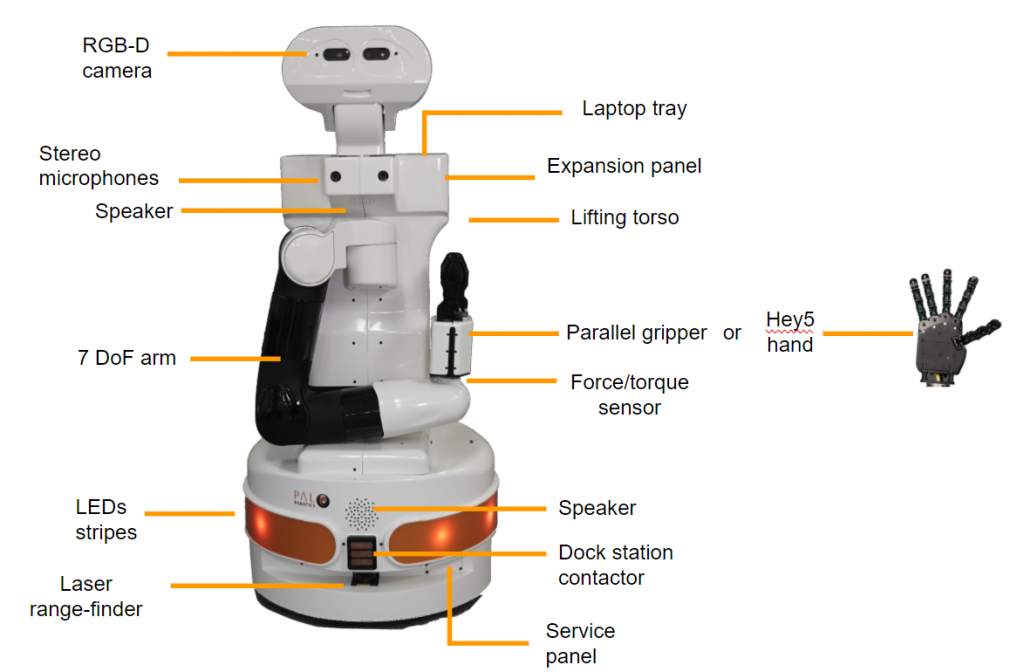
This project is to develop the manipulation, navigation, and perception on PAL TIAGo Robot.
TIAGo (which stands for Take It And Goal)
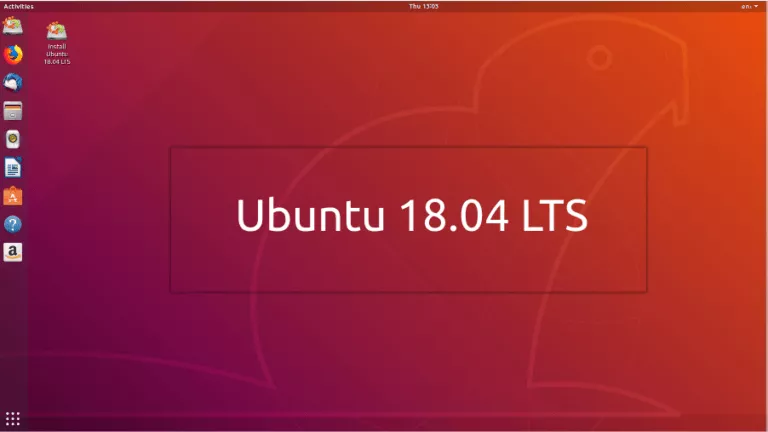
The development environment is 18.04.6.
The development system for robot design is ROS (Robot Operation System), the requirement ROS version is Melodic.
The installation method is:
http://wiki.ros.org/melodic/Installation/Ubuntu
In order to run the public simulation of TIAGo it is preferable to get a fresh installation of Ubuntu 18.04.2 LTS as follows
In order to install the required ROS packages for running TIAGo's simulation first, as explained in ROS Melodic
The install TIAGo Simulation please see the web link:
http://wiki.ros.org/Robots/TIAGo/Tutorials/Installation/InstallUbuntuAndROS
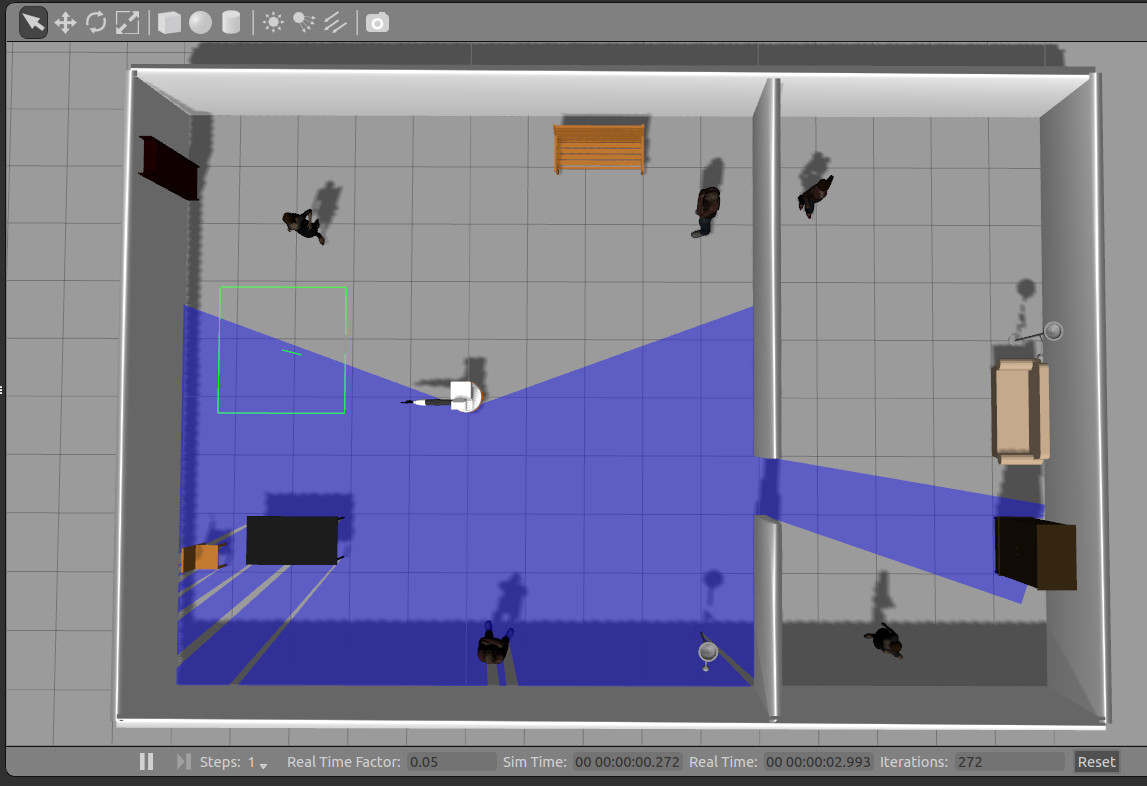
The development in TIAGo simulation includes:
- Manipulation control
- Autonomous navigation
- End-effector control
- Basic moving
- Object detection
- Point Cloud
- Multi-TIAGo working
In order to deliver and keep the development permanently, please installing the Ubuntu system through U drive from TIAGo product.
After installing the system, the user is getting in development mode. All the components are pre-installed.
An image here for the pal@development
The WebCommander is a web page hosted by TIAGo. It can be accessed from any modern web browser that is able to connect to TIAGo
Open a web browser and type in the address bar the host name or IP address of TIAGo’s control com�puter and try to access port 8080:, as the serial number of this TIAGo is 146, thus:
http://tiago-146c:8080
The list on the left of this page shows the functions for interacting with TIAGo.
The user can start or stop the functions in TIAGo. In extras is the collision avoidance function (negative in default).
• Green: All dependencies satisfied, application launched.
• Yellow: One or more dependencies missing or in error state, but within reasonable time. Application not launched.
• Red: One or more dependencies missing or in error state, and maximum wait time elapsed. Application not launched.
Displays the current status of TIAGo’s hardware and software.
The color of the dots indicates the status of the application or component.
• Green: No errors detected.
• Yellow: One or more anomalies detected, but they are not critical.
• Red: One or more errors were detected which can affect the behavior of the robot.
• Black: Stale, no information about the status is being provided.
Displays the latest messages printed by the applications’ logging system.
Displays the robot model, part number and serial number.
Displays the real-time videos from a ROS topic in the Web Commander
Displays buttons to trigger voice synthesis with some predefined text. In addition to this, the tab features a top text box where the user can write any sentence and synthesize it with the robot’s voice by pressing the “Say” button in the choosen language.
This tab provides several out-of-the-box demos including:
• Gravity compensation
• Self presentation
• Alive demo
• Follow by Hand demo
This tab provides several miscellaneous commands like:
• Reload Demo Buttons: button used for maintenance purposes.
• Get out of collision: in case that the robot is in self-collision, or very close to this, this command will trigger a small movement so that the arm gets out of self-collision condition.
• Default controllers: this button switches back to the default position controllers of the robot in case these have been changed
The settings tab allows to change the behaviour of TIAGo .
Software Configuration The Settings tab allows the user to configure some software of the robot. For example, the user can change the Diagnostic Severity reporting level so that, depending on this value, the robot will report certain errors by means of its LED stripes, voice, etc.
Hardware Configuration The Settings tab allows the user to configure the hardware of the robot. Hardware configuration will let the user to disable/enable the different motors, enable/disable the Arm module, choose different End Effector configuration, also also enable/disable the mounted F/T sensor.
Remote Support The Settings tab is equipped with the remote support connection widget. A technician from PAL Robotics can give remote assistance to the robot by connecting through this widget. Using an issue in the support portal, the PAL technician will provide the IP Address and the Port, this information need to be filled in the respective fields of the widget and then pressing the Connect button will allow for the remote assitance. If the robot needs to be rebooted, the customer has to activate the remote support after each reboot because it is not persistent.
Movements sent through this interface take into account the surroundings of the robot, if a motion is expected to move the right arm and there is an obstacle detected by the sensors in the right side of the robot, the complete movement will not be executed.
For the same reason, a movement might be aborted if something or someone gets too close to the robot while performing a motion.
To disable these safety features, the “Safety is enabled” button must be clicked, it will then turn red and the next movement command sent will not take into account the sensors information. For security reasons, the disable safety will only affect the next movement command sent. Sending multiple unsafe movements requires pressing the “Safety is enabled” button once before each command.
By default, the controls for changing the configuration are not visible in order to avoid access by multiple users.
The HRI is achieved by designing joint trajectory which allows the robot to do different actions. The robot itself has been designed with some basic movements such as waving, shaking hands, making fists, picking and placing, etc. We have designed some additional movements to enrich the robot's presentation in practical applications, especially in hospitality.
In , the Python scripts allows TIAGo will display gestures such as waving, introducing and guiding to provide a more friendly contact and a guided introduction to the guests.
In , this scripts describes the TIAGo will perform push the elevator button to help the guests get into the elevator.
TIAGo as autonomous navigation.
In ROS, to start, change to mapping mode, start rviz for navigation, and move the base with the joystick in order to take a tour of the area you want to map. Mapping needs to be done just once as TIAGo’s navigation system is able to adapt to changes that occur over time. However, a new map of the same environment should be redone when there are major changes to the layout.
Localization is provided by the ROS package amcl, which implements a particle filter to track the pose of the robot against the current map. When the amcl filter is uncertain about the actual location of the robot the cloud of particles spread or even split into different clouds. Nevertheless, when the amcl filter encounters a lot of similarities between the current laser scan and the local part of the map uncertainty reduces causing the particles to focus, which provides a more accurate localization.
The laser scanner is used by default to detect obstacles and let the navigation avoid them, however this is less comprehensive than when using Advanced Navigation. Extending these capabilities through Advanced Navigation means when the robot is sent to a map point the torso raises and the head lowers so that the RGBD camera can detect obstacles in front of the robot that may not be detected by the laser scanner.
An image in here
Points of Interest (POIs) represent specific poses (position and orientation) on the map, identified by a unique name.
In Rviz, click the panel on the tool interface, choose the waypointgroup function, by clicking the POI function and defining it in the map, a new waypoint is generated.
In the script describes the TIAGo will move from the current location to the desired location. By changing the waypoint name in that file, the robot can move to different position, but you need to define it first in Rviz.
With Speech recognition, the user can command TIAGo in his natural spoken words. Contextualizing the audio into text or machine-readable format helps the robot to better interpret what the human is conveying in the spoken language. Later on, this can be used for TIAGo to build conversations, tell some jokes, search for content or playing a song according to the situation.
It has following features:
- Continuous speech recognition
- Recognition after hearing a special keyword
- Ability to use multiple speech recognizers
- Current recognizers implemented:
- Google Cloud Speech API
The noisier of the environment, the worse of the recognition results will be.
Google Cloud Speech requirements:
– TIAGo must be connected to the internet and able to reach Google’s servers.
– A valid Google Cloud Speech account.
Python package install:
pip install SpeechRecognition
pip install pyaudio
Paste the installed libraries files in the designed workspace.
Media Link: video-20220512-42808 pm-99d0efdb.mov


