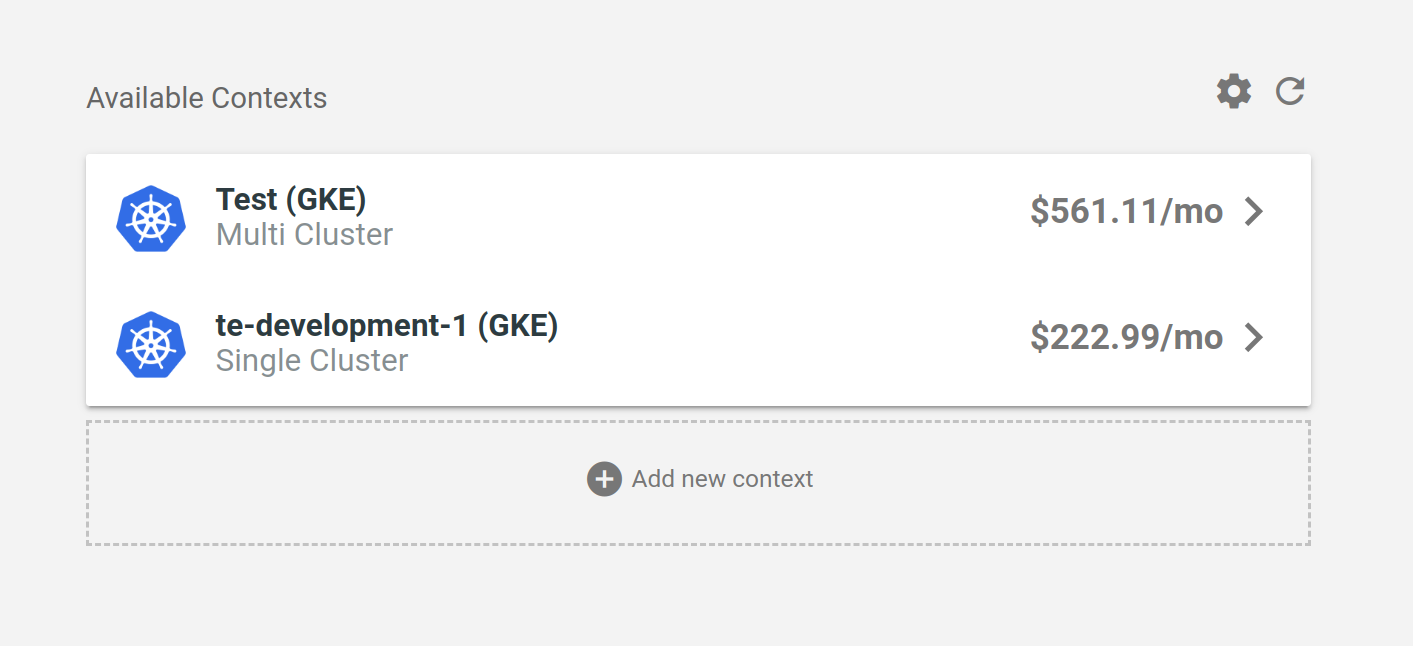
Kubecost supports the ability to monitor multiple contexts of clusters. A context refers to either a single monitored cluster, or a set of clusters that leverage durable storage.
Below are the steps for adding additional contexts on the Kubecost Business & Enterprise tier.
When adding a context directly from the frontend, Kubecost adds it locally for your browser. To make this context accessible to other users in your organization, follow the steps to add at install-time below.
-
Install Kubecost on the additional cluster you would like to view. The recommended Kubecost install path is available at kubecost.com/install.
-
Expose port 9090 of the
kubecost-cost-analyzerpod. This can be done with a Kubernetes Ingress (example) or LoadBalancer (example). Warning: by default a LoadBalancer exposes endpoints to the wide internet. Be careful about following the authentication requirements of your organization and environment. -
Select
Add new clusteron the Kubecost home page and provide the accessible URL (with port included) for the target Kubecost installation. Here's an example:http://e9a706220bae04199-1639813551.us-east-2.elb.amazonaws.com:9090
After following Steps #1 and #2 above, provide a list of context names/endpoints under kubecostProductConfigs.clusters
in values.yaml during Helm install or upgrade. Here's an example values block:
 kubecostProductConfigs:
  clusters:
   - name: "Cluster A"
     address: http://cluster-a.kubecost.com:9090
Edit this doc on GitHub
