Skip to content

Latest commit


History

History
112 lines (91 loc) · 2.94 KB

README.md

File metadata and controls

112 lines (91 loc) · 2.94 KB
<style> * { margin:0; padding: 0; box-sizing: border-box; } .demo { display: flex; justify-content: space-between; width: 90%; margin: 0 auto; min-height: 40vh; padding: 20px 0; } .card { display: flex; flex-direction: column; align-items: flex-start; width: 45%; min-height: 300px; padding: 1em overflow: hidden; } .card__picture { height: 50%; } .card__img { display: block; margin: 0 auto; width: 90%; height: 100%; object-fit: cover; } .card__paragraph { padding: 0.5em 0; } </style>

ADC on microcontrollers (Atmega328p) or Arduino UNO

This project is intended to show how the ADC (Analog Digital Converter) can be configured in the ASM and C languages of the AVR microcontroller architecture. This way we can use less memory capacity (Flash memory), compared to arduino, and understand what Arduino is doing when we use the function analogRead(pin)

The ATmega328p was chosen because it's the uC that is in the Arduino UNO and we can make use of its bootloader to not spend on expensive programmer.
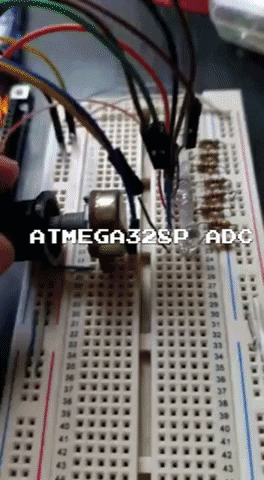
Table of contents

Demo

ADC en funcionamiento

Muestras consecutivas

Aqui esta tomando muestras consecutivas del potenciometro y mostrando el nivel digital de 8 bits por los leds.

ADC en funcionamiento

Muestras consecutivas

Aqui esta tomando muestras consecutivas del potenciometro y mostrando el nivel digital de 8 bits por los leds.

Installation step

Required Software

  • git
  • platforIO

Steps

  1. clone the repository to a specific location

    git clone https://github.com/marti-gutierrez/ADC_on_AVR_microcontrollers.git

  2. go to the clone repository ADC_on_AVR_microcontrollers

    cd ADC_on_AVR_microcontrollers

  3. Process (build) all environments specified

    pio run

  4. connect the Arduino to our USB port and type the following command

    pio run --target upload