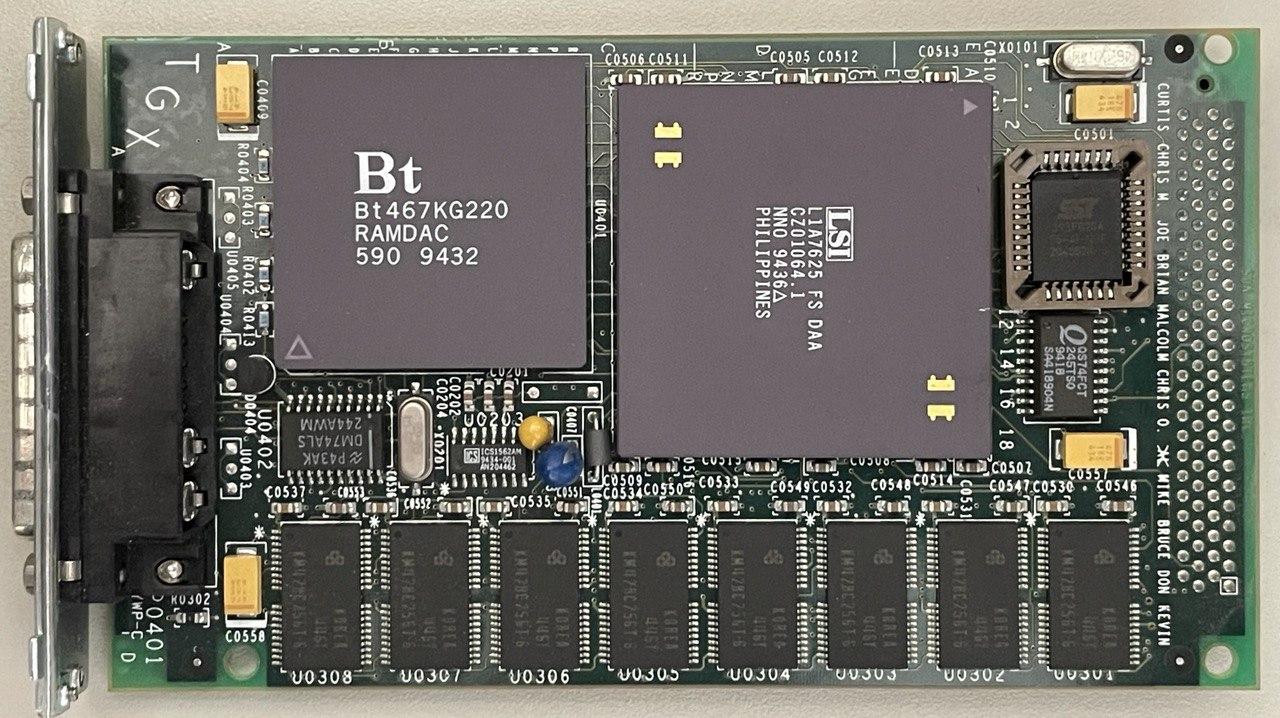
This repository contains the EPROM for SUNs newer version TurboGX+ Framebuffer (P/N 501-2253), its detokenized FCode, and a modified version with added (nearly) VESA timings and resolutions.
The FCode on the TurboGX+, like on most SBUS cards, is soldered on. Since the
FCode is mapped into the first 32k of the SBUS device memory, it can be read
on a Solaris system by reading the first 32k of (assuming the card is in SBUS
slot 0 of a sun4m system)
/devices/iommu@f,e0000000/sbus@f,e0001000/sbusmem@0,0:slot0. Fortunately,
SUN provided ways to test FCode without having to desolder and replace the
FCode PROM. The following assumes an OpenBoot 2.x version.
Independent of which way of loading the modified FCode you choose, you must
first disable the loading of the original FCode. This is done by removing the
SBUS slot number from the NVRAM variable sbus-probe-list.
One way to test FCode is to send it from a development system to the test
system via a serial connection. Assuming the development system is a
SPARCstation running Solaris, the easiest way to do this is to connect to the
test system using tip hardwire and run the commands below. Normally, you
should have ttyb of your development system connected to ttya of your test
system.
ok dlbin
Ready for download.  Send binary file.
~C Local Command? cat sun-tgx+-vesa.fcode
ok 0 0 " 0,0" " /iommu/sbus" begin-package
ok 4000 1 byte-load
ok end-package
Some preliminary steps are required for this to work. On a server/development
system set up RARPD and TFTPD. Assuming the development system is a Solaris
system, this is done as follows: Add the test system to /etc/ethers and
/etc/hosts, i.e.,
# echo "08:00:20:c0:ff:ee test" >> /etc/ethers
# echo "192.168.0.13 test" >> /etc/hosts
and uncomment the tftp line in /etc/inetd.conf. Next, create
/tftpboot and place the FCode file sun-tgx-vesa.fcode+ there.
Finally, make sure the relevant services are started on the development
system. The easiest way to do this is to reboot.
Now you should be able to load FCode via TFTP with these commands:
ok 4000 dload sun-tgx+-vesa.fcode
Boot device: /sbus/le@0,c00000:,sun-tgx+-vesa.fcode   File and args:
aa00
ok 0 0 " 0,0" " /iommu/sbus" begin-package
ok 4000 1 byte-load
ok end-package
This is done with the following commands
ok cd /iommu/sbus/cgsix@0
ok r1600x1200x60 4 " /iommu/sbus/cgsix@0" " override" execute-device-method drop
ok install-console banner
If the output on the screen is unreadable, simply blind type ttya output
and the output should return to the tip connection.
