-
Notifications
You must be signed in to change notification settings - Fork 42
user references overrides
This guide covers the creation and usage of overrides with references. Overrides are used to completely replace a value/setting on the layout. One example of this is that a row can define an override X value that will replace the X value of the given Element. This allows you to control Element settings on a card by card basis.
Overrides are reasonably easy to setup. They require the use of a spcial column name format:
override:[element name]:[element value]
- Element Name is the name of your given Element in your Project Layout
- Element Value is the name of the value to override (see the documentation!). An example is: enabled
In your reference CSV add the additional columns for the Element overrides you need for your project and assign them values. An empty/unspecified value will not override the Element value. This is critical so you don't have to always override the value on every row.
Sample Reference with Overrides

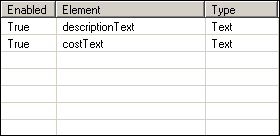
Layout Setup in CardMaker (Note: I am skipping the setup of the Element locations/sizes for this sample)


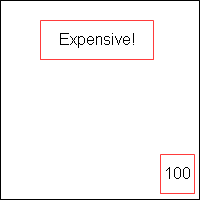
There are no override values set on this row so everything is normal.

There are no override values set on this row so everything is normal.

In this row the descriptionText has the y value overriden. No matter what is done with the Element the y value will always be the override value. Note that the border for the descriptionText Element is left in the normal location.

In this row the descriptionText has the y value overriden (as it was in the previous row). Additionally the enabled state of the costText Element is set to FALSE causing it to not be rendered at all.
The CardMaker manual covers all the Element fields and how to override them.