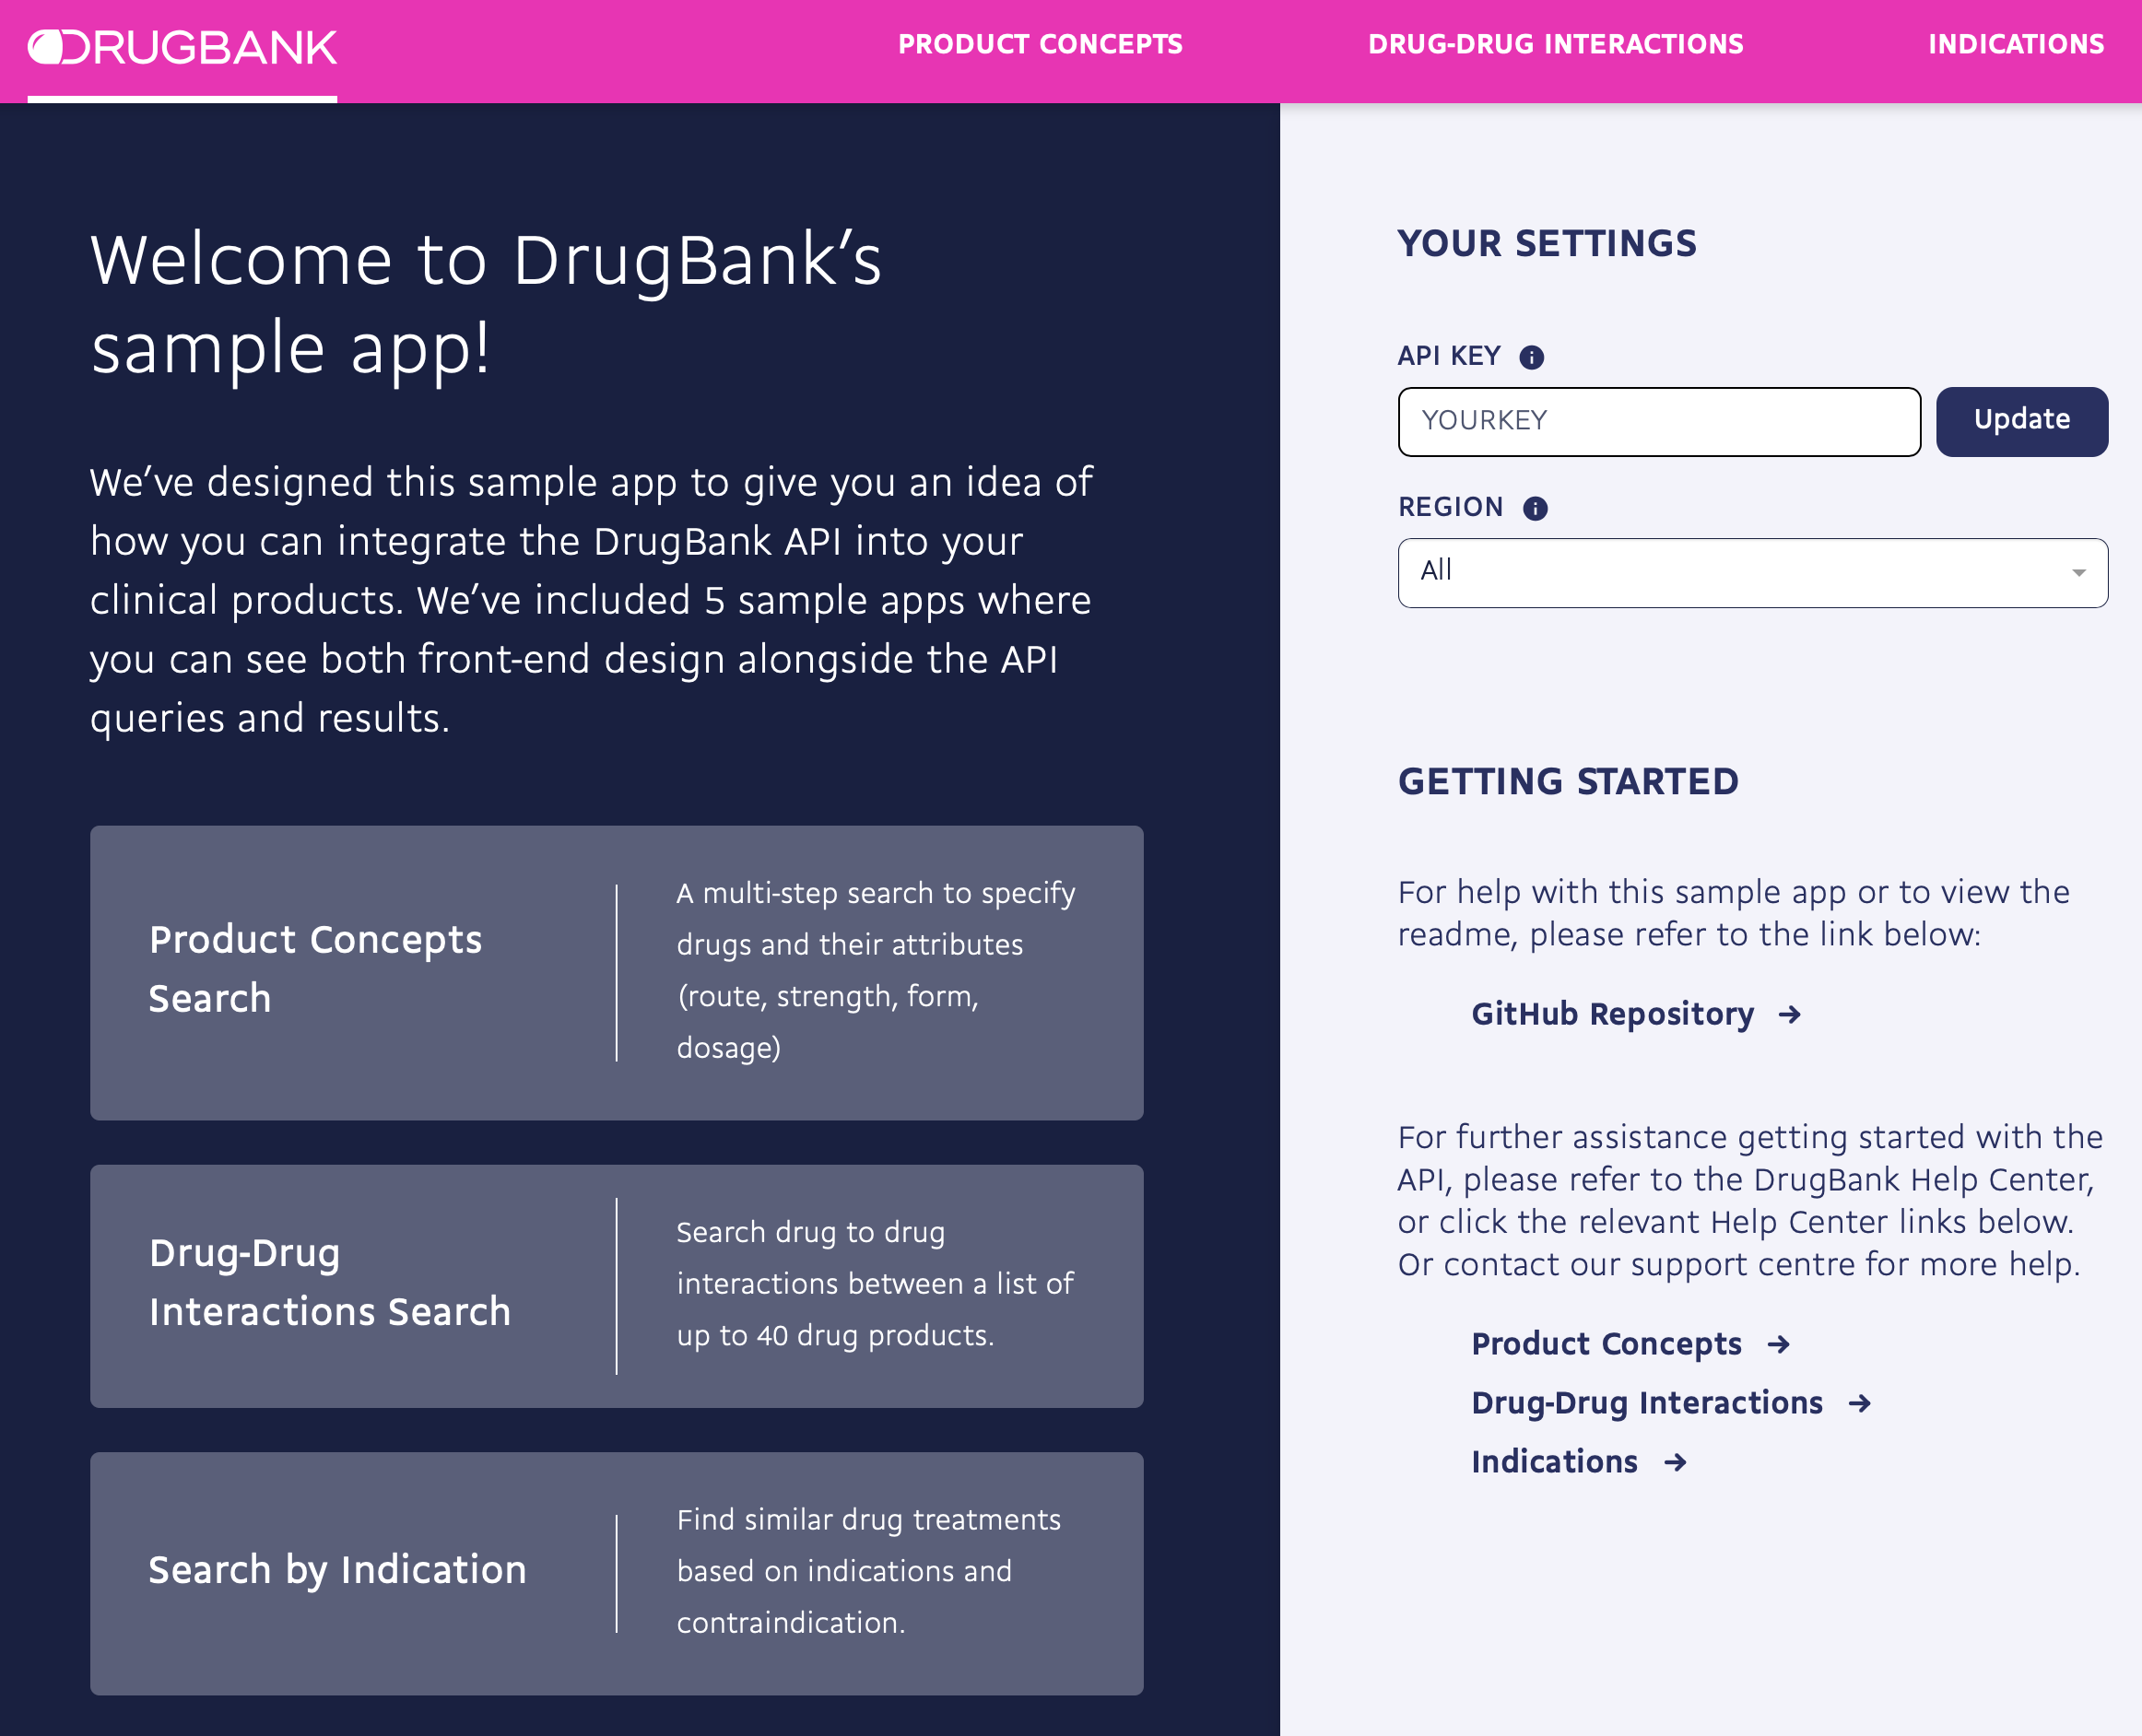
Sample applications for accessing the DrugBank API with a back-end written in multiple languages.
| Implementation | Package Manager | Microframework | HTTP Client | Template Engine |
|---|---|---|---|---|
| Java | Apache Maven | Spark | javax.net.ssl.HttpsURLConnection |
jinjava (Jinja2) |
| Node.js | npm | Express | axios | nunjucks (Jinja2) |
| PHP | Composer | Slim | Guzzle | slim/twig-view (Twig*) |
| Python | pip | Flask | Requests | Jinja (Jinja2) |
| Ruby | Bundler | Sinatra | httparty | Haml (Haml) |
The sample application is a web app that is accessed through the usage of a web browser. When an app is run, a server starts on your local machine that handles communications between the DrugBank API and the web app, and serves HTML, CSS, and JavaScript for the app. Each implementation is built using a microframework.
All requests from the web app to the API are handled by the server. The server receives the request from the web app, and sends it along to the DrugBank API. The response from the API is sent back to the server, and the server sends it back to the web app.
Included is a variant of the app that uses JSON Web Tokens to access the the API directly from web browsers. Tokens allow short term access to the DrugBank API without exposing your secret API key, and are guaranteed to expire within 24 hours. For more information, check here.
The use of token authentication is required for accessing DrugBank APIs directly from web browsers.
By default, each app should be running at http://127.0.0.1:8080/ and is accessed by going to that address in a web browser. To stop the server, press CTRL+C.
Each implementation determines the port to run on as well as the DrugBank API key and the region to use for searches from the config.json file at the root of the repo. To change the port, API key, or region, simply change the values in the config.json. The region and API key can also be changed from the support page within the app.
Note: the Java app may not behave like this, as when it is compiled it creates a copy of config.json for itself at drugbank-sample-apps\java\db-app\target\classes.
All apps can be run via Docker. The easiest way to do this is through Docker Compose commands:
| app | command |
|---|---|
| java | docker-compose up java |
| nodejs | docker-compose up nodejs |
| nodejs-JWT | docker-compose up nodejs-jwt |
| php | docker-compose up php |
| python | docker-compose up python |
| ruby | docker-compose up ruby |
Docker containers and images created through these commands can be cleaned up by running the following from the project root:
./clean-docker.shFirst, ensure that Apache Maven is installed.
Navigate to drugbank-sample-apps/java/db-app. Compile the app by running
mvn clean compileThe app is then run with the command
mvn exec:javaVisit http://localhost:port/ to view the app, where port is the port number declared in the config.json. The current port will also be be given in the console.
Navigate to drugbank-sample-apps/nodejs (or drugbank-sample-apps/nodejs - JWT for the token-based app). Run the command
npm installto install all dependencies. The app is then run with the command
node app.jsVisit the address given in the console to view the app.
Note: due to the way Slim handles static resources, a location outside of the project could not be specified like for the other apps. Copies of the JavaScript and CSS files had to be made and placed at drugbank-sample-apps/php/public. Keep this in mind if you want to edit or add resources.
First, ensure that Composer is installed.
Navigate to drugbank-sample-apps/php. Run the command
php composer.phar installto install the needed dependencies. To host the app on PHP's built in server, use the command
php -S localhost:port -t public public/index.phpwhere port is the port you want to host the app on. The port must be specified with the launch command, so it can't be determined from the config.json like the other apps.
Visit localhost:port to view the app.
To host with a different server (like Apache), see Slim's web server documentation.
The Python app is run in a virtual environment, which is how the Flask documentation recommends installing and running the app. Below is a quick rundown on getting the app up and running with a virtual environment. More information can be found below:
Of course, the app can be run without a virtual environment. To do so, just skip to Installing the Requirements.
Navigate to drugbank-sample-apps/python. Run the following command to create the virtual environment from where the app will run.
On macOS and Linux:
python3 -m venv envOn Windows:
py -m venv envIf you are using Python 2, replace venv with virtualenv in the commands.
A virtual environment called env is now located at drugbank-sample-apps/python/env.
On macOS and Linux:
source env/bin/activateOn Windows:
.\env\Scripts\activateYou should see the name of the virtual environment in brackets on your terminal line. Any Python commands you use will now work with the virtual environment.
To leave the virtual environment, simply run:
deactivateNow, install all the requirements needed for the app in the virtual environment. To do this, run:
pip install -r requirements.txtWith the virtual environment set and the requirements installed, run:
python app.pyVisit the address given in the console to view the app.
Ensure that you have Ruby 2.7.1 installed.
Navigate to drugbank-sample-apps/ruby.
If you are using rbenv, Ruby 2.7.1 will be used automatically due to the .ruby-version file.
If you are using RVM, use the command
rvm use 2.7.1If you are using chruby, use the command
chruby ruby-2.7.1or if you have auto-switching enabled, the correct version will be used from the .ruby-version file.
First, ensure that Bundler is installed.
Install the necessary gems by using the command
bundle installThe app is then run with the command
bundle exec ruby app.rbVisit the default address with the port given in the console to view the app.
