-
Notifications
You must be signed in to change notification settings - Fork 47
Configuring environment conditions
The MBZIRC simulation environments exposes a few parameters that allow users to configure and test with different environment conditions.
The magnitude of waves in the simulation environment can be changed to simulate different sea states. The default condition is sea state 1.
A convenient script is provided in the source code to help set various parameter for changing the sea state of the simulation environment. Two conditions are affected by changing the sea state:
- wave amplitudes (m)
- wind magnitude (m/s)
To change the sea state in your local simulation files:
-
Navigate to the
mbzirc/mbzirc_ign/scriptsdirectory and run theset_sea_state.shscript:# set sea state to 2 ./set_sea_state.sh 2The script updates the amplitudes of the waves and magnitude of wind in the local copy of the simulation world and model files.
-
You will then need to install the files for them to take effect:
colcon build --merge-install --cmake-clean-cache --packages-select mbzirc_ignSee the README.md file for instructions on building a colcon workspace.
-
To verify the changes, you can run the simple demo example. You should notice a few differences:
- The USV and the target vessel in the water will have slightly larger oscillating motion due to larger wave amplitude.
- The USV and the target vessel will also drift faster in X direction due to the increase in wind magnitude.
- The UAVs, when hovering, will also be affected by wind and drift in X direction.
This will replace the section above once a new version of this feature is released
The magnitude of waves in the simulation environment can be changed to simulate different sea states. The default condition is sea state 1.
A convenient script is provided in the source code to help set various parameter for changing the sea state of the simulation environment. Four parameters are affected by changing the sea state:
- wave amplitude (m)
- wave period (s)
- wind magnitude (m/s)
- wind direction
The script provides two options for configuring environment condition.
The first option is to set the sea state directly. This uses predefined wave and wind parameters for each different sea state. To change the sea state in your local simulation files:
-
Navigate to the
mbzirc/mbzirc_ign/scriptsdirectory and run theset_sea_state.pyscript with the--sea-stateargument:# set sea state to 2 python3 set_sea_state.py --sea-state 2The script updates the wave and wind parameters in the local copy of the simulation world and model files.
-
You will then need to install the files for them to take effect:
colcon build --merge-install --cmake-clean-cache --packages-select mbzirc_ign
See the README.md file for instructions on building a colcon workspace.
-
To verify the changes, you can run the simple demo example. You should notice a few differences:
- The USV and the target vessel in the water will have slightly larger oscillating motion due to larger wave amplitude.
- The USV and the target vessel will also drift faster in X direction due to the increase in wind magnitude.
- The UAVs, when hovering, will also be affected by wind and drift in X direction.
The second option is to set sea state using historic weather data. The script parses the weather_avg_daily.csv file, which contains daily averages of wave height (m), wave period (s), and wind speed (km/h) in Abu Dhabi over 20 years. Weather data is provided by meteoblue.
To set wave and wind parameters based on a date:
-
Navigate to the
mbzirc/mbzirc_ign/scriptsdirectory and run theset_sea_state.pyscript with the--dateargument:# set wave and wind parameters based on a date python3 set_sea_state.py --date 20201220T0100Note: Open
weather_avg_daily.csvto see the list of dates available. The input date string must match the date value in the first cell of each row in the csv file.You should see the following output:
Found weather data for date:20201220T0100
  Avg wave height (m):0.1
  Avg wave period (s):4.35
  Avg wind speed (km/h):13.0
Setting sea state by date:20201220T0100
    wave gain (avg):0.521396877350007
    wave period:4.35
    wind linear velocity:[3.61111111 0.         0.        ]
Done setting sea state params
This outputs the new wind and wave parameters that have been set in the local copy of the simulation world and model files.
-
You will then need to install the files for them to take effect:
colcon build --merge-install --cmake-clean-cache --packages-select mbzirc_ign
See the README.md file for instructions on building a colcon workspace.
The set_sea_state.py script supports an optional --wind-dir to specify the direction of the wind. It accepts a direction vector [x y z], e.g.
# set wind direction to positive +y direction
python3 set_sea_state.py --date 20201220T0100 --wind-dir 0 1 0

# set wind direction to [1 1 0] - value does not need to be normalized
python3 set_sea_state.py --sea-state 1 --wind-dir 1 1 0
This sets the global wind direction for the whole simulation environment.
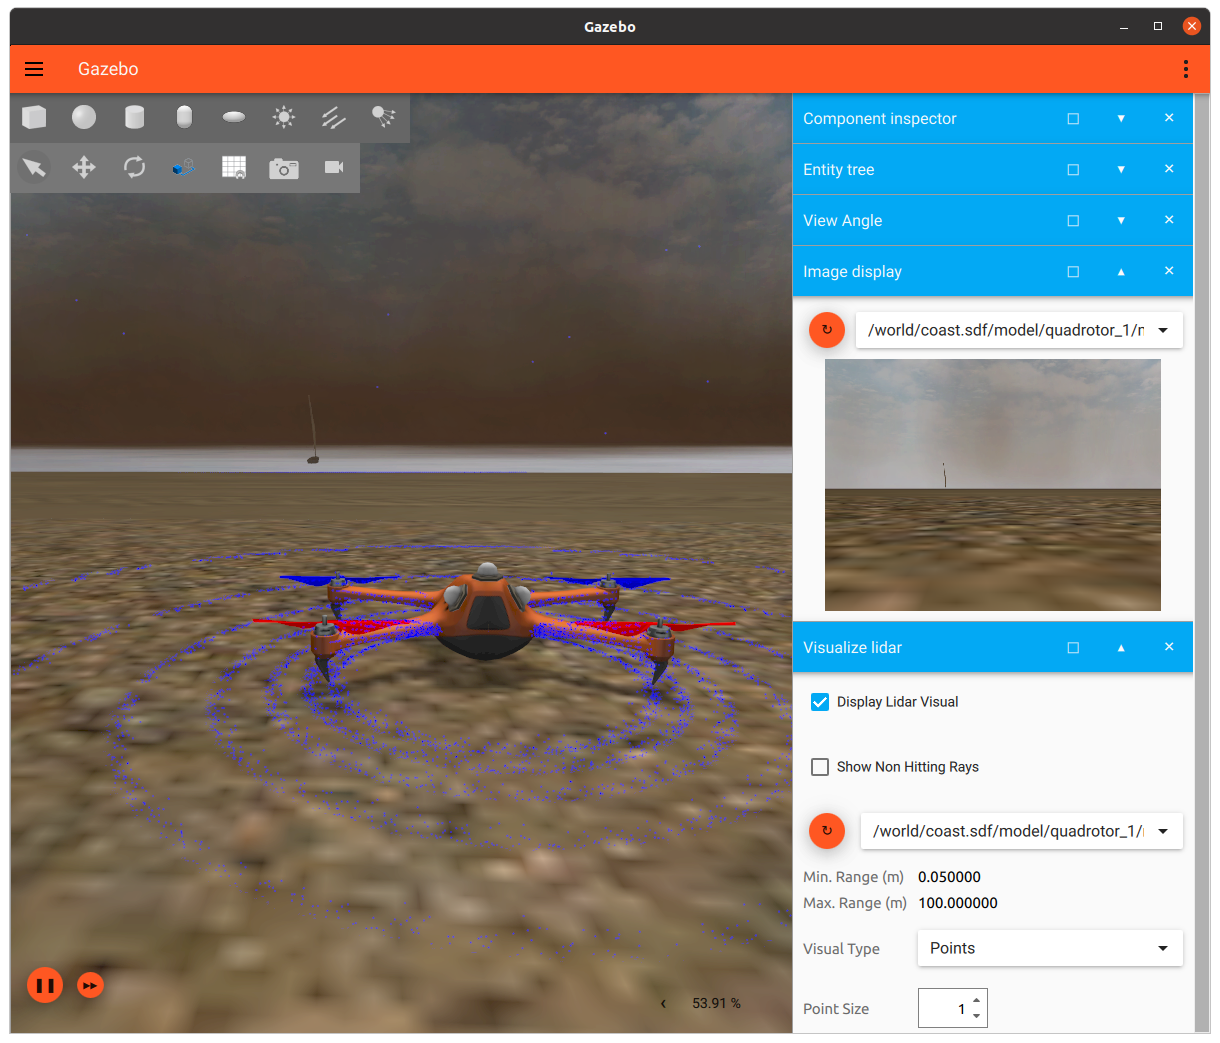
An Ignition service is provided for triggering dust storms that cover the entire coast environment. The current model of the dust storm lasts for a few minutes.
# launch the coast environment as usual
ros2 launch ros_ign_gazebo ign_gazebo.launch.py ign_args:="-v 4 -r coast.sdf"

# Invoke the Ignition service to start the dust storm
ign topic -t /model/dust_storm/link/link/particle_emitter/dust_storm/cmd -m ignition.msgs.ParticleEmitter -p 'emitting: {data: true}'

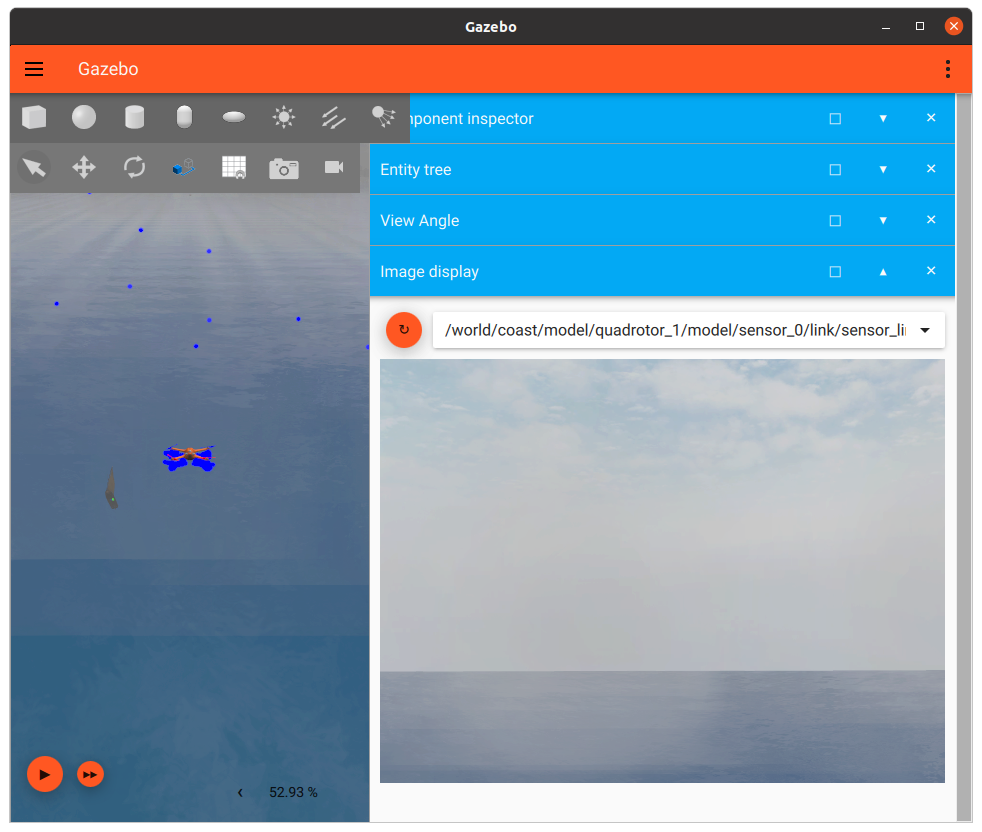
Note that the dust storm appears denser in the simulator's 3D window compared to the what is seen by a camera sensor, e.g. camera images published to ROS topics. This is mainly because the GUI camera (which provides the view displayed in the simulator's 3D window) has different settings than typical camera sensors.
Similar to dust storms, fog can also be triggered by invoking an Ignition service call.
# Invoke the Ignition service to start the fog
ign topic -t /model/fog/link/link/particle_emitter/fog/cmd -m ignition.msgs.ParticleEmitter -p 'emitting: {data: true}'

