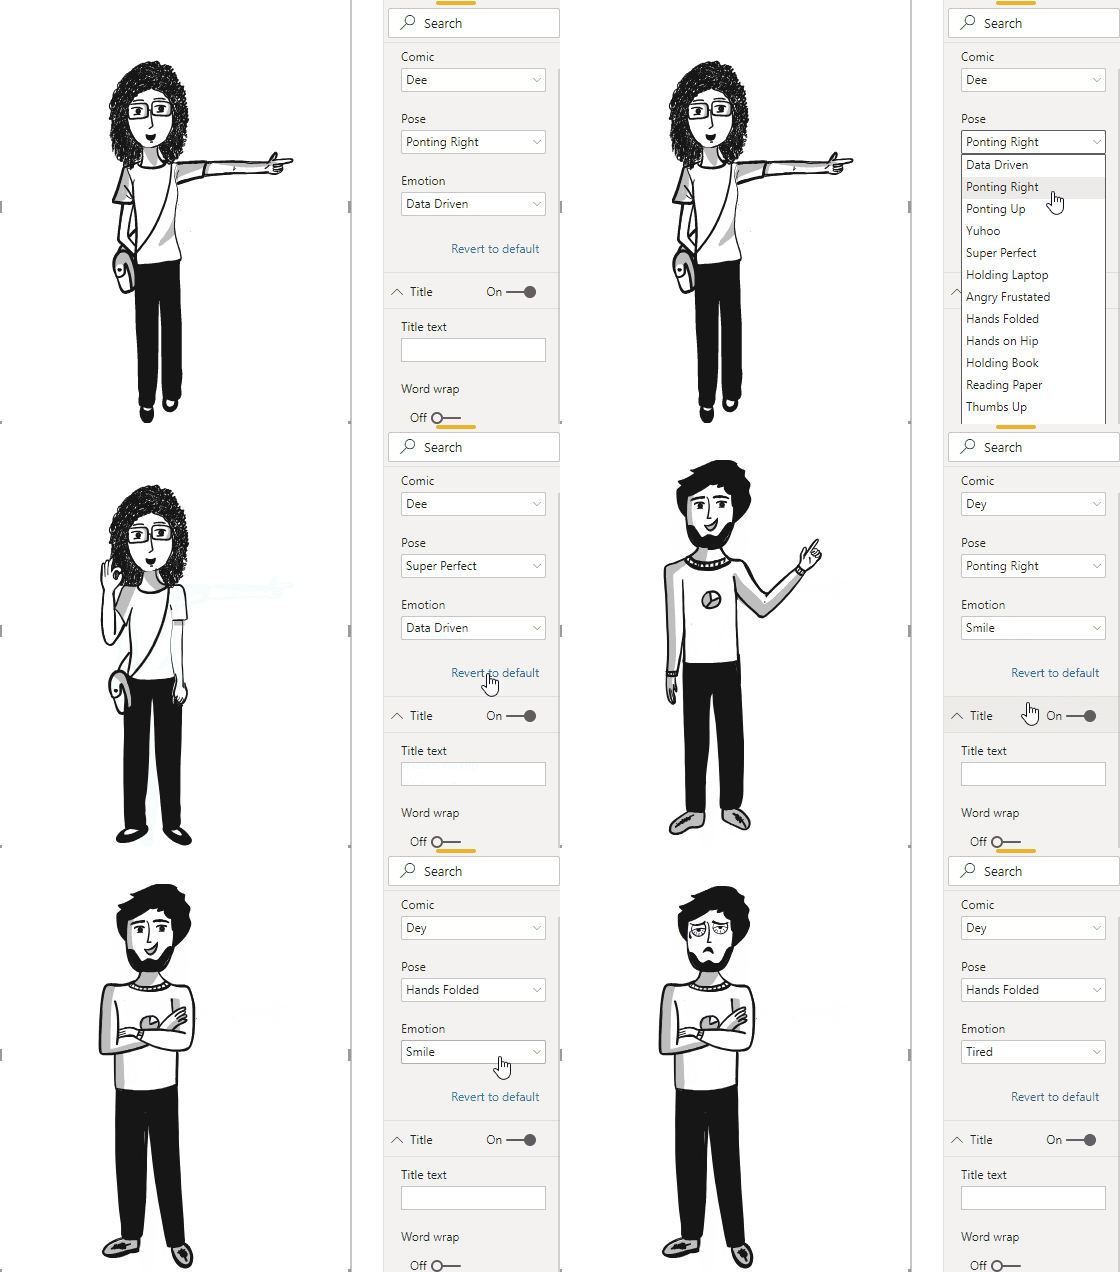
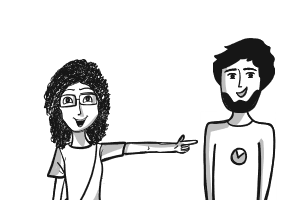
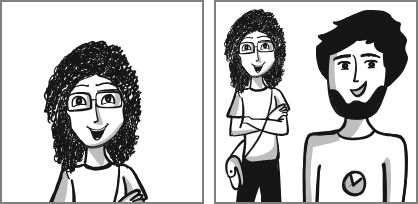
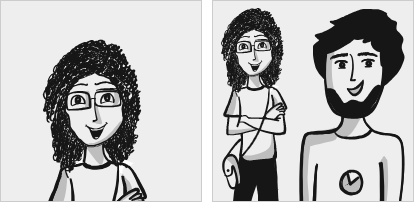
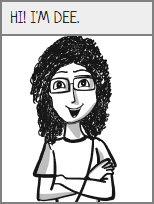
We love comics. We badly wanted to create comic strips. But there was one problem. Some of us can't draw a straight line for nuts.
But why should that stop us from creating comics? So here's a gift to ourselves and the world — a Comic Creator.
Interested in data storytelling? Come join the #ComicgenFriday community.
A simple way to use Comicgen is from gramener.com/comicgen/.
- Choose your character
- Save the image
- Insert it into your favorite editor - Illustrator, PowerPoint, Photoshop, etc.
Here's a 3-minute video explaining how to create your own comic strip.
<iframe width="560" height="315" src="https://www.youtube.com/embed/E_2hdZuugI8" frameborder="0" allow="accelerometer; autoplay; encrypted-media; gyroscope; picture-in-picture" allowfullscreen></iframe>For lettering, you can use comic fonts from Google fonts or Fonts.com.
Some fonts we like are:
| Font | Example text |
|---|---|
| Architects Daughter |  |
| Cavolini (Windows) | [ ][font-cavolini] ][font-cavolini] |
| Segoe Script (Windows) |  |
| Segoe Print (Windows) |  |
| News Cycle |  |
| Indie Flower |  |
| Amatic SC |  |
| Schoolbell |  |
| Just Another Hand |  |
| Patrick Hand |  |
| Neucha |  |
| Handlee |  |
You can also use Comicgen using the plugins below. (We're planning more plugins. Your help is welcome!)
The Comicgen Power BI plugin lets you control the characters, emotions, poses, etc from data. Happy people can accompany good news on charts.
The raw SVGs and PNGs are at gramener.com/comicgen/. Look under:
- src/characters.json - list of characters.
- src/files.json - list of files for each character
- svg/ - SVG files for each character
- png/ - PNG files for each character
You can create comics by directly linking to these files. You can embed these files directly in your plugin.
To explicitly run comicgen on a selector, run comicgen(selector). This lets
you dynamically create or change a a character.
Here's an example in jQuery showing how you can create a character dynamically:
// Add the character
$('<g class="new" name="dee" angle="straight" emotion="sad" pose="yuhoo"></g>').appendTo('body')
// Call comicgen()
comicgen('.new')
If you want to show only the face of a comic character, you can do it by skipping pose attribute. For example:
// Add only face of character
$('<g class="only-face" name="dee" angle="straight" emotion="smile"></g>').appendTo('body')
// Call comicgen()
comicgen('.only-face')
You can pass an options parameter to comicgen() to provide default values.
For example:
$('<g class="new" name="dee" angle="straight"></g>').appendTo('body')
comicgen('.new', {
  name: 'dey',      // Set the default name. <g name="dee"> overrides this
  emotion: 'sad',   // Set the default emotion
  pose: 'yuhoo',    // Set the default pose, etc
  width: 400,
  height: 300
})
To render a continuous character (examples: zoozoo, panda, chini),
// Add the character
$('<g class="new" name="zoozoo" face="0.75" body="0.50" width="500" height="600"></g>').appendTo('body')
// Call comicgen()
comicgen('.new')We created Comicgen to help people write better stories using comic.
Storytellers want to share a message and change their audience. But they worry that their content is not engaging or "catchy" enough to drive the change.
- Comics are "catchy". That makes them a powerful way of engaging the audience.
- Comics are simple. Comics are a signal that the content is simple, interesting and often funny. Authors also make comic content simpler, interesting, and funny -- making this a virtuous cycle.
- Comics drive emotion. The pictures convey emotions better than just the words alone. They're funny. That helps learning, and makes the stories more memorable.
Anyone who writes an email, a presentation, or a document, is a storyteller.
Within organizations, we see this in:
- Presenting insights
- Executives' analysis. An analyst created a poster explaining their work using comic characters. It was simple and engaging -- the entire organization understood this deep learning technique.
- Managers' reports. An admin manager sent his status report as a pair of comic characters conversing. Their CEO read this report fully for the first time.
- Consultants' workshops. A consultant runs a culture workshop using comics in the presentation because "... it's a lot less threatening than an official PowerPoint presentation."
- Marketing stories. This could be:
- Product teams launching features. Google Chrome was launched using a comic book.
- Marketer emails
- Event manager invites
Our vision is to make storytelling with comics easy for everyone. (This includes non-designers, non-programmers, and non-storytellers.)
We do this by:
- Adding characters. Characters can be split into layers (like face & body). By combining these cleverly, we can create more characters with fewer drawings. If you have a character idea, please add a comment.
- Adding layers. We need objects like speech bubbles, panels, headings, objects, scenery, backgrounds etc.
- Integrate into your workflow. Comicgen should be easy to use in people's current workflow, with their existing tools.
- Designers use Illustrator / Sketch
- Developers use HTML / JS
- Analysts use Tableau / Power BI
- Managers use e-mail / MS Office
- We want to make storytelling easy for everyone
- API for developers. Comicgen automates away the drudgery in creating comics. Developers should be able to create any comic without designing, purely using an API
- UI for non-developers. We want users to be able to do this without any programming. This means exposing every feature of the API should be exposed on the UI
- Teaching. The ultimate aim is for people to build better stories. Let's teach them
We succeed when more people create more and better stories with Comicgen. We measure this by
- How many people have used comicgen
- How many stories have been created using comicgen
- How many characters are present in comicgen. (Variety drives adoption)
- TODO: We need more intermediate success metrics -- things that will drive adoption
Here are some examples of Comicgen usage
- Using Comicgen: Free comic creator
- Why Game of Thrones?
- How Big is the Data?
- More work by Ramya
- Comic narrative + a line chart #cricket
- India vs Afghanistan, World Cup 2019 (version 2)
- Wasting time on IMDb
- Coding memes
Technique examples
- Character narrating a story for The World Bank
- A tweet embedded in a 3-panel comic strip
- A video embedded in a 3-panel comic strip
- Character reacting to changing data live
Webcomics examples
Here are examples or guides of where comics have been used effectively in storytelling.
- Comic based manuals
- Scott Mccloud’s implementation of Comic characters for explaining Google Chrome is one of the finest examples to date. This or This can be referred.
- Bite-sized command line explains UNIX commands with comics
- Using comic books to teach business ethics as researched and published by Springer journal
- Antonija Kuzmanic explains That Pesky P38 Map Kinase with comics
- Content marketing: Comics are eye-catching and noticeable elements, which we hardly find in marketing mailers, product explanation mailers, newsletters.
- Marketoonist creates content marketing campaigns using cartoons
- Erin Ollila writes a fine article on it.
- The awesome adventures of megacorp's marketers.
- Comic games for offline screens: Remember the small-hand dinosaur running across the screen when Google chrome is offline? A comic game or a random conversation about the website being down can make the website interactive even when it is down.
- Comic storytelling: I love how Pablo Stanley, a UI/UX designer, uses comic into storytelling. Check this out.
If you find good examples, please add a comment. We'll include them.
People working on storytelling / data visualization through comics include:
- Chris Lysy
- Martin Telefont (see Data Visualization Comics)
- Matt Hong
- Natalia Kiseleva
- Neil Cohn
- Pablo Stanley - see OpenPeeps, Humaans, OpenDoodles
- Susie Lu
- Taryn Read
If you know of more people, please add a comment. We'll include them.
Here are other tools and resources to create comic stories:
- Pixton has an online app and content packs for educators and students to create comics. There's also a PowerPoint Add-In and a Pixton Comic Maker
- Joe Schmoe is an image API an avatar collection
- Powtoon
- Canva Comic Strips
- Chart.xkcd - a library for XKCD-like sketchy, handhand-drawn charts
- Write comics
- ToonyTool
- SummitSoft's ComicCreator
- Make Beliefs Comix
- StoryboardThat
If you know of any others, please add a comment. We'll include them.
We haven't yet found tools that expose an API. This should enable developers to integrate with existing tools and workflows, as well as build new ones. Hopefully comicgen will enable that.
- Teaching comics has resources on teaching how to create comics
- DataComics.net has good examples of data comics
Load the comicgen library by adding this line in your HTML page's <head>:
<link rel="stylesheet" href="https://gramener.com/comicgen/dist/comicgen.min.css">
<script async src="https://gramener.com/comicgen/dist/comicgen.min.js"></script>
You can use unpkg.com/comicgen/ instead of gramener.com if you wish.
You can also install comicgen locally using npm or yarn:
yarn add comicgen     # Recommended option
npm install comicgen  # Alternative, if you prefer npm
... and then include:
<link rel="stylesheet" href="node_modules/comicgen/dist/comicgen.min.css">
<script async src="node_modules/comicgen/dist/comicgen.min.js"></script>
Comicgen is tested on Chrome, Edge, and Firefox. It does not work on Internet Explorer.
To embed a character, add:
<g class="comicgen" name="dee" angle="straight" emotion="smile" pose="thumbsup"></g>This inserts the following image in your HTML.
You can embed it anywhere, including inside an <svg> element.
First, you have to choose a character with the name="<character>" attribute.
For example:
name="dee"name="dey"name="humaaans"- etc.
Each character has one or more attributes. For example, the characters
dee and dey use these attributes:
angle=: which angle are they are facing (e.g.straight,side)emotion=: what emotion their face expresses (e.g.sad,happy)pose=: what pose their body shows (e.g.pointingup,holdinglaptop)
The character humaaans uses these attributes:
head=: what head to use (e.g.front/afro,front/airy)body=: what body to use (e.g.hoodie,jacket)bottom=: what bottom to use (e.g.sitting/baggy-pants,standing/shorts)
The list of all valid combinations are available on the comicgen interactive gallery.
Each character has a pre-defined canvas size. For example, dee and dey use a
500 x 600 canvas. humaaans uses a 300 x 600 canvas. You can change this using:
width=: width of the image in pxheight=: height of the image in px
You can also re-position and re-size the canvas using these optional attributes:
x=: left position or x-offset in pxy=: top position or y-offset in pxmirror=: show mirror image. Value can be "" (no mirroring) or "1" (to mirror the image). Default: ""scale=: how much larger to make the image. Default: 1
The images are rendered as SVG by default. You can use PNGs instead with ext="png":
ext=: choose file format. Value can besvg(default) orpng
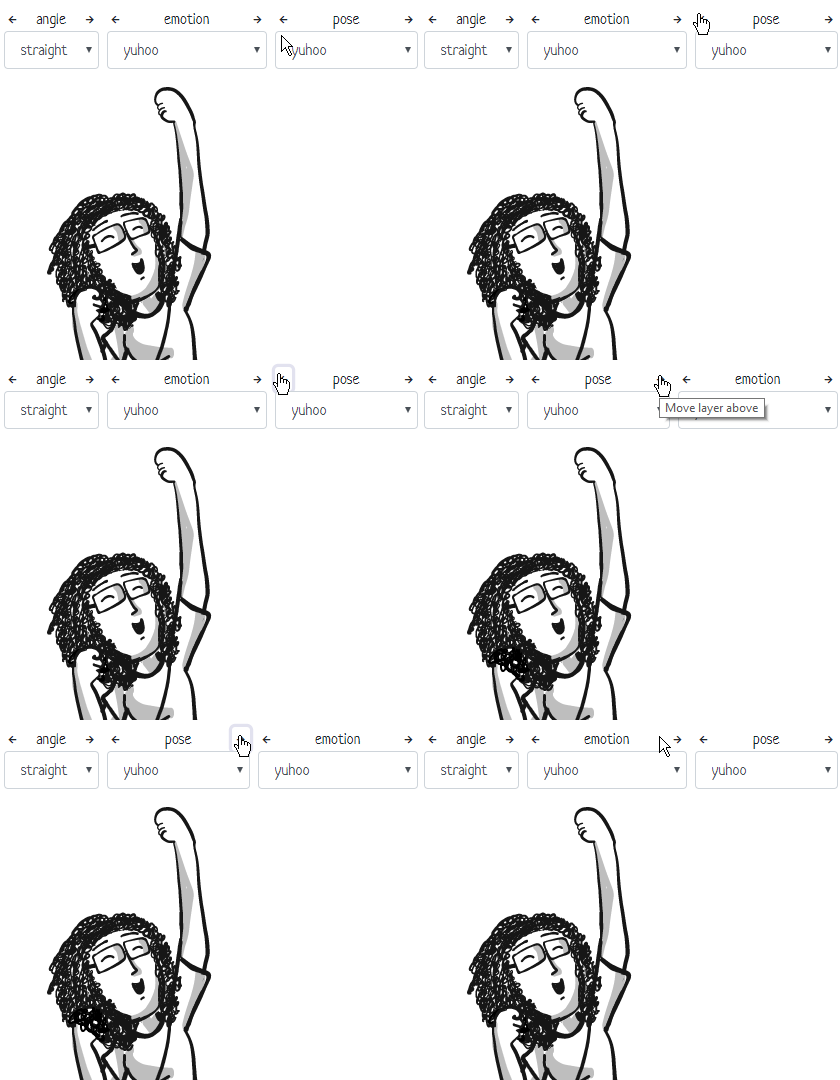
The order of attributes decides the order of the layers. For example, this draws
emotion= first (at the bottom), and then pose= (on top)
<g class="comicgen" name="dee" angle="straight" emotion="yuhoo" pose="yuhoo"></g>This draws pose= first (at the bottom), and then emotion= (on top):
<g class="comicgen" name="dee" angle="straight" pose="yuhoo" emotion="yuhoo"></g>You can re-order the attributes dynamically in the comicgen interactive gallery using the arrows.
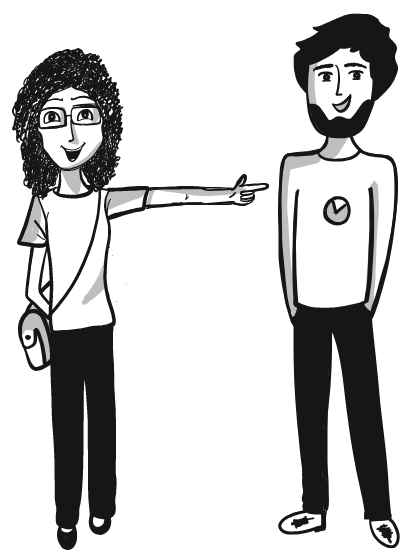
To combine multiple characters in a panel, embed them in an <svg> element.
You can change the x, y, width, height, mirror and scale to position each character.
<svg width="500" height="600">
  <g class="comicgen" name="dee" angle="straight" emotion="smilehappy" pose="pointingright" x="-120"></g>
  <g class="comicgen" name="dey" angle="straight" emotion="smile" pose="handsinpocket" x="150"></g>
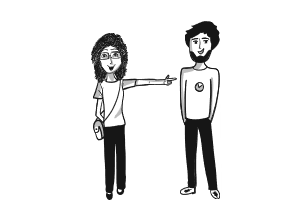
</svg>You can resize the combined image by changing the width and height of the
SVG container.
<svg width="300" height="200" viewBox="0 0 500 600">
  <g class="comicgen" name="dee" angle="straight" emotion="smilehappy" pose="pointingright" x="-120"></g>
  <g class="comicgen" name="dey" angle="straight" emotion="smile" pose="handsinpocket" x="150"></g>
</svg>
Set viewBox to the width and height of the comicgen elements. Then you can set
the outer width and height to anything.
This normally scales the image to fit both the width and height. To fit only one
side, use preserveAspectRatio.
For example, preserveAspectRatio="xMidYMin slice" in this case fits to width
and slices the height, preserving the top (YMin) of the image.
<svg width="300" height="200" viewBox="0 0 500 600" preserveAspectRatio="xMidYMin slice">
  <g class="comicgen" name="dee" angle="straight" emotion="smilehappy" pose="pointingright" x="-120"></g>
  <g class="comicgen" name="dey" angle="straight" emotion="smile" pose="handsinpocket" x="150"></g>
</svg>comicgen.css provides 2 classes for layout:
comic-panelcomic-row
Use class="comic-panel" to can embed characters in a thick grey border. For example
<div class="comic-panel">
  <g class="comicgen" name="dee" angle="straight" emotion="smilehappy" pose="handsfolded"
    x="-320" y="-120" scale="2.2" width="200" height="200"></g>
</div>
Panels are typically placed inside a class="comic-row":
Here's an example with 2 panels. The second panel has 2 characters.
<div class="comic-row">
  <div class="comic-panel" style="margin-right: 10px">
    <g class="comicgen" name="dee" angle="straight" emotion="smilehappy" pose="handsfolded"
      x="-320" y="-120" scale="2.2" width="200" height="200"></g>
  </div>
  <div class="comic-panel">
    <svg width="200" height="200">
      <g class="comicgen" name="dey" angle="straight" emotion="smile" pose="handsinpocket"
        x="-200" y="-120" scale="2.2" width="200" height="200"></g>
      <g class="comicgen" name="dee" angle="straight" emotion="smilehappy" pose="handsfolded"
        x="-250" y="-120" scale="1.4" width="200" height="200"></g>
    </svg>
  </div>
</div>You can override the panel's background, border width and color using CSS variables in your stylesheet.
:root {
  --comic-background: #eee;     /* Light grey background. Default: transparent */
  --comic-border-color: #ccc;   /* Light grey border. Default: grey */
  --comic-border-width: 1px;    /* Thin border. Default 2px */
}comicgen.css
provides comic-caption-top and comic-caption-bottom to add captions inside
a .comic-panel.
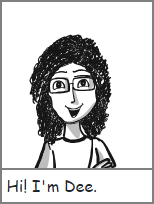
For example, this defines a caption on top:
<div class="comic-panel">
  <div class="comic-caption-top">Hi! I'm Dee.</div>
  <g class="comicgen" name="dee" angle="straight" emotion="smilehappy" pose="handsfolded" x="-317" y="-119" scale="2.2" width="150" height="200"></g>
</div>... or the bottom:
<div class="comic-panel">
  <div class="comic-caption-bottom">Hi! I'm Dee.</div>
  <g class="comicgen" name="dee" angle="straight" emotion="smilehappy" pose="handsfolded" x="-317" y="-119" scale="2.2" width="150" height="200"></g>
</div>
You can override the caption's background, font and padding using CSS variables in your stylesheet.
:root {
  --comic-caption-background: #eee;         /* Light grey background. Default: white */
  --comic-caption-font: Neucha, cursive;    /* Custom Google font. Default: cursive */
  --comic-caption-padding: 0.25rem 0.5rem;  /* Custom margin. Default: 0.25rem */
}
.comic-caption-top, .comic-caption-bottom { /* Apply any custom styles you want */
  text-transform: uppercase;
}You can combine captions with panels to create a strip like this:
<div class="comic-row">
  <div class="comic-panel">
    <div class="comic-caption-top">Hi! I'm Dee.</div>
    <g class="comicgen" name="dee" angle="straight" emotion="smilehappy" pose="handsfolded" x="-317" y="-119" scale="2.2" width="150" height="200"></g>
  </div>
  <div class="comic-panel">
    <div class="comic-caption-top">I'm in a comic strip called Dee & Dey.</div>
    <g class="comicgen" name="dee" angle="straight" emotion="smilehappy" pose="handsfolded" x="-150" y="10" scale="1.5" width="150" height="200" mirror="1"></g>
  </div>
  <div class="comic-panel">
    <div class="comic-caption-top">And this is Dey, my co-star on this strip.</div>
    <svg width="300" height="200">
      <g class="comicgen" name="dee" angle="straight" emotion="smilehappy" pose="pointingright" x="160" y="0" scale="0.88" width="300" height="200" mirror="1"></g>
      <g class="comicgen" name="dey" angle="straight" emotion="smile" pose="handsinpocket" x="-120" y="10" scale="0.88" width="300" height="200"></g>
    </svg>
  </div>
</div>To add a new character, or add images for an existing character:
- Add the SVG images under
svg/<character>/<attr>/.../<file>.svg - File or folder names must use only lowercase letters
- Avoid numbers or special characters
- Create PNGs and compress the characters:
npm run build-png- This requires pngquant. Install it
- To regenerate a character, remove its PNG folder first. e.g.
rm -rf png/dee/ && npm run build-png
- Update src/characters.json
- Add new character specs under
namemapandformatsusing the instructions there
- Add new character specs under
- Update src/files.json to add new files
- This is organized as
{character: {attr: [file, file, ...]}} - We maintain the characters alphabetically (e.g.
deeappears beforedey)
- This is organized as
- Update the character credits
- Run
npm run buildto recompile files underdist/ - Run a HTTP server on the comicgen folder and test the character
New versions of comicgen are released on Github and npm. Here is the release process.
# Update package.json version and build
yarn upgrade
npm run build
npm run build-png

# Run tests on dev branch
npm run lint
npm test
npm run test-chrome
npm run test-edge
npm run test-firefox

# Ensure that there are no build errors on the server
git commit . -m"DOC: Release version x.x.x"
git push

# Merge into dev branch
git checkout master
git merge dev
git tag -a v0.x.x -m"Add a one-line summary"
git push --follow-tags
git checkout dev
Then release on npm
# Maintained by @sanand0
npm publish
Deploy on https://comicgen.surge.sh/ via:
# Log in as [email protected]
surge . comicgen.surge.shIf you're a developer, we'd love your help in improving comicgen.
- Report bugs. If something doesn't work the way you expect, please add an issue
- Ask for features. Go through the issues. Add a Like reaction to what you like. Or add an issue asking for what you want.
- Offer help. Go through these issues. Pick something interesting. Add a comment saying "I'd like to help." We'll revert in 2-4 days with ideas.
There are 3 areas we're focusing on. Help in these areas would be ideal.
People like to use their own platforms, not switch to a new one. So let's integrate comicgen into popular platforms like Excel, PowerPoint, Power BI, Tableau, R, etc as plugins.
See integration issues related »
People find it easier to create comics using a UI than programming. So let's create an interface that let people create an entire graphic novel!
Developers access comicgen through a JS library. What can we do to make it easier, and feature rich?
- Library developed by Kriti Rohilla [email protected] and S Anand [email protected]
- Conceived & designed by Ramya Mylavarapu [email protected] & Richie Lionell [email protected]
- Ava, Bean, Biden, Dee, Dey, Evan, Holmes, Jaya, Priya, Ringo, Speechbubbles, Trump & Watson: By Ramya Mylavarapu [email protected] under CC0 license
- Humaaans: By Pablo Stanley under CC-BY license
- Facesketch & Ethan: By Devarani B [email protected] under CC0 license
- Aryan, Zoe: By Swetha Mylavarapu under CC0 license
- Ricky: By Suchismita Naik under CC0 license
Designers, we'd love your help in improving comicgen.
If you're a designer, you could help by:
- Designing new characters. Comicgen characters are open for everyone to use. We credit the authors. You can work freelance with us, and get paid per character. You can pick your own character, or choose from the characters people are looking for.
- Adding new layers. Apart from characters, we need other "layers" -- things we can add to panel, like speech bubbles, background objects, etc. You can design new kinds of objects if you think people will use it. Here are some layers people have asked for.
Here's a guide to help understand how to design and submit new characters or layers.
Characters are made of 1 or more SVG images.
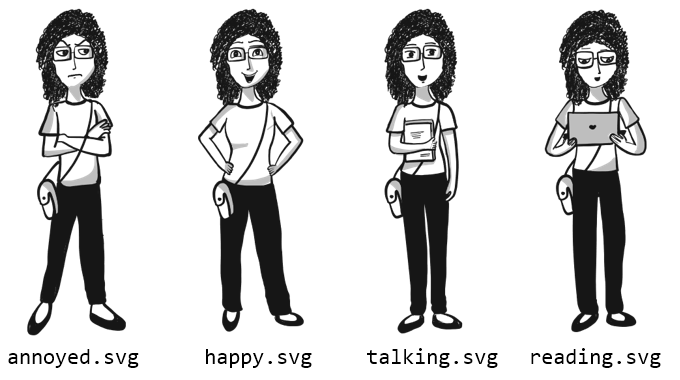
The easiest way to create a character is to draw a dozen SVGs and save them as individual files of the same dimensions. For example:
A better way would be to break up the character into different parts. For
example, you could draw faces with different emotions and save them under an
faces/ folder:
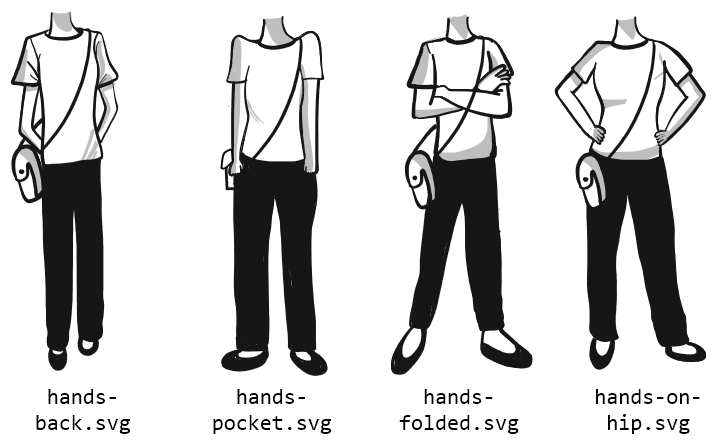
Then you could draw the bodies under a bodies/ folder:
If you do this, you must make sure that:
- All faces have the same dimensions, and are at the same position within the SVG
- All bodies have the same dimensions, and are at the same position within the SVG
- When you super-impose any face on any body, the images should align.
You can choose to break up the images in any number of ways. For example:
faces/,bodies/face/,trunk/,leg/,shoes/hair/,face/,eyes/,mouth/,trunk/,legs/
The more combinations you have, the more complex your image becomes. You could start small and then add variety.
Give your character a name (e.g. "Ant Man"). Save the SVG files under a folder with the character name (e.g. "ant-man" - lower-case, use hyphens as separator). Add this folder under the svg/ folder.
Then send a pull request or email S Anand [email protected].
When doing this, please mention one of the following:
Comicgen is free, but their designers' time is not. We pay the designers in our team, and freelancers, for the characters they design.
Please e-mail Anand [email protected] and Richie [email protected] if you can design characters as a freelancer. We'd love your help.
Gramener visuals do not externally collect any information, personal or otherwise. If you have any questions, please contact us at [email protected]
