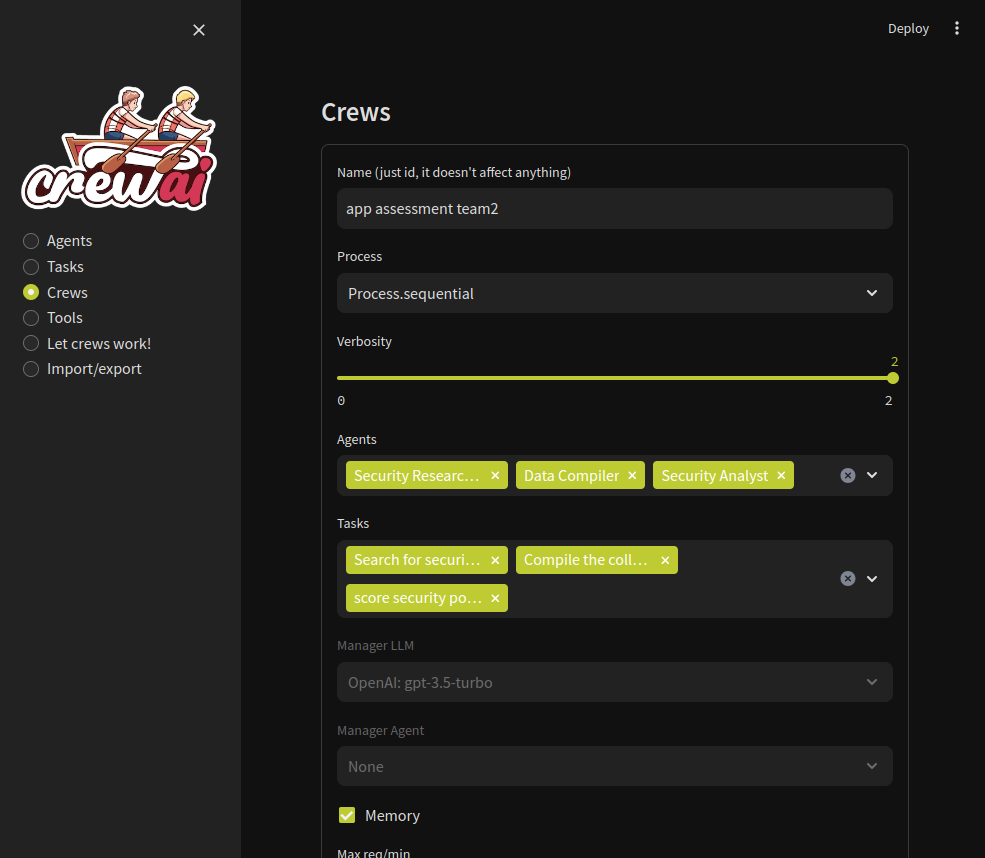
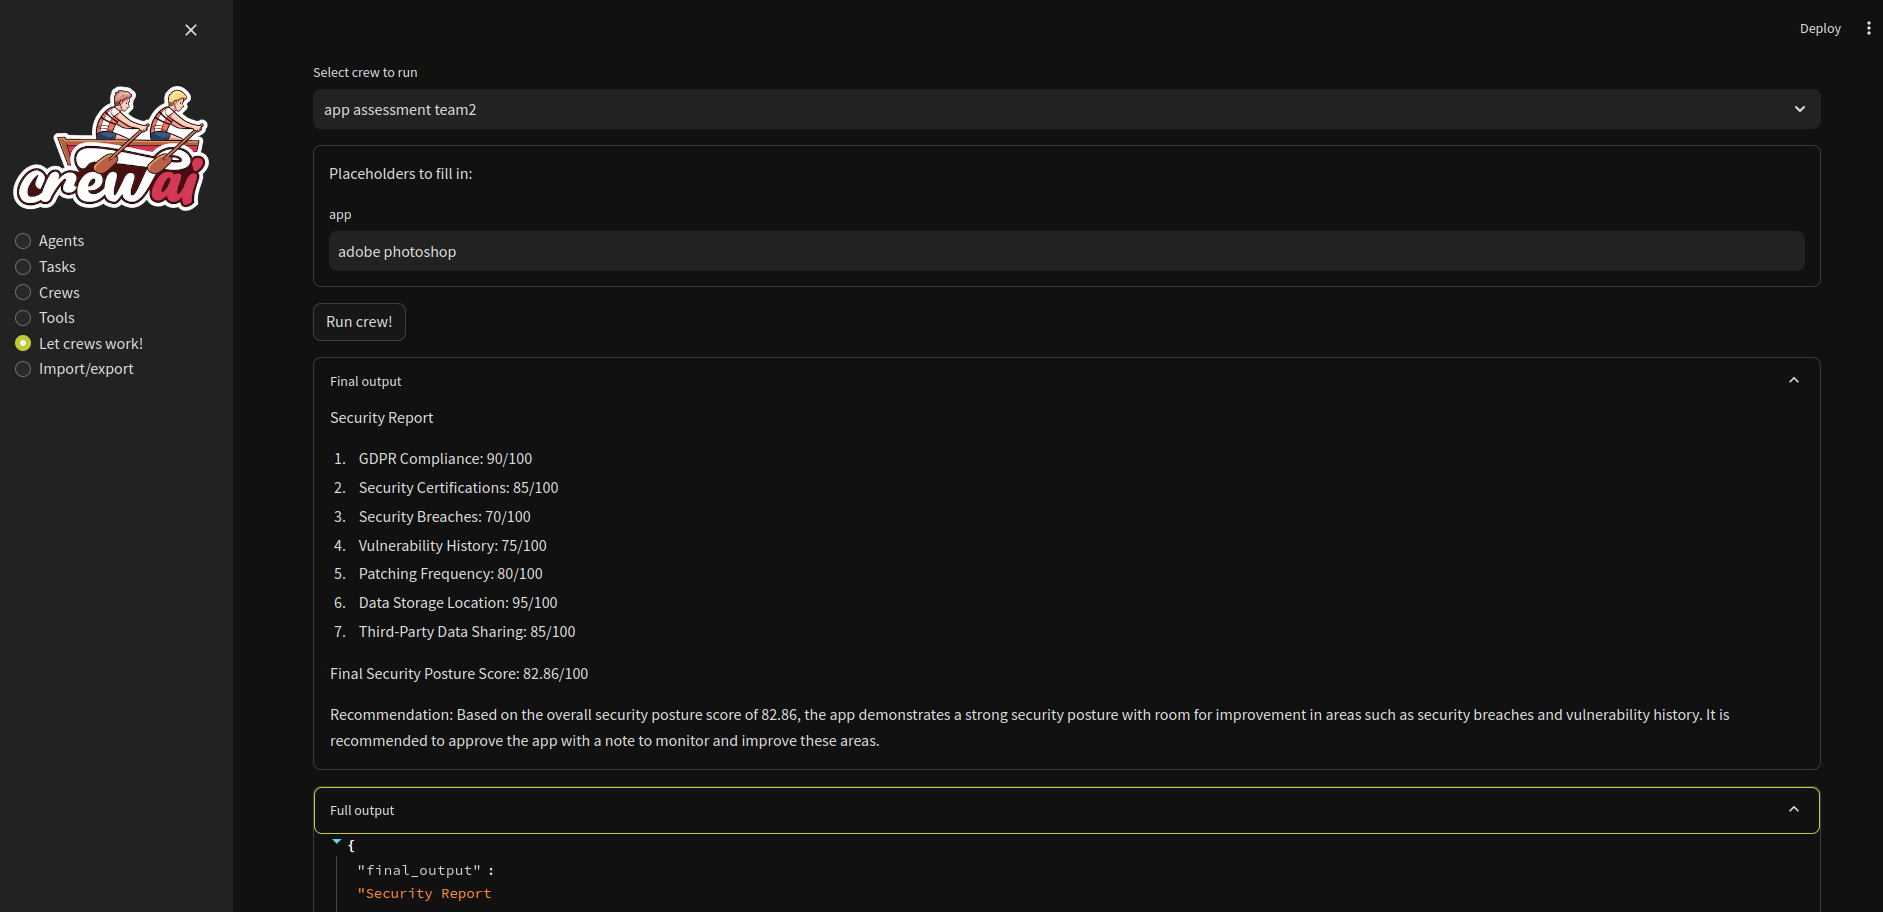
Welcome to CrewAI Studio! This application provides a user-friendly interface written in Streamlit for interacting with CrewAI, suitable even for those who don't want to write any code. Follow the steps below to install and run the application on Windows or Linux (probably also MacOS) using either Conda or a virtual environment.
- Multi-platform support: Works on Windows, Linux and MacOS.
- No coding required: User-friendly interface for interacting with CrewAI.
- Conda and virtual environment support: Choose between Conda and a Python virtual environment for installation.
- CrewAI tools You can use crewai tools to interact with real world.
Crewai studio uses a forked version of crewai-tools with some bugfixes and enhancements (https://github.com/strnad/crewAI-tools)(bugfixes already merged to crewai-tools) - *NEW* Custom Tools Custom tools for calling APIs and for writing files. More will be added soon
- API support: Currently OpenAI, Groq, Anthropic and LM Studio backends are supported. OpenAI key is probably still needed for embeddings in many tools. Don't forget to load an embedding model when using LM Studio.
- Single Page app export: Feature to export crew as simple single page streamlit app (doesn't support custom tools yet).
- Threaded crew run: Crews can run in background and can be stopped.
For Virtual Environment: Ensure you have Python installed. If you dont have python instaled, you can simply use the conda installer.
-
Clone the repository (or use downloaded ZIP file):
git clone https://github.com/strnad/CrewAI-Studio.git cd CrewAI-Studio -
Run the installation script:
./install_venv.sh
-
Run the application:
./run_venv.sh
-
Clone the repository (or use downloaded ZIP file):
git clone https://github.com/strnad/CrewAI-Studio.git
cd CrewAI-Studio
-
Run the Conda installation script:
./install_venv.bat
-
Run the application:
./run_venv.bat
Conda will be installed locally in the project folder. No need for a pre-existing Conda installation.
-
Clone the repository (or use downloaded ZIP file):
git clone https://github.com/strnad/CrewAI-Studio.git cd CrewAI-Studio -
Run the Conda installation script:
./install_conda.sh
-
Run the application:
./run_conda.sh
-
Clone the repository (or use downloaded ZIP file):
git clone https://github.com/strnad/CrewAI-Studio.git
cd CrewAI-Studio
-
Run the Conda installation script:
./install_conda.bat
-
Run the application:
./run_conda.bat
Before running the application, ensure you update the .env file with your API keys and other necessary configurations. An example .env file is provided for reference.
In case of problems:
- Delete the
venv/minicondafolder and reinstallcrewai-studio. - Rename
crewai.db(it contains your crews but sometimes new versions can break compatibility). - Raise an issue and I will help you.
Video tutorial on CrewAI Studio made by Josh Poco


