Warpwire allows clients to utilize a lightweight Moodle login page. This script allows users to login to Warpwire using Moodle as an authentication source. There are two ways to implement this tool:
Option 1: Self-hosted (preferred) Download the script from GitHub and host it yourself.
- If you choose this option, contact Warpwire to receive a key and secret
- If you choose this option, all user login data will remain on your servers
Option 2: Warpwire-hosted Let us take care of it. Provide the information listed below and we will host the script and login page allowing Moodle authentication outside of Moodle
- If you choose this option, Warpwire will handle the implementation
- If you choose this option, some user login data will pass through Warpwire servers
-
You will need to verify that Moodle REST APIs are active.
- In Moodle, navigate to Dashboard > Site Administration > Mobile App > Mobile Settings. Check the box next to “Default: Yes” and click “Save Settings”
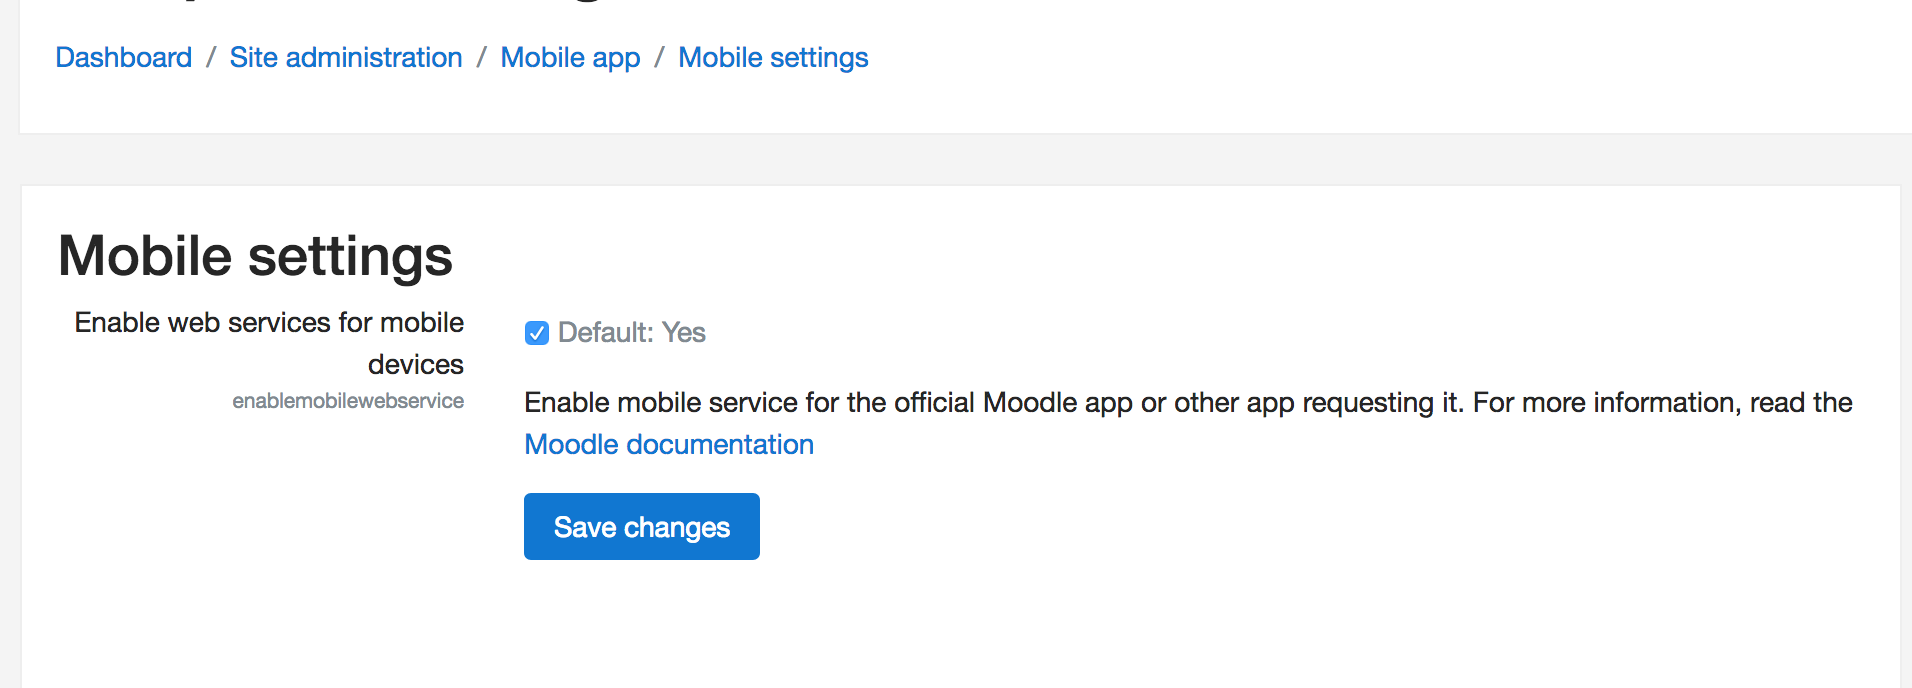
- In Moodle, navigate to Dashboard > Site Administration > Mobile App > Mobile Settings. Check the box next to “Default: Yes” and click “Save Settings”
-
Contact Warpwire
- Contact Warpwire support to recieve client-specific values for
$_WW_USER,$_WW_KEY, and$_WW_URL - You will also need to provide the exact URL path of the login page location. (e.g https://login.institution.org/client2)
- Contact Warpwire support to recieve client-specific values for
-
Use the
config.php.examplefile to create your ownconfig.phpfile, making the following changes:- Contact Warpwire support to recieve client-specific values for
$_WW_USER,$_WW_KEY, and$_WW_URL, then replace those values. - Replace
<YOUR MOODLE WEB URL>with your Moodle URL. - Replace
<YOUR ORGANIZATION>with the name of your institution as you want it to appear on the login page. - Replace
<YOUR ORGANIZATION LOGO>with the file name of the logo image you'd like to use. - Place the logo image file in the same directory as the
config.phpfile.
- Contact Warpwire support to recieve client-specific values for
-
ONLY if you’d like Warpwire to host the login page (Option 2): You will need to make sure your firewall allows Warpwire to connect remotely to access your API services:
- 173.231.182.70
- 173.231.182.71
- 63.251.106.123
- 63.251.106.126