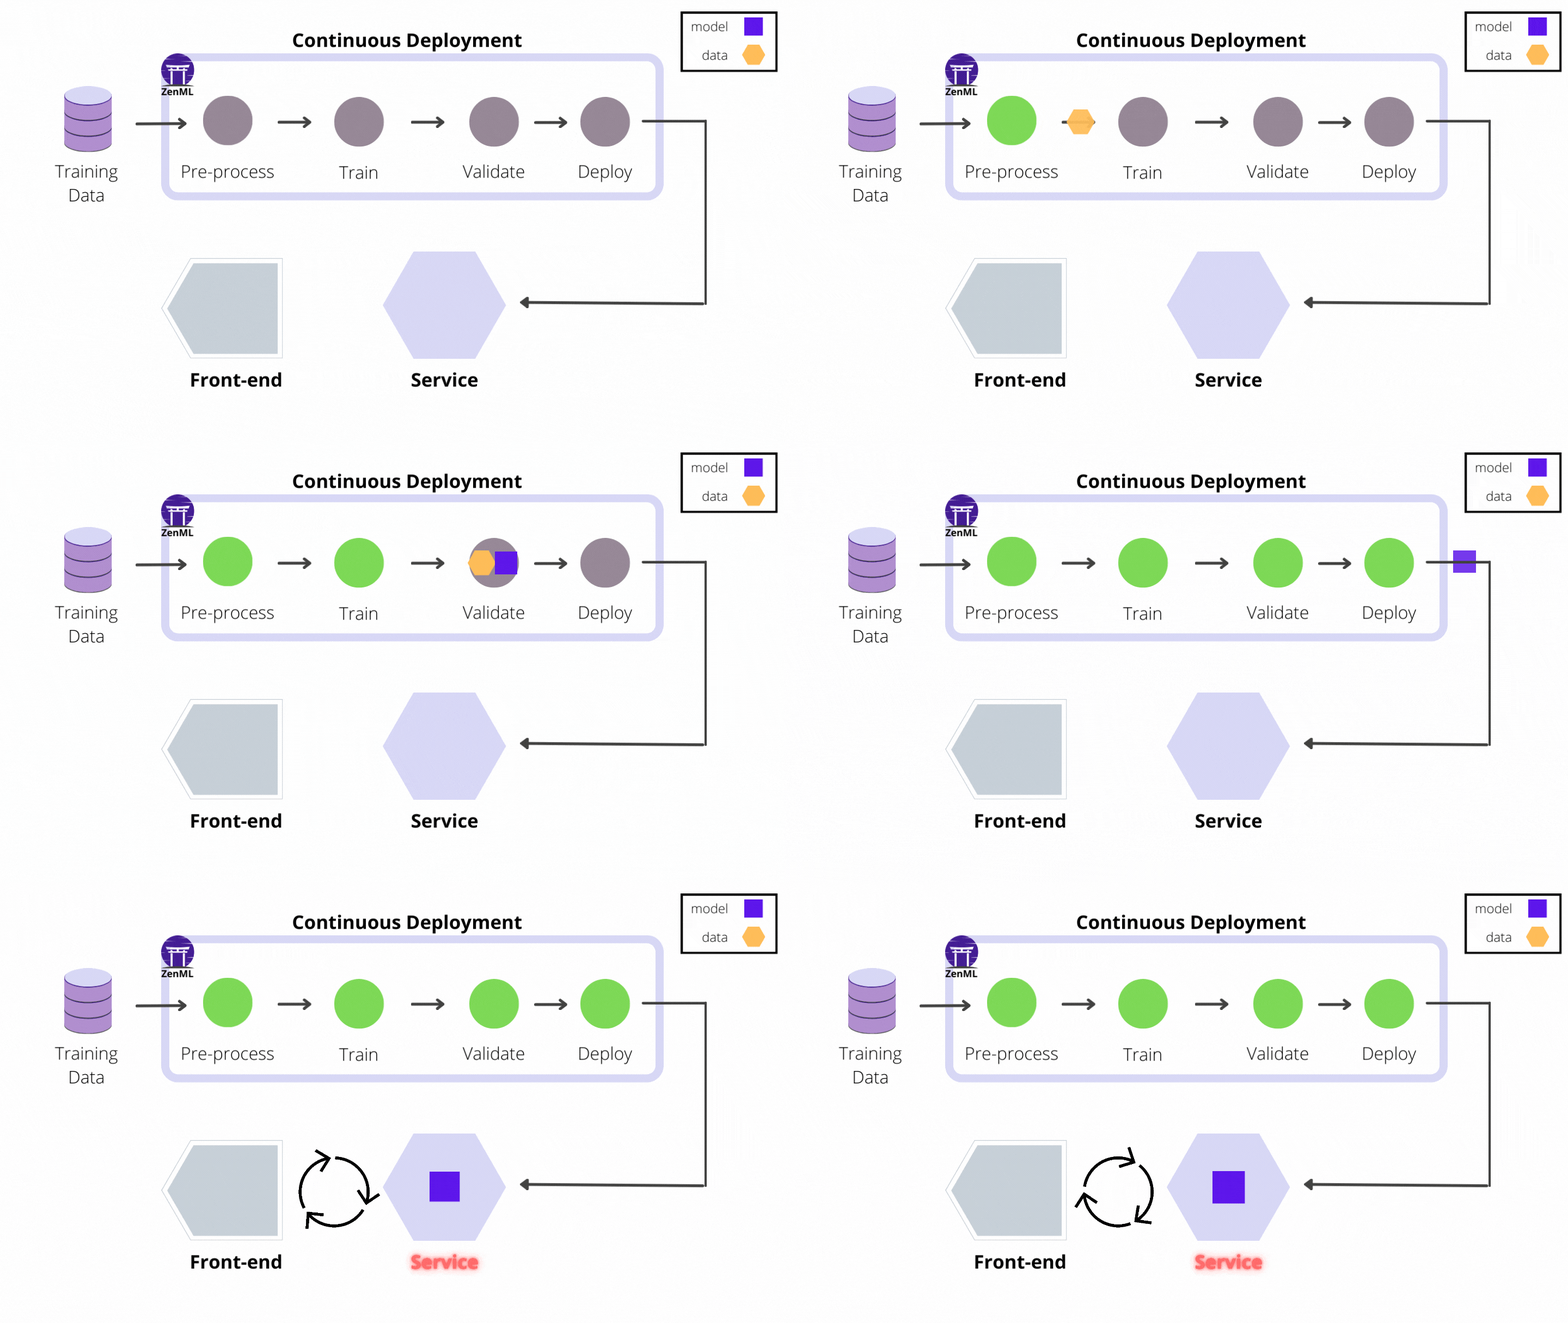
Problem statement: Crafting a personal MLOps project, this initiative tackles the challenge of organizing a machine learning workflow. Focused on the FashionMNIST dataset, the goal is to create a step-by-step process from data handling to deploying a CNN model. The project aims to solve common issues in machine learning projects, like tangled code and tricky deployments. By structuring the project into clear stages, it simplifies the journey from idea to solution. Highlighting the importance of deploying a model, this project aims to showcase the practical impact of machine learning while providing a straightforward template for others diving into this field.
Let's jump into the Python packages you need. Within the Python environment of your choice, run:
git clone https://github.com/Adiii1436/fashionmnist_mlops.git
cd fashionmnist_mlops
pip install -r requirements.txt
ZenML comes bundled with a dashboard. This dashboard allows you to observe your stacks, stack components and pipeline DAGs in a dashboard interface. To access this, you need to launch the ZenML Server and Dashboard locally, but first you must install the optional dependencies for the ZenML server:
pip install zenml["server"]
zenml up
If you are running the run_deployment.py script, you will also need to install some integrations using ZenML:
zenml integration install mlflow -yThe project can only be executed with a ZenML stack that has an MLflow experiment tracker and model deployer as a component. We'll be using Mlflow hosted in the Dagshub Server. You need to configure Dagshub first and link your github repo to Dagshub.
Configuring a new stack with the two components are as follows:
zenml integration install mlflow -y
zenml experiment-tracker register mlflow_experiment_tracker --flavor=mlflow --tracking_uri=<YOUR_TRACKING_URI> --tracking_username=<YOUR_USERNAME> --tracking_password=<YOUR_PASSWORD>
zenml model-deployer register mlflow_deployer --flavor=mlflow
zenml stack register mlflow_stack -a default -o default -d mlflow_deployer -e mlflow_experiment_tracker --setWe're creating a system to analyze the images and predict its correct class. This system doesn't just train a model once; it continuously predicts and updates itself.
Our plan involves building a step-by-step process that can be used on the cloud, adjusting its size based on our needs. This process tracks all the important data and stages of the prediction, from raw data to the final results.
To make this happen, we're using ZenML, a tool that makes building this process easy yet powerful. One key part is the integration with MLflow, which helps us keep track of metrics and parameters and deploy our machine learning model.
Our standard training pipeline consists of several steps:
ingest_data: This step will ingest the data from torchvision library.batch_data: This step will convert datasets into dataloaders.initialize_model: This step will create a custom CNN model.train_model: This step will train and test the model and save the model using MLflow autologging.
We've got another pipeline called deployment_pipeline.py, which builds on the training pipeline. This one handles a continuous deployment process. It takes in and processes input data, trains a model, and then sets up or updates the prediction server that delivers the model's predictions if it passes our evaluation criteria.
Now, to decide if the model is good enough, we've set a rule based on something called CROSS ENTROPY LOSS during training. If the loss meets a certain configurable threshold, we consider it good to go. The first four steps of this pipeline are the same as the training one, but we've added these extra steps to make sure our model is up to snuff before deploying it:
deployment_trigger: The step checks whether the newly trained model meets the criteria set for deployment.model_deployer: This step deploys the model as a service using MLflow (if deployment criteria is met).
You can run two pipelines as follows:
- Training pipeline:
python run_pipeline.py- The continuous deployment pipeline:
python run_deployment.py
