Installs OpenStack Bifrost (standalone version of Ironic module for OpenStack) on Debian (PC client where commands are typed), deploys a new Debian on Baremetal (your server) and installs Proxmox VE on it and is ready to use to host your VMs effortlessly. With this project, everything is covered, from system deployment to Proxmox installation, by the end of scripts executions, your server is ready to use! You'll just have to type the IP address of your freshly installed Proxmox and there you go!
Based on the official documentations at :
- https://docs.openstack.org/bifrost/2023.1/
- https://pve.proxmox.com/wiki/Install_Proxmox_VE_on_Debian_11_Bullseye
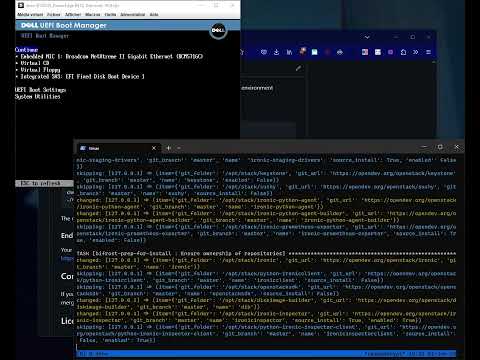
Here is a video showing what this project does (click on the image) :
I wanted to install Proxmox on multiple servers at once in an unattended way.
So I created this simple Ansible Playbook to easily convert my servers without having to do the same actions over and over again.
- Prepare the servers from scratch (upgrade, dist-upgrade, network configuration)
- Add a bridge interface to connect to the physical network
- Add a NAT interface (172.16.0.0/12)
- Set a static IP to main network interface
- Easy to use with a single command:
./run.sh - Probably more I forgot...
- No DHCP on the NAT network, so you'll have to set a static IP on each of your VM (or deploy your own DHCP server), when I have more time, I plan to add it to the playbook by using
dnsmasq
- Create your own
variables.shfile by copying the templatevariables.sh.exampleand follow the instructions - One server ready for Proxmox deployment (disks will be wiped, be sure to backup your data!) (tested on a DELL PowerEdge R410)
- Your SSH public key copied to the server(s) to be able to connect to it without password and allow Ansible playbook to run, example:
ssh-copy-id -i $HOME/.ssh/id_rsa.pub user@myserver - Python library
netaddr(to install it, runpip install netaddr) - Client machine to execute the playbook from and apply on the server(s)
- Python 3 (tested with 3.9.2)
- pip (tested with 20.3.4)
- Ansible (tested with 2.14.5)
- Git
Clone the repository:
git clone https://github.com/AngeIo/proxmox-installer-unattended.git
cd proxmox-installer-unattended
To update the source code to the latest commit, run the following command inside the proxmox-installer-unattended directory:
git pullHere are all the steps you have to follow to make this work:
The first thing you have to do is editing the variables to match with your environment (comments in the files shows what to edit) :
cp variables.sh.example variables.sh
vi variables.sh
Running the playbook is very simple:
chmod 755 ./run.sh
./run.sh
The remote user password will be asked, enter it and wait for the playbook to finish.
Your newly created Proxmox server(s) should be ready to use, connect to https://myserver:8006 on your web browser to access the interface, enjoy!
If you want to contribute to this project, feel free to submit a pull request, I'll be happy to merge it! Everyone is welcome!
This project's code is licensed under The Unlicense. Please see the license file for more information. tl;dr you can do whatever you want with it, it's public domain.