-
Notifications
You must be signed in to change notification settings - Fork 4
Shader Starter Guide
WIP!
Frost Helper adds really cool ways to use shaders, which can be used to really improve the aesthetics of maps.
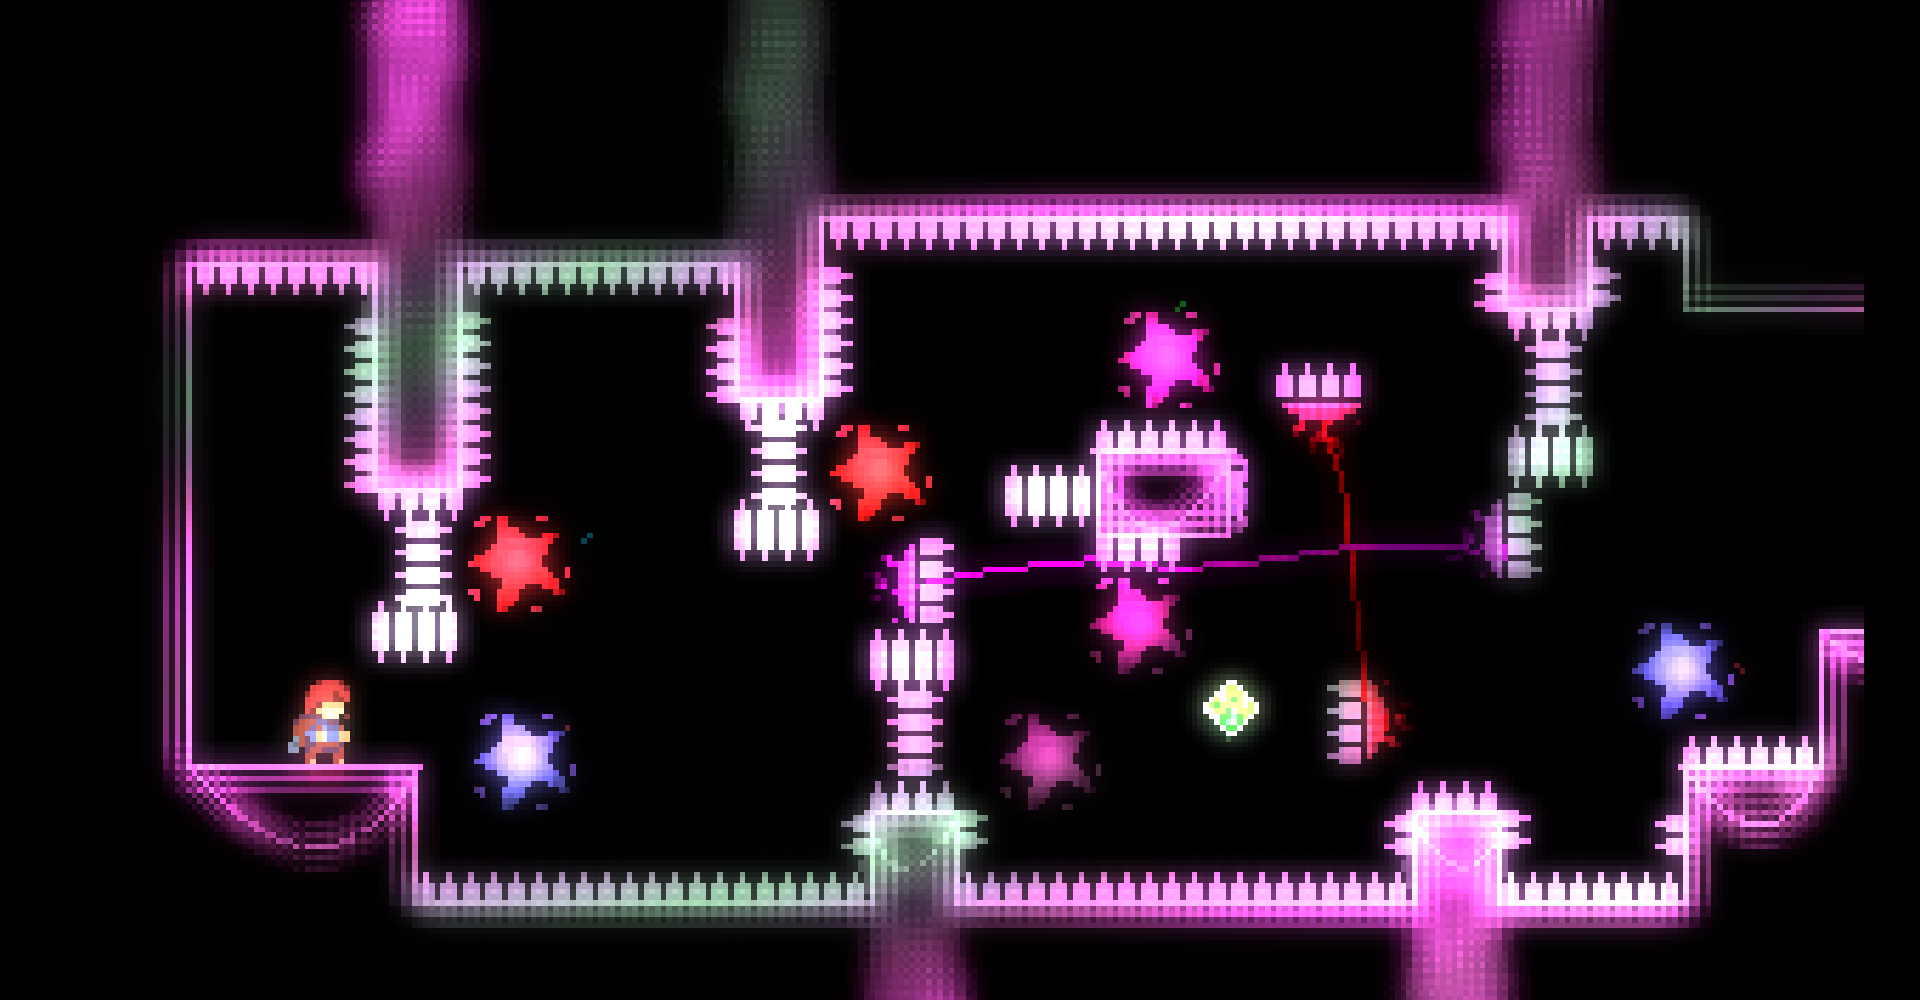
For instance, here's a screenshot from one of my upcoming maps:

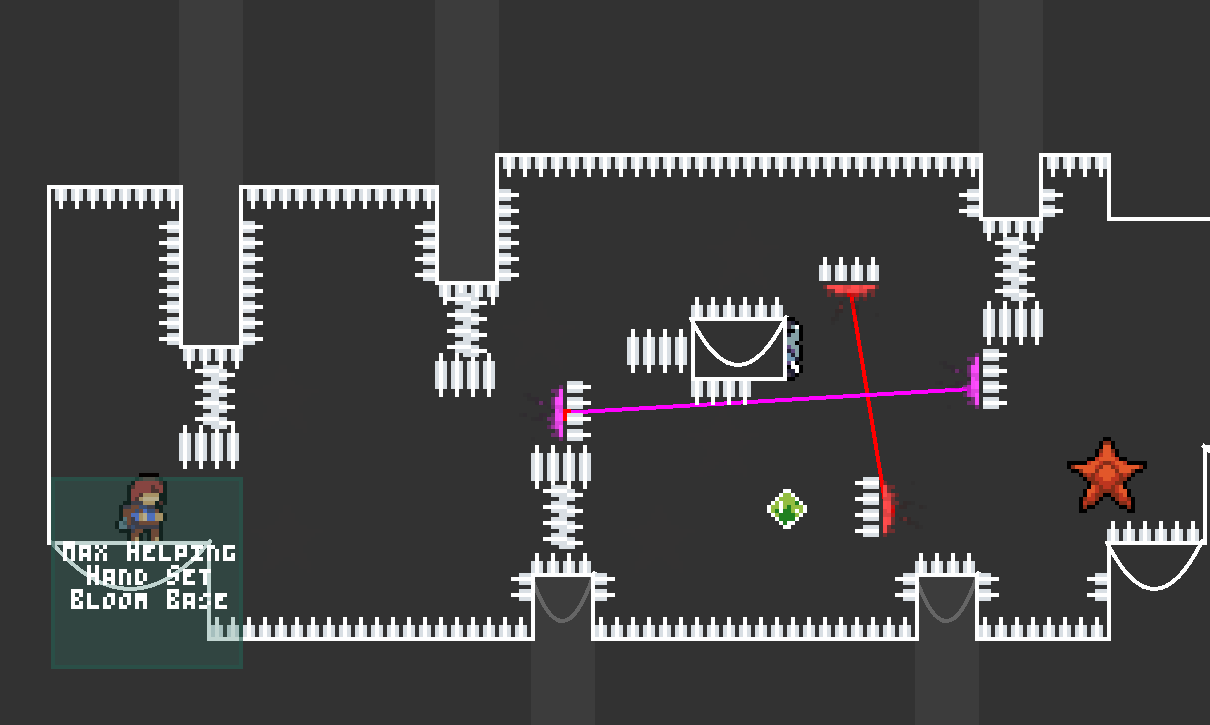
...and here's how it looks in-editor:

- Some coding knowledge (Celeste uses HLSL, which is quite similar to C-like languages syntactically)
- An HLSL compiler that can output .cso files compatible with Celeste. This guide will use my wrapper for XNA's EffectImporter. Other compilers are also available.
- A properly packaged mod with
FrostHelper 1.36.0or newer as a dependency in theeverest.yaml - Lönn
- This guide assumes you use Windows, I'm not sure my compiler works on Linux due to the XNA dependency.
Download the compiler from here and extract the .zip somewhere.
In your mod, create an Effects folder in the same directory as the everest.yaml, and create another subfolder with some unique name (just like you'd do for graphics/maps/etc). In this guide, I'll call it CoolTestMod.
Inside this directory, create a runCompiler.bat file. Open it with any text editor (by using right click -> Edit), and paste the full path to the CelesteShaderCompiler.exe file you downloaded earlier, then save the file. Now you can simply double click the file at any time to open the compiler. Make sure to not publish this file together with your mod. Alternatively, you can simply open the compiler in this directory via the command line.
The compiler works a bit differently than usual - instead of having to run it every time you make a change, it simply stays open and watches for any .fx file changes in the directory it's in. However, it's worth noting that it will not detect when a new file gets created, meaning you will need to re-run the compiler whenever you make a new shader.
To begin, create a new .fx file and open it with your code editor of choice.
NOTE: From my experience, VSCode HLSL extensions are made with a different version of HLSL in mind, and will end up hurting you more than helping.
Inside the file, paste the boilerplate code from here. Most of the time, you'll only need to touch the contents of the SpritePixelShader function.
Let's edit the SpritePixelShader function now to actually change the visuals a bit. This function gets called for each pixel on the screen.
The boilerplate gives you three variables:
-
float2 uv- the uv of the currently handled pixel. Range:[0., 1.] -
float2 worldPos- the position of this pixel in the world, taking into account the camera position. If you want your shader to use positions to alter colors, it's recommended to use this overuvto avoid weirdness during camera scroll. -
float4 color- the original color of the currently handled pixel.
The function has to return a float4, which represents the color this pixel will be.
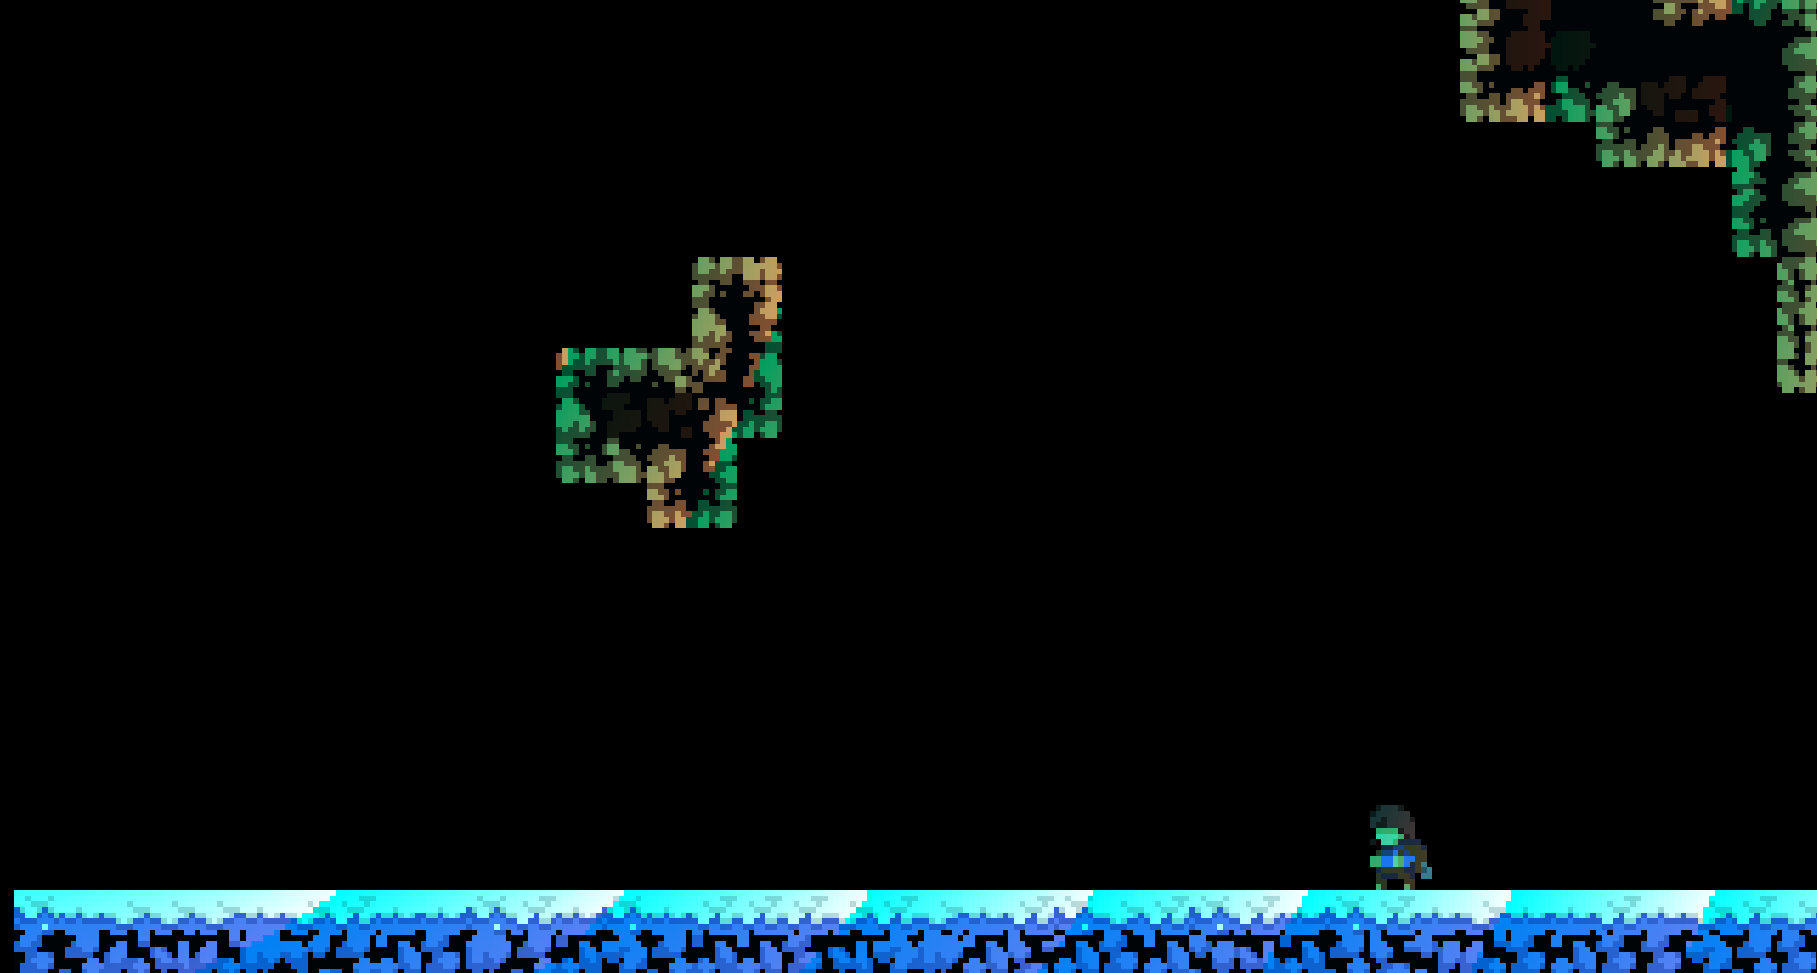
This simple shader inverts all colors. Unlike entity properties, colors in HLSL are 4 floats in the range [0., 1.], which is why doing 1 - color inverts that color.
float4 SpritePixelShader(float2 uv : TEXCOORD0) : COLOR0
{
    float4 color = SAMPLE_TEXTURE(text, uv);

    color.rgb = 1. - color.rgb;

    return color;
}
Save your shader, and as long as the compiler is running, the shader will automatically get compiled to a .cso file in the same directory.
Now, in Lönn, place a Screenwide Shader [Frost Helper] trigger (if this doesn't exist, update Frost Helper). In its properties, you'll see an Effects property. For a shader file placed in [modfolder]/Effects/[subfolder]/[filename].cso, you should put [subfolder]/[filename] inside this property.
As long as the Always On property is enabled on the trigger, the shader will be active as long as you're in the same room, so you can just place it out of bounds if you want.
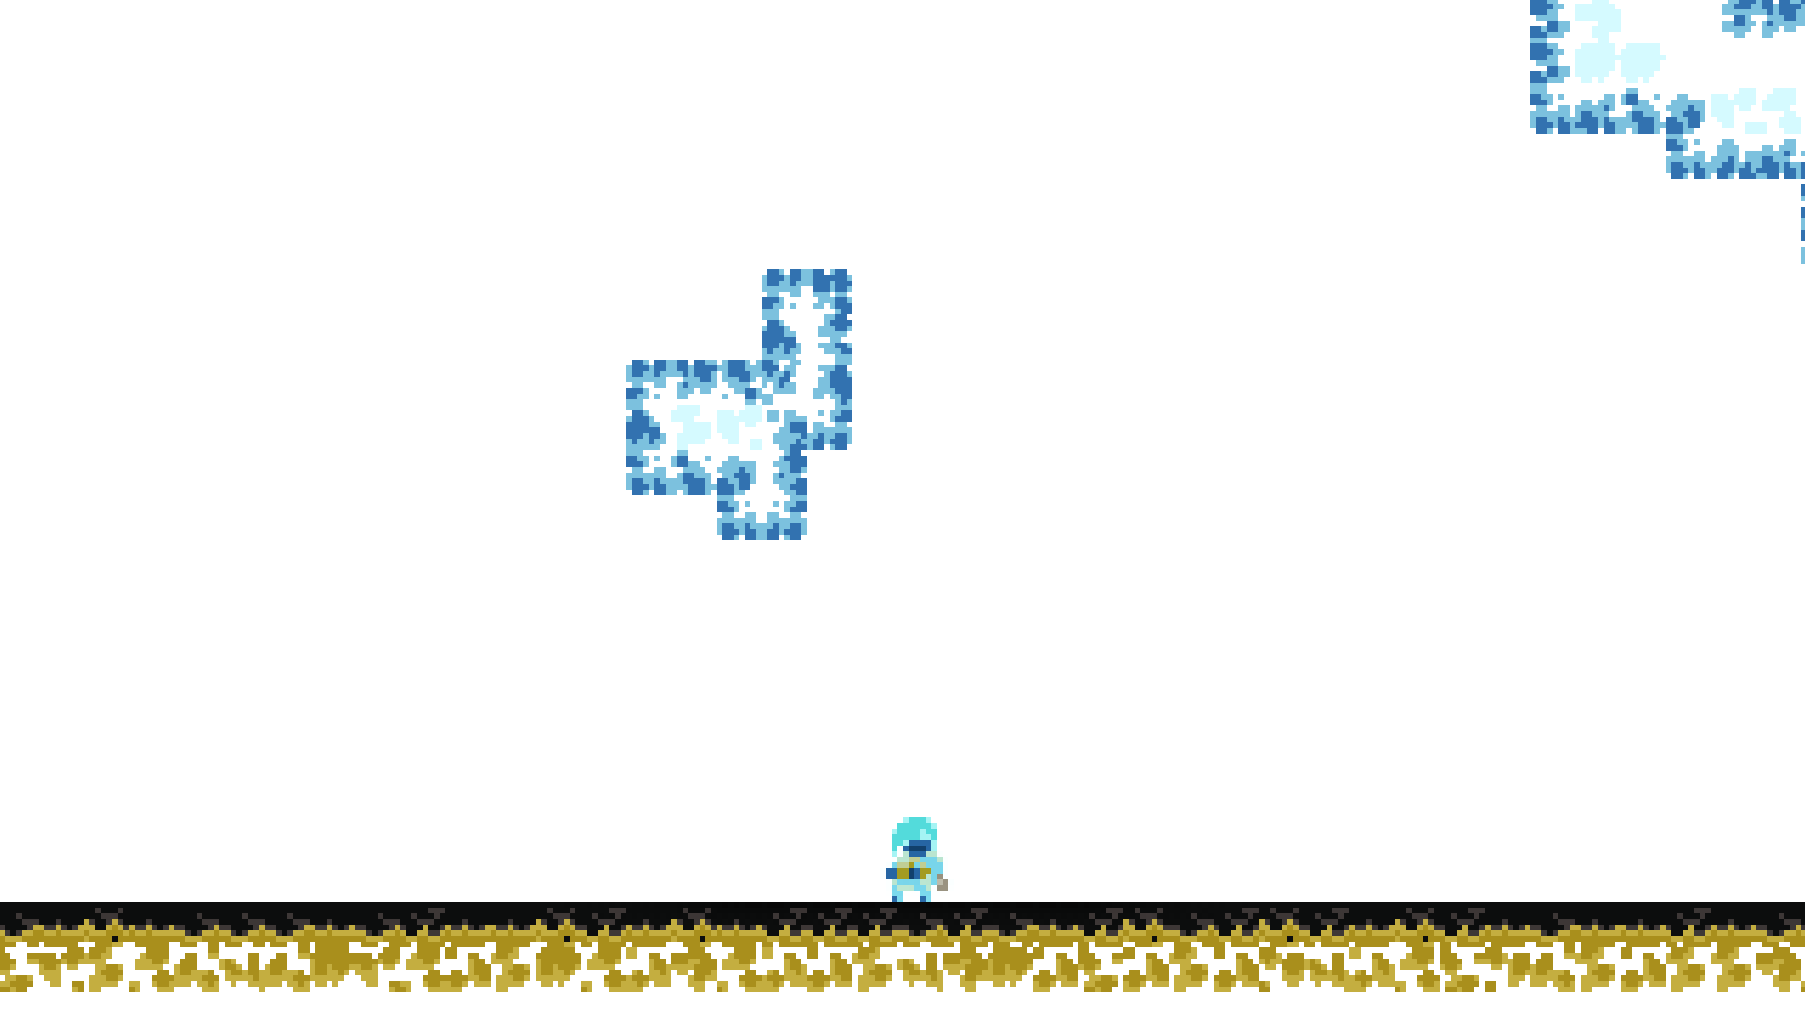
Now save the map, and see how this looks in-game:

Now, feel free to mess around with the shader. Frost Helper will automatically reload shader changes as soon as you save the .fx file (as long as the compiler is still running!). For rapid testing on one monitor, I recommend having celeste on one half of your screen, and the code editor on the other.
Frost Helper gives you access to uniform float Time, which is equivalent to Scene.TimeActive in C#.
This shader introduces a pulsing effect:
float yoyo(float value) {
    return value <= 0.5
        ? value * 2.
        : (1. - (value - 0.5)) * 2.;
}

float4 SpritePixelShader(float2 uv : TEXCOORD0) : COLOR0
{
    float2 worldPos = (uv * Dimensions) + CamPos;
    float4 color = SAMPLE_TEXTURE(text, uv);

    color.rgb += yoyo(Time % 2. / 2) * 0.3 * color.rgb;

    return color;
}The worldPos value calculated in the boilerplate shader can be used to alter the effects of your shader depending on the position of the pixel in a way that doesn't break when the camera starts moving:
float length(float2 pos) {
    return sqrt(pos.x * pos.x + pos.y * pos.y);
}

float4 SpritePixelShader(float2 uv : TEXCOORD0) : COLOR0
{
    float2 worldPos = (uv * Dimensions) + CamPos;
    float4 color = SAMPLE_TEXTURE(text, uv);

    color.r *= length(worldPos) % 32. / 32.;

    return color;
}