An awesome GUI wrapper that injects Reshade in UWP apps and games. It also supports Xbox Game Pass PC and Microsoft Store games. Note: Despite the fact this is unmaintained, all features that worked in development still work.
Just go to the releases page to install Reshade for UWP. It's a portable/bundled exe so there's no setup required whatsoever!
For the new Xbox Game Pass EA Play integration, all you need to do is use Reshade normally. These games are not UWP, and the "EA Play for Game Pass" game entries are just a frontend for the EA Play Desktop program.
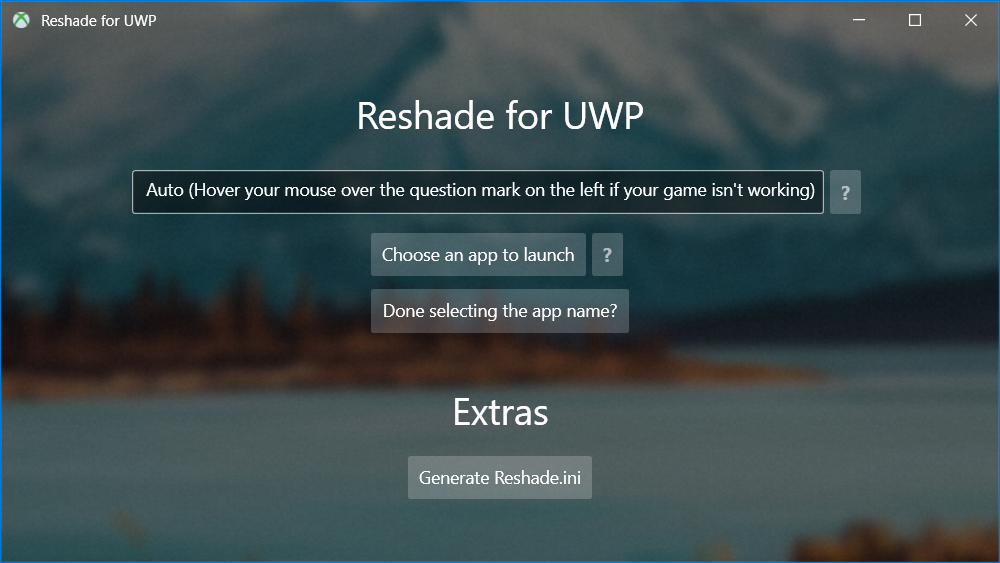
 Image of Reshade for UWP setup that's using the UWP Acrylic effect (despite being a Win32 WPF app)
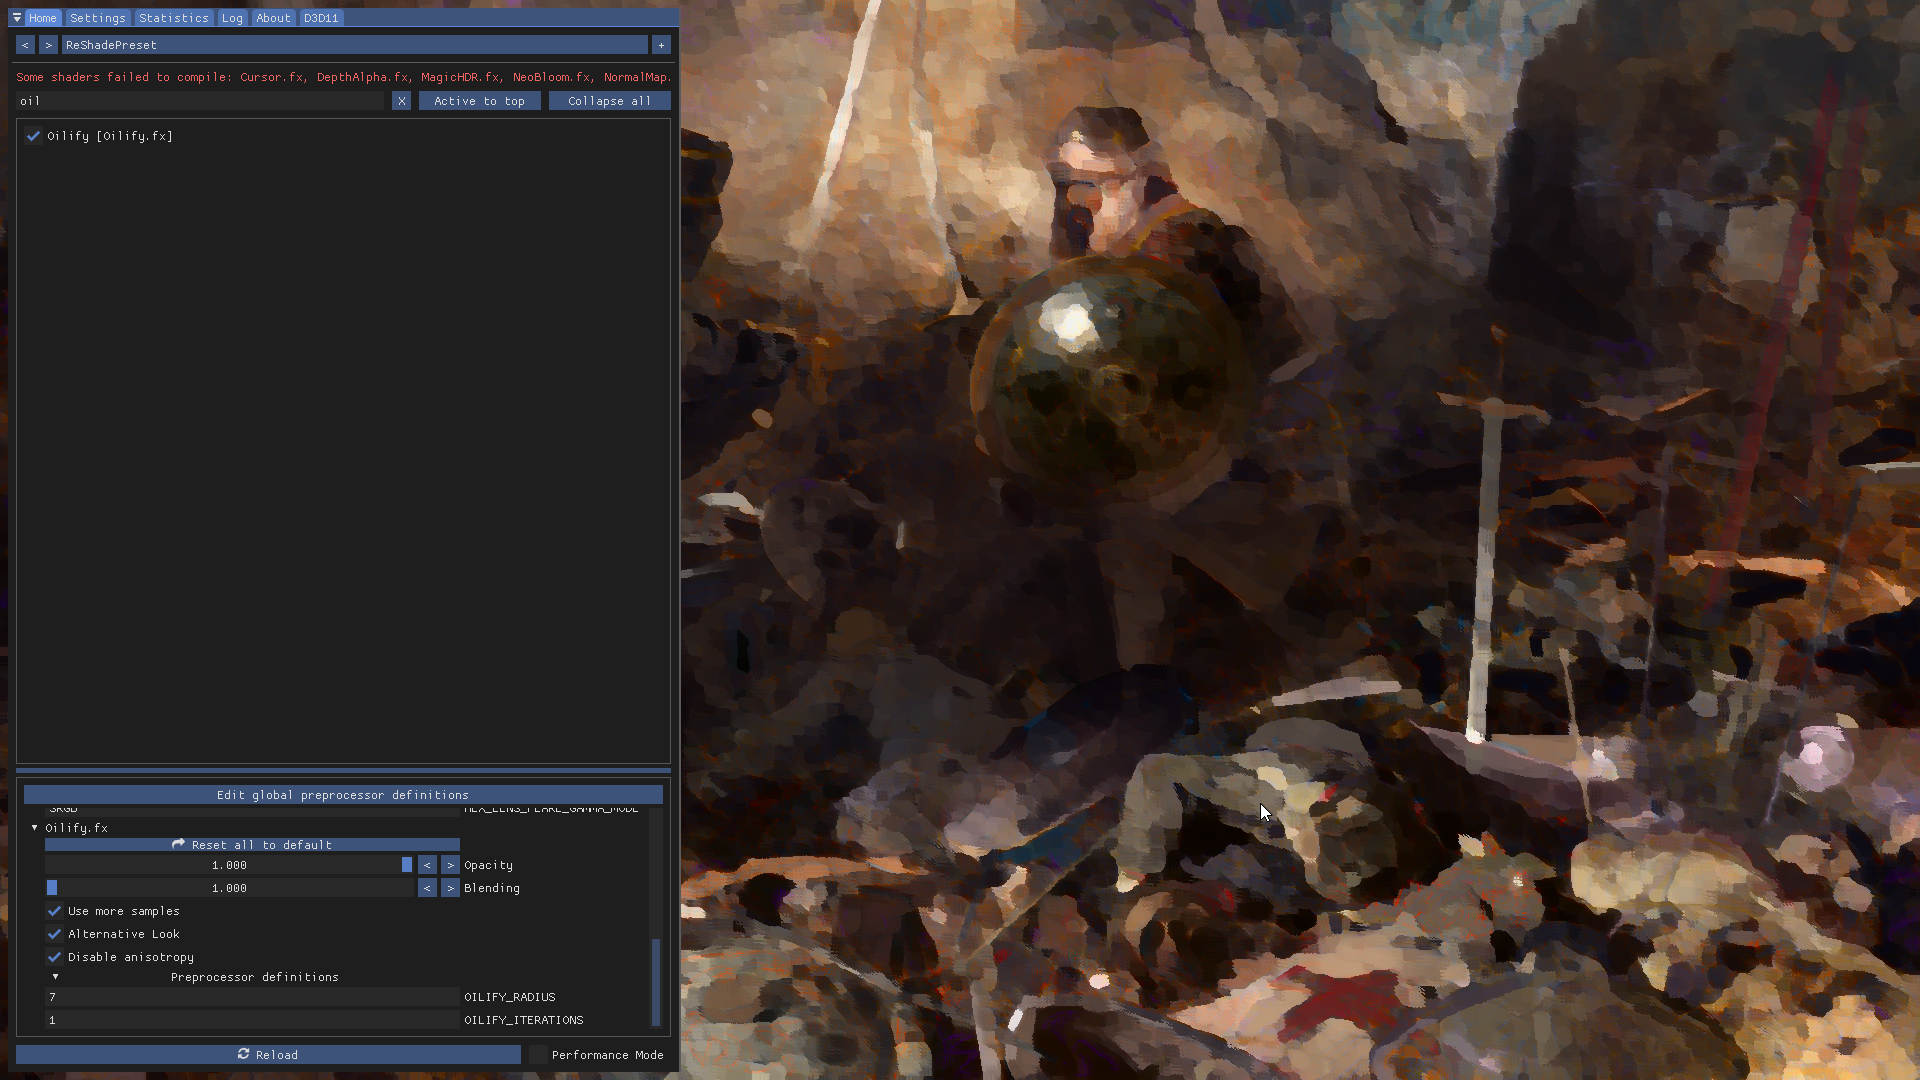
 Image of Reshade's Oilify effect being applied to the Xbox Game Pass PC version of Crusader Kings 3 from the automatic setup of this app
Instructions by this wonderful user for Flight Sim 2020, these should work for any other game:
- Run “ReshadeForUWP” as administrator. Then wait a little and the main window of the “ReshadeForUWP” program will appear. (The window may not appear quickly, that’s okay).
- Click the “Choose a game to launch” button in the program window. A list will open. Find the “Microsoft FlightSimulator: AppName” item in the list. The item should be highlighted in blue when you click on it. Then, click on an empty area of the program window to close the list. (After these actions, the name of the simulator will not appear on the “Choose a game to launch” button. It will look as if you didn’t choose anything. Don’t worry about it.) Now you don’t have to close the “ReshadeForUWP” program until the 6th step of this manual.
- Run the MSFS2020 in the usual way without administrator rights while “ReshadeForUWP” working in the background. Wait until the simulator is fully launched (for the main menu to appear). Now the simulator cannot be closed until the 7th step of this manual.
- Switch to the “ReshadeForUWP” window with using the “Alt + Tab” key combination while MSFS2020 working in the background. Click the “Launch your game from the start menu and then press this button” in the program window. Select the “Microsoft Flight Simulator - 1.17.3.0: FlightSimulator.exe” item in the list that opens. (The numbers in the item may differ as it indicate the current version of the simulator.) The item will turn blue. Click the “Done filling out everything” button that is in the same list. After that, a window will appear to save the “bat” file. (You will run the simulator from this “bat” file after completing all the steps.) Save this file to your Desktop. Then, you will return to the main window of the “ReshadeForUWP” program.
- Click the “Generate Reshade.ini” button. Wait a little. The program automatically downloads and installs ReShade along with the shader packs at this moment. A small message “Done!” will appear when the installation is complete.
- Now close the “ReshadeForUWP” program.
- Return to the MSFS2020 window using the “Alt+Tab” keyboard shortcut, and then close the simulator in the usual way.
- Wait a little and then restart your computer.
- Run the “bat” file on the Desktop with a regular double-click without administrator rights. Important! You will only need to run the simulator this way once. Watch to see if the ReShade appears during the MSFS2020 launch. (In particular, watch to see horizontal bar of ReShade’s interface during the simulator launch.) Press the Home button when the simulator is fully loaded. Then the ReShade window should appear. Click “Skip tutorial” in it and click “Home” again to close the ReShade window. Then, exit the simulator in the usual way. (Also, just exit the MSFS2020 in the usual way, even if ReShade doesn’t appear during this run of the simulator at all.)
- Wait a little and then restart your computer.
- Run the “bat” file on your Desktop as administrator. Run the “bat” file with administrator rights is very important to correct work of the ReShade! Now you will need to do this every time to run the simulator.
- You might have some trouble getting this to work on games that are not on Steam due to the different, weird game engines that games like Minecraft Windows 10 Edition and Forza Horizon 4 may have.
Flight Sim 2020, Forza games, and Minecraft Windows 10 Edition (Dungeons will work because it's using Unreal Engine 4) are known not to work due to this.
- Depth buffer isn't tested yet. It's for-sure what I'm going to test next after I get some games downloaded to test.
- You tell me in the Github Issues tab!
Naturally, because Reshade is awesome (and open source!), and given the fact I love the MIT License, that's what I set it to. Just be aware of the work that was put into the making of this project and basic human ethics.


