-
Notifications
You must be signed in to change notification settings - Fork 5
How To Calibrate Your Valkyrie
- Before calibrating Valkyrie's joints you must have the Valkyrie software
- You must be using the source installation of val_description on the robot, otherwise the updated joint offsets will be lost the next time you update your debian install of val_description and you will need to redo the calibration process
- You must have logic power on and the actuator coefficients loaded. See [this page](Booting Up Valkyrie) for instructions on how to do this. Make sure to leave the mission control GUI up, you will need it.
- M2-M6 hex drivers. This will cover pretty much all bolts on the robot
- Magnet. Optional but can help prevent screws from falling into hard-to-reach places
- Extreme patience
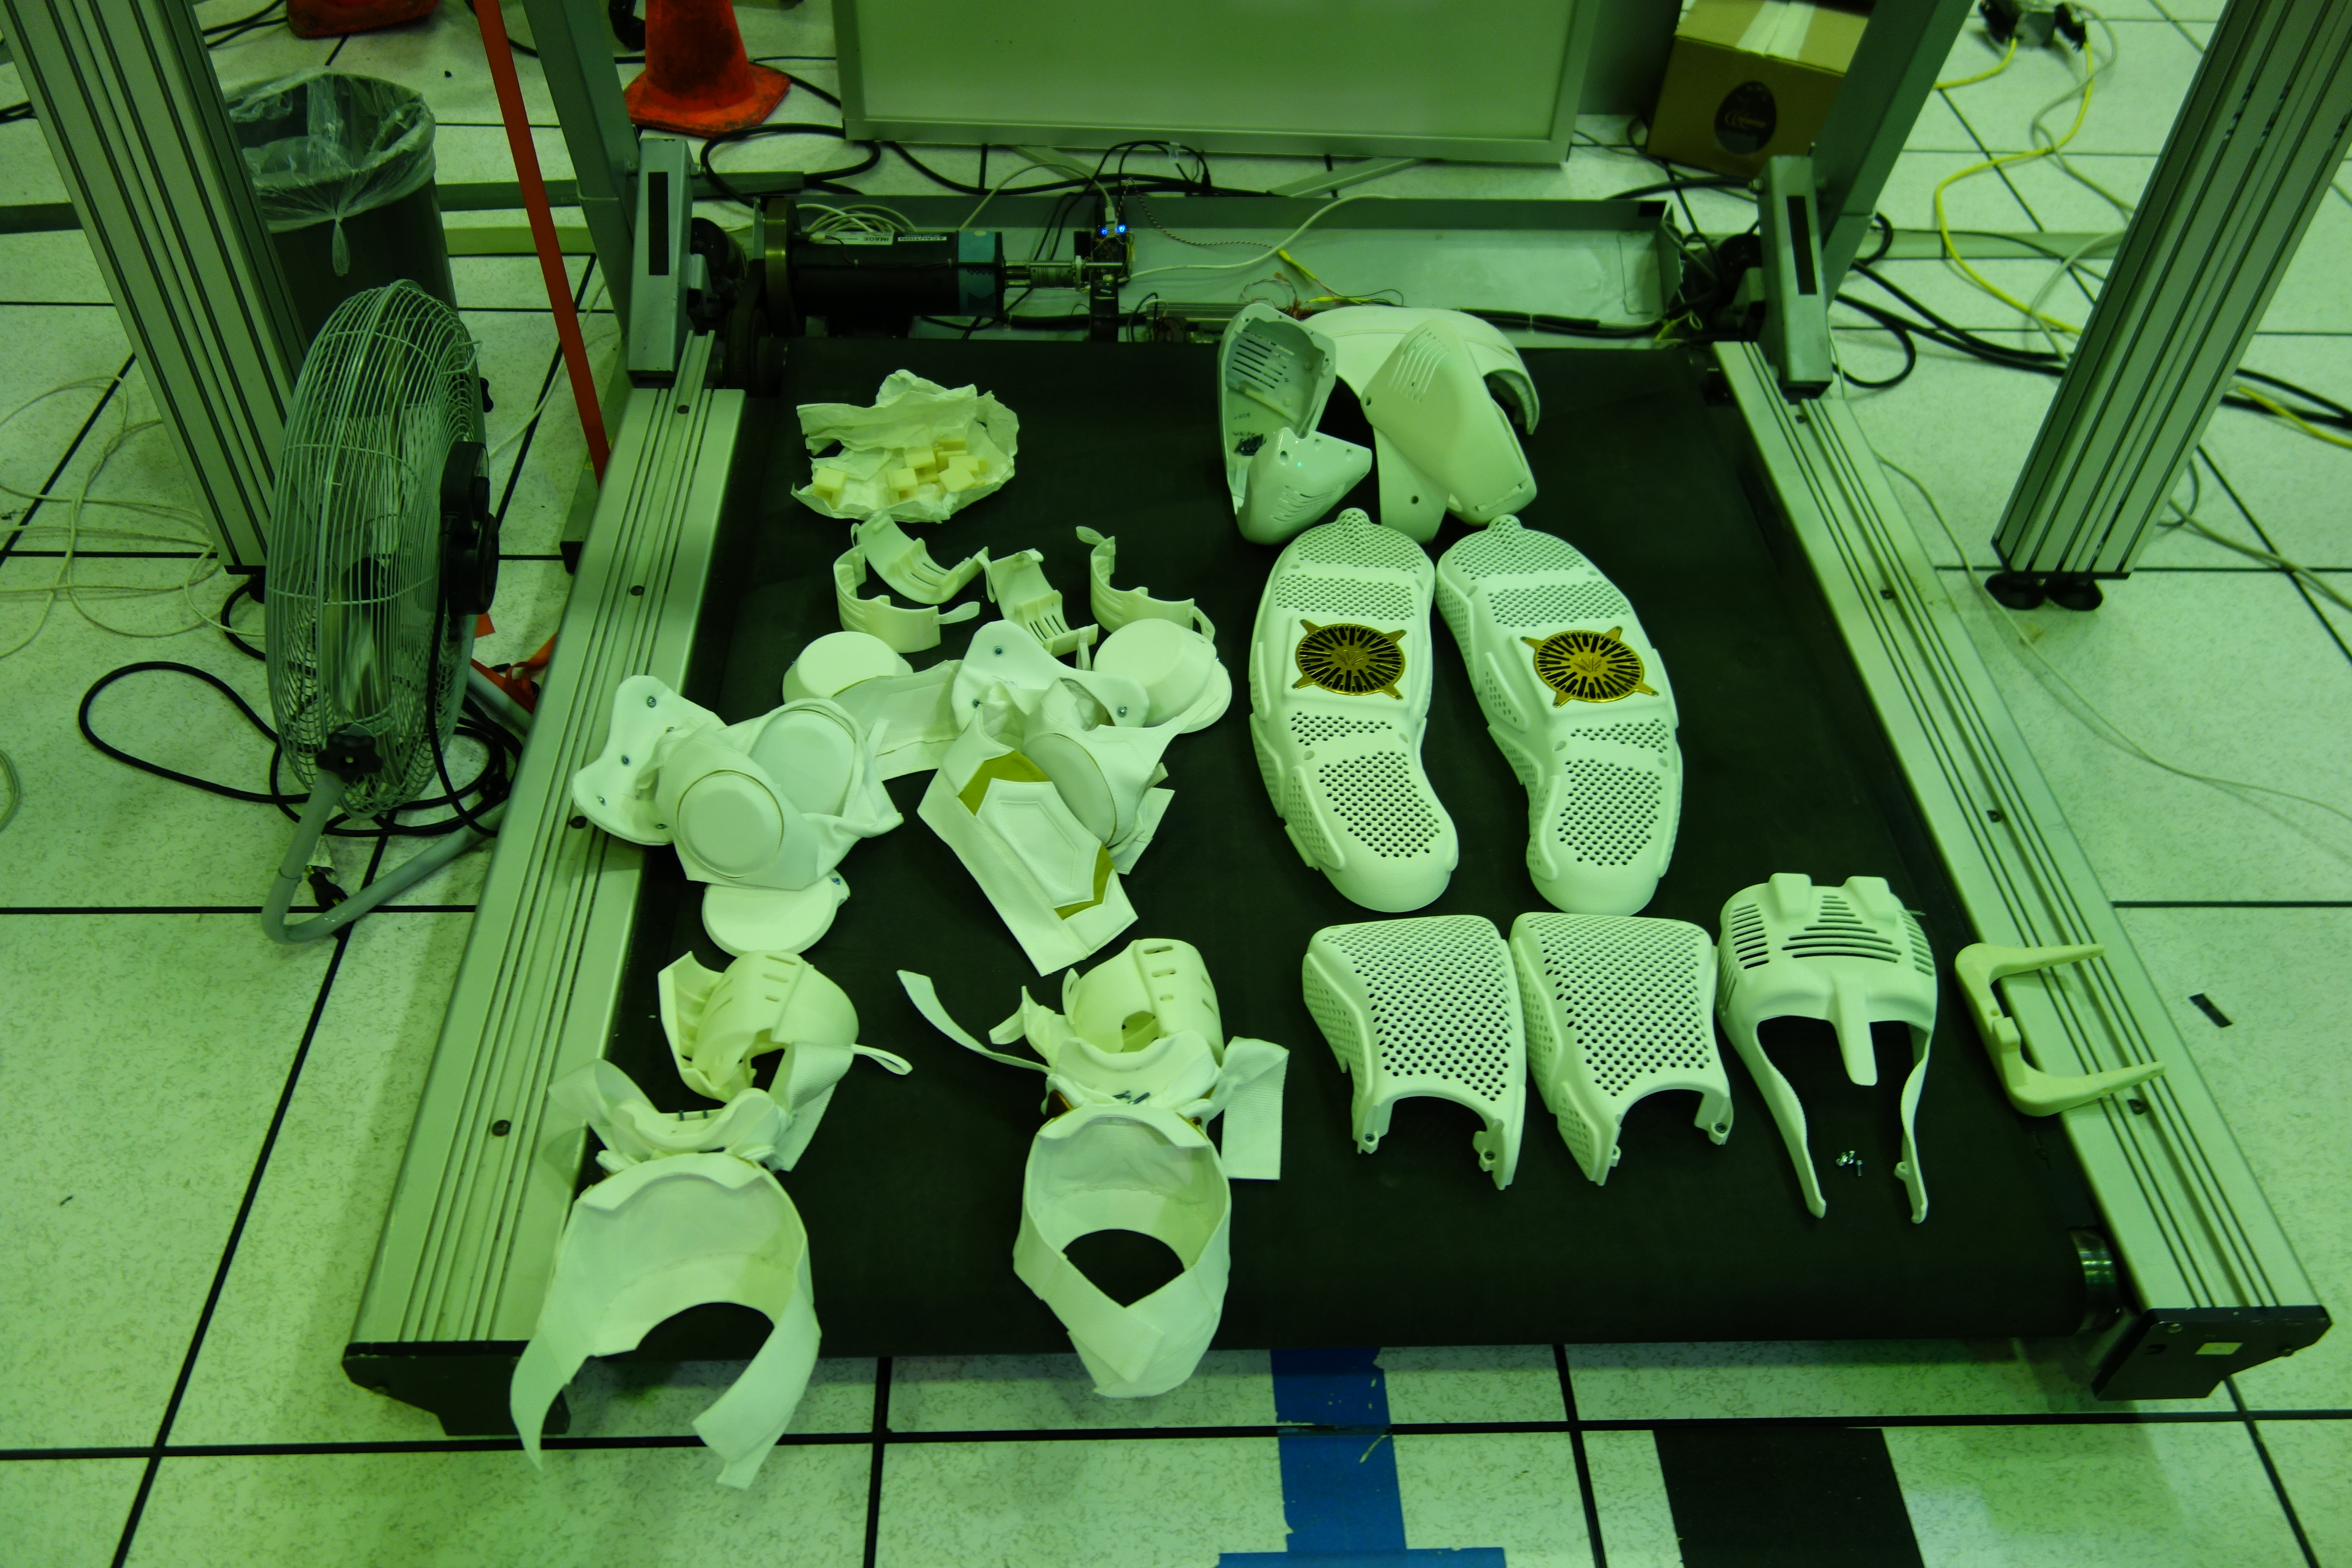
You will first need to remove the soft goods surrounding the joint(s) you are calibrating. Put back soft goods after you are done calibrating each joint. It's easy to lose bolts or damage soft goods if you don't put things back when you are done with them.

The videos below show how to position each joint for calibration. Before calibrating any one joint, be sure to first check that moving the joint in the positive direction results in an increasing joint position value as reflected by the joint encoder. The joint position value for each joint is reflected on the calibration GUI which can be opened from your ui_builder main window by clicking file->add tab(s)(config file), and navigating to the robot_calibration_val_X.uic where 'X' is the letter corresponding to the robot you are calibrating. You should then see the following window appear,

From here, the general workflow while calibrating should look similar to the following:
-
Choose any joint you wish to calibrate
-
Verify moving the joint in the positive direction results in positive motion as reflected by the joint angle on the user interface. If it is backwards, click the 'Flip Joint Direction' button corresponding to the joint you are working with.
-
Install the calibration fixture for the joint you are installing, or move the joint to it's hard stop if you are calibrating a joint that does not use a fixture.
-
Click the 'Calibrate Joint' button corresponding to the joint you are calibrating. Hitting this button will kick off a few processes that, after they finish, should result in the joint's position value being updated to the calibrated value. Note that the calibrated value is not necessarily zero.
-
After calibrating your robot, don't forget to create a fork of val_description and put in a pull request to the NASA val_description repo, otherwise your changes will likely get wiped away!
NASA Johnson Space Center - Valkyrie Team
Contact Us
Top of the Page
