It is recommended to use an IDE (CLion, Visual Studio, ...) but everything can be done without as well
To use the Framework using Visual Studio or CLion you can follow this video.
Requirements:
- git
- cmake
- make for windows
- compiler and cmake generator i.e. MinGW-w64
Note: One way to install MinGW 64:
- install MSYS2
- open the newly installed MSYS2 Shell
- install MinGW 64 using the MSYS2 Shell
pacman -S mingw-w64-x86_64-gcc
- add the folder MSYS2_root/mingw64/bin (i.e. C:\msys64\mingw64\bin) to your PATH environment variable
You can also follow this tutorial to install MinGW 64.
Step 0: open the windows console (cmd) and go into the folder where the project files should be saved
Step 1: clone the repository
git clone --recursive https://github.com/Realtime-Rendering-II/Lab_1.git
Note: this will copy the necessary project files into the current directory.
Step 2: create a build folder in the project folder
cd Lab_1
mkdir build
Step 3: open cmake-gui:
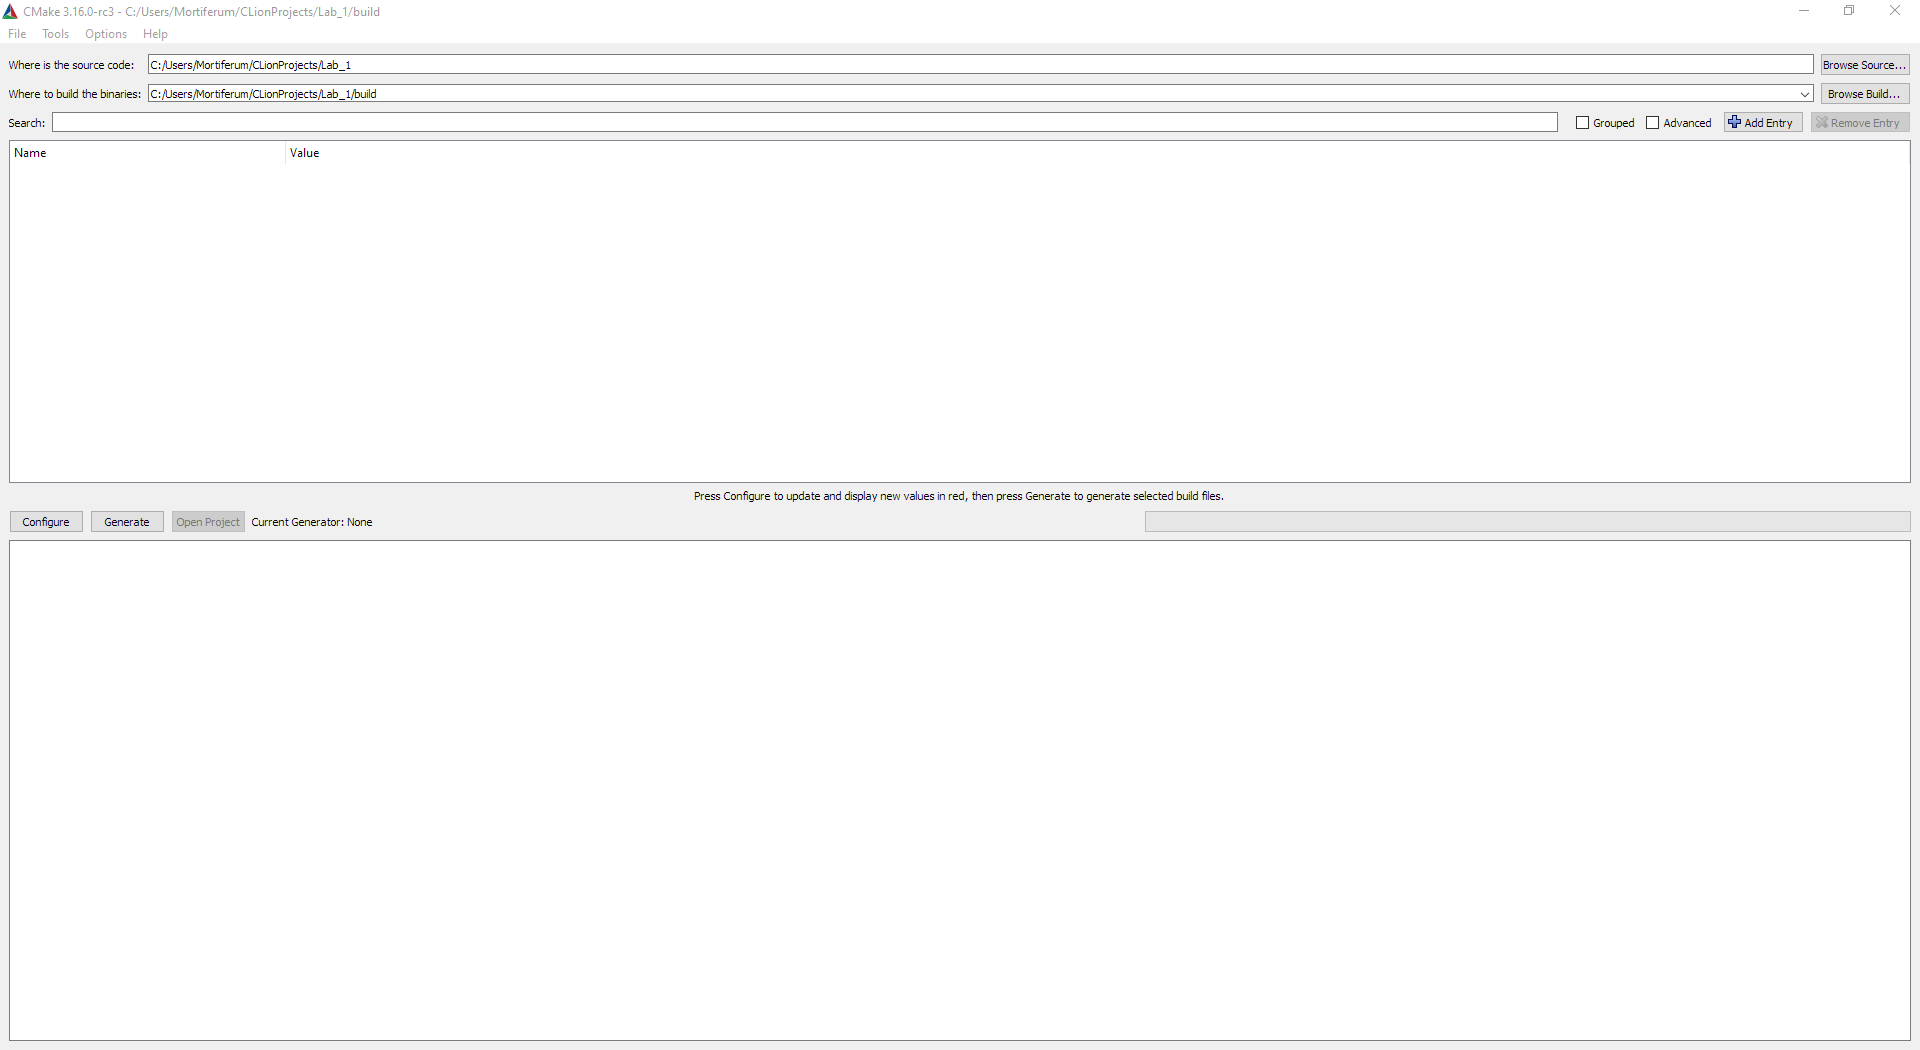
select the source (C:\..\Lab_1) and build folder (C:\..\Lab_1\build)
click "generate" and select the cmake generator
(in this case MinGW Makefiles is chosen)
Note: make sure the environment variable for the generator is set
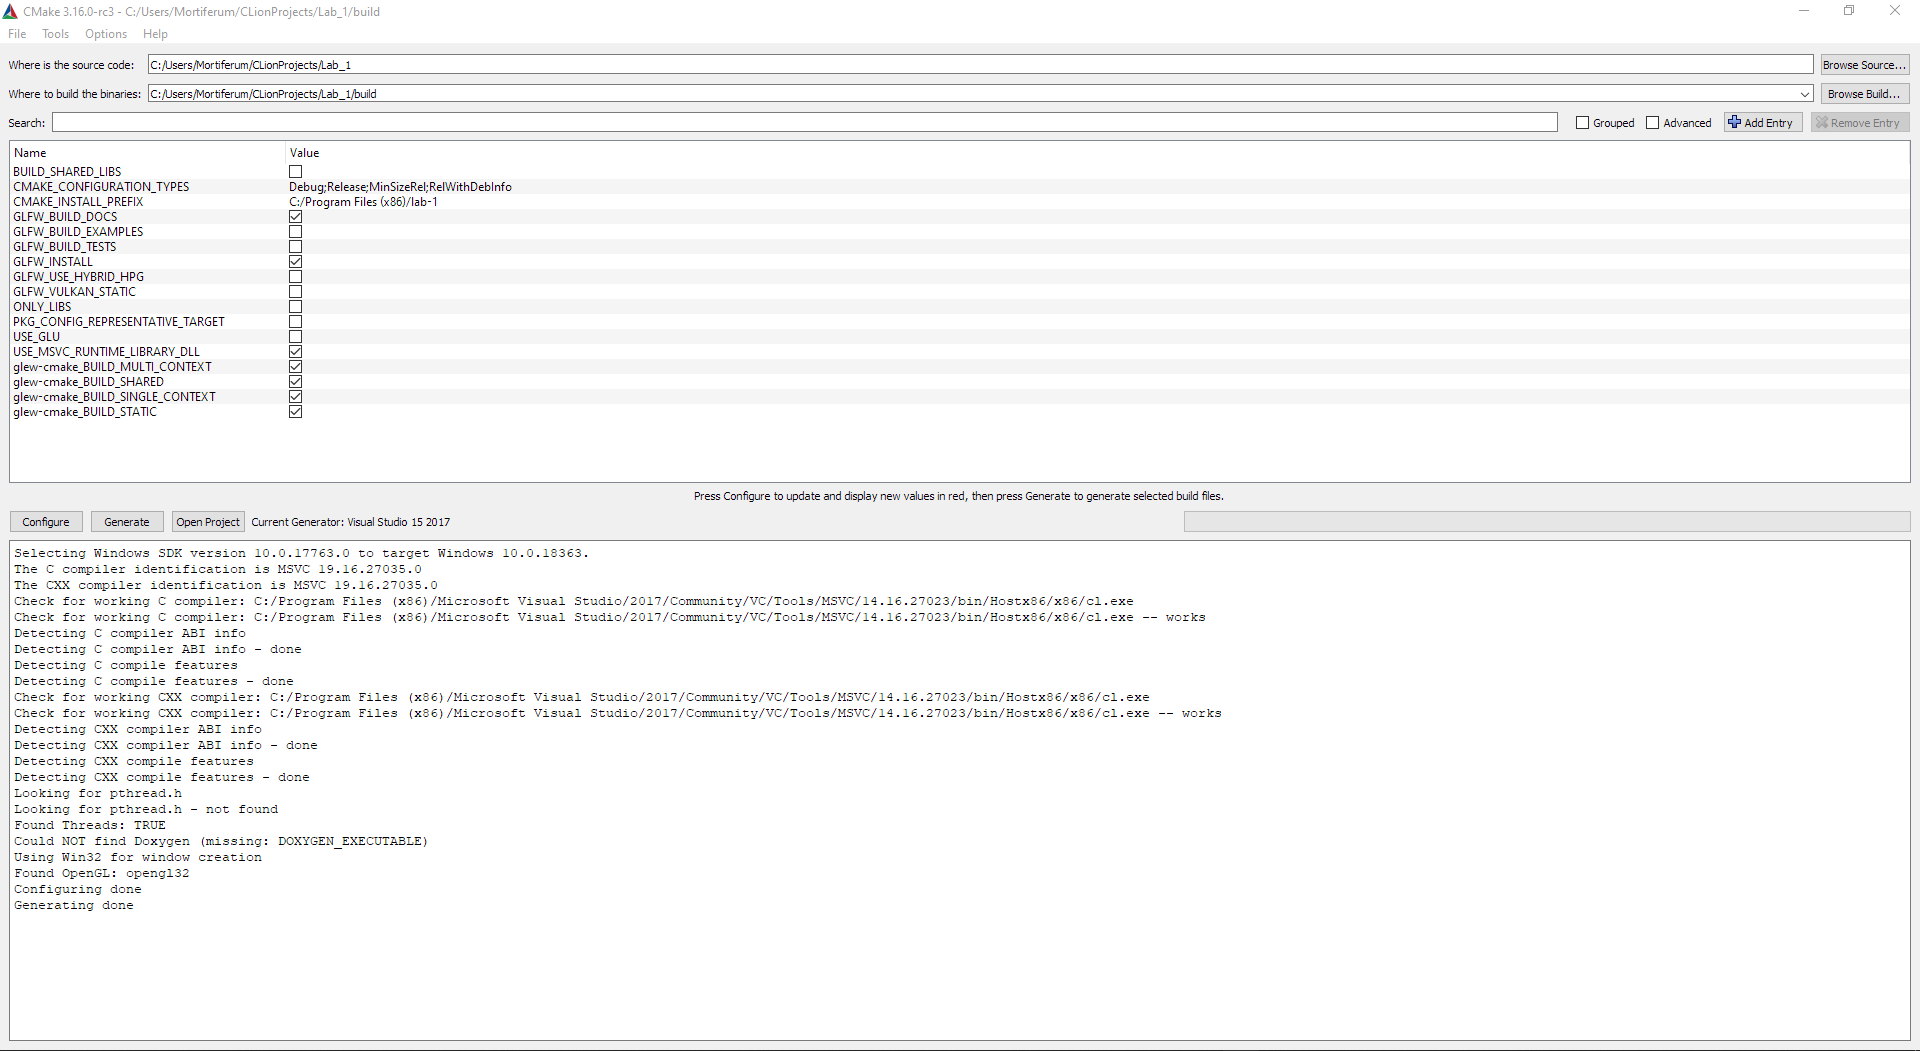
If the generation was successful it should look like this:
Step4: go into the build folder and make the project
cd build
make
If the make command was executed successfully it should look like this:

Step 5: execute the application:
.\main.exe
Note: If your project is build in a different folder you have to take care of the shader-paths
It is recommended to use an IDE (CLion, Visual Studio, ...) but everything can be done without as well
Step 0: open a terminal
Step 1: install dependencies
sudo apt-get update
sudo apt-get install git cmake libxrandr-dev libxinerama-dev libxcursor-dev libxi-dev libglu1-mesa-dev
Step 2: clone the repository
git clone --recursive https://github.com/Realtime-Rendering-II/Lab_1.git
Step 3: create a build folder in the project folder
cd Lab_1
mkdir build
Step 4: inside the build folder generate the cmake project
cd build
cmake ..
Step 5: make the project and execute the application
make
./main
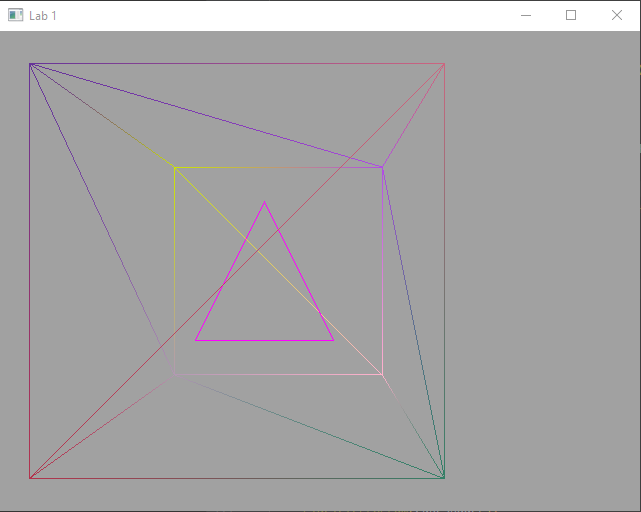
Wireframe-mode: If the Key 1 is pressed the program switches between the wireframe and the normal rendering mode.
This might help you to verify if the model is defined correctly.
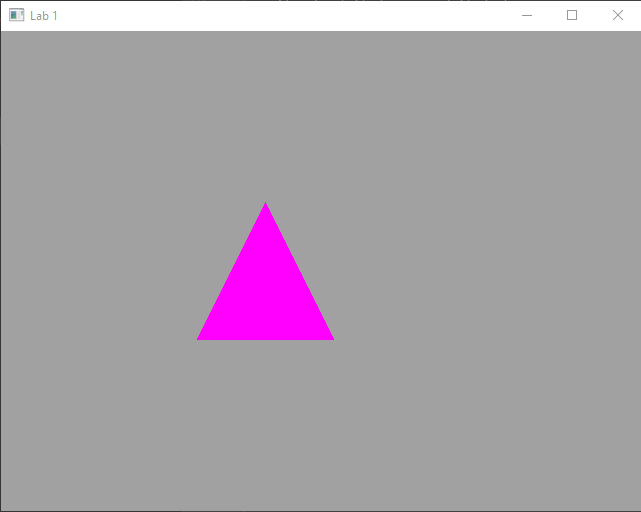
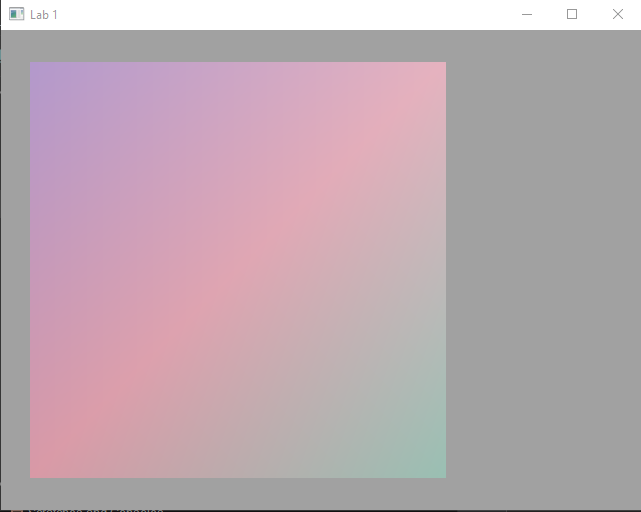
First execution: if the framework is executed for the first time it should look like this:
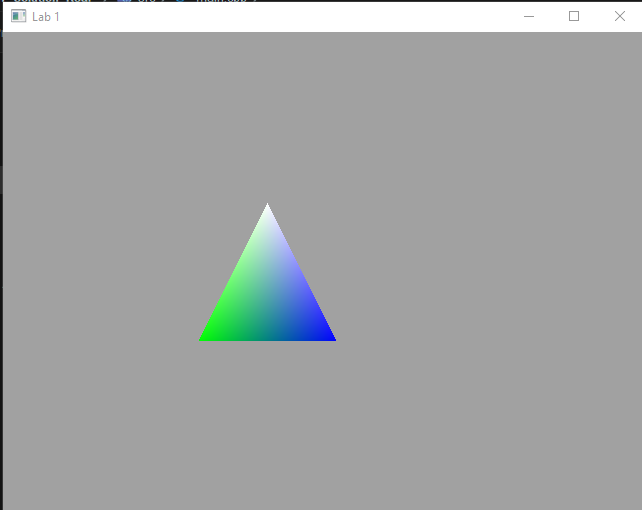
Final result: the final results should look like this:
colored triangle:
colored cube:
with wireframe activated:
with rotation activated:
