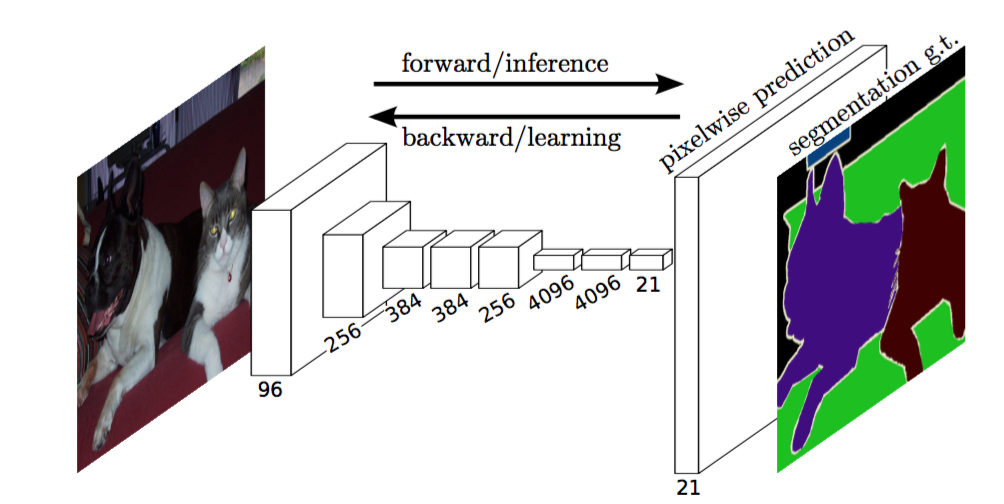
Implementation of various Deep Image Segmentation models in keras.
- Attention based Language Translation in Keras
- Ladder Network in Keras model achives 98% test accuracy on MNIST with just 100 labeled examples
Following models are supported:
| model_name | Base Model | Segmentation Model |
|---|---|---|
| fcn_8 | Vanilla CNN | FCN8 |
| fcn_32 | Vanilla CNN | FCN8 |
| fcn_8_vgg | VGG 16 | FCN8 |
| fcn_32_vgg | VGG 16 | FCN32 |
| fcn_8_resnet50 | Resnet-50 | FCN32 |
| fcn_32_resnet50 | Resnet-50 | FCN32 |
| fcn_8_mobilenet | MobileNet | FCN32 |
| fcn_32_mobilenet | MobileNet | FCN32 |
| pspnet | Vanilla CNN | PSPNet |
| vgg_pspnet | VGG 16 | PSPNet |
| resnet50_pspnet | Resnet-50 | PSPNet |
| unet_mini | Vanilla Mini CNN | U-Net |
| unet | Vanilla CNN | U-Net |
| vgg_unet | VGG 16 | U-Net |
| resnet50_unet | Resnet-50 | U-Net |
| mobilenet_unet | MobileNet | U-Net |
| segnet | Vanilla CNN | Segnet |
| vgg_segnet | VGG 16 | Segnet |
| resnet50_segnet | Resnet-50 | Segnet |
| mobilenet_segnet | MobileNet | Segnet |
- Keras 2.0
- opencv for python
- Theano / Tensorflow / CNTK
sudo apt-get install python-opencv
sudo pip install --upgrade kerasInstall the module
git clone https://github.com/divamgupta/image-segmentation-keras
python setup.py install
pip install will be available soon!
import keras_segmentation

model = keras_segmentation.pretrained.resnet_pspnet_VOC12_v0_1() # load the pretrained model

out = model.predict_segmentation(
    inp="voc_prepped/images_prepped_test/2007_000738.jpg",
    out_fname="out.png"
)You need to make two folders
- Images Folder - For all the training images
- Annotations Folder - For the corresponding ground truth segmentation images
The filenames of the annotation images should be same as the filenames of the RGB images.
The size of the annotation image for the corresponding RGB image should be same.
For each pixel in the RGB image, the class label of that pixel in the annotation image would be the value of the blue pixel.
Example code to generate annotation images :
import cv2
import numpy as np

ann_img = np.zeros((30,30,3)).astype('uint8')
ann_img[ 3 , 4 ] = 1 # this would set the label of pixel 3,4 as 1

cv2.imwrite( "ann_1.png" ,ann_img )
Only use bmp or png format for the annotation images.
Download and extract the following:
https://drive.google.com/file/d/0B0d9ZiqAgFkiOHR1NTJhWVJMNEU/view?usp=sharing
You will get a folder named dataset1/
You can import keras_segmentation in your python script and use the API
import keras_segmentation

model = keras_segmentation.models.unet.vgg_unet(n_classes=51 ,  input_height=416, input_width=608  )

model.train(
    train_images =  "dataset1/images_prepped_train/",
    train_annotations = "dataset1/annotations_prepped_train/",
    checkpoints_path = "/tmp/vgg_unet_1" , epochs=5
)

out = model.predict_segmentation(
    inp="dataset1/images_prepped_test/0016E5_07965.png",
    out_fname="/tmp/out.png"
)


import matplotlib.pyplot as plt
plt.imshow(out)You can also use the tool just using command line
You can also visualize your prepared annotations for verification of the prepared data.
python -m keras_segmentation verify_dataset \
 --images_path="dataset1/images_prepped_train/" \
 --segs_path="dataset1/annotations_prepped_train/"  \
 --n_classes=50
python -m keras_segmentation visualize_dataset \
--images_path="dataset1/images_prepped_train/" \
--segs_path="dataset1/annotations_prepped_train/" \
--n_classes=50To train the model run the following command:
python -m keras_segmentation train \
 --checkpoints_path="path_to_checkpoints" \
 --train_images="dataset1/images_prepped_train/" \
 --train_annotations="dataset1/annotations_prepped_train/" \
 --val_images="dataset1/images_prepped_test/" \
 --val_annotations="dataset1/annotations_prepped_test/" \
 --n_classes=50 \
 --input_height=320 \
 --input_width=640 \
 --model_name="vgg_unet"
Choose model_name from the table above
To get the predictions of a trained model
python -m keras_segmentation predict \
 --checkpoints_path="path_to_checkpoints" \
 --input_path="dataset1/images_prepped_test/" \
 --output_path="path_to_predictions"
