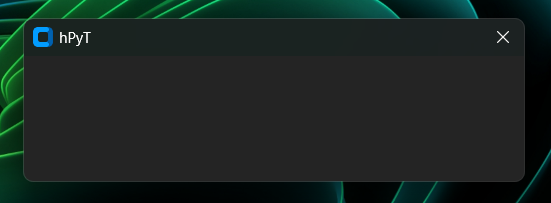
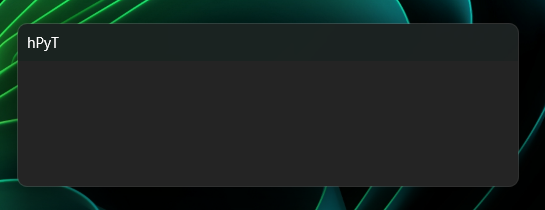
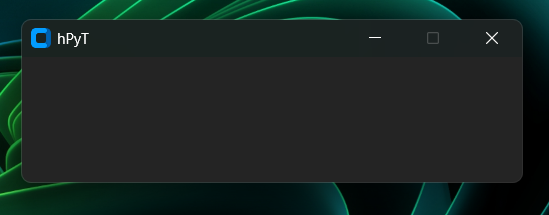
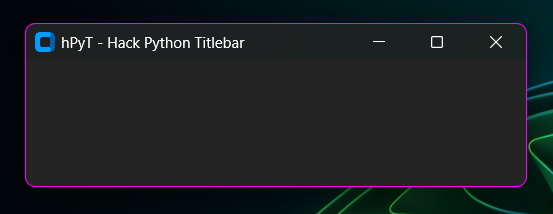
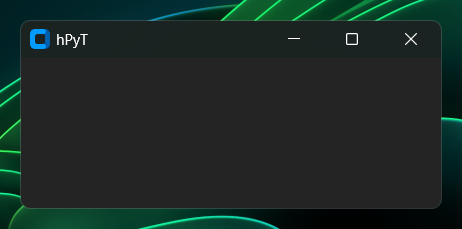
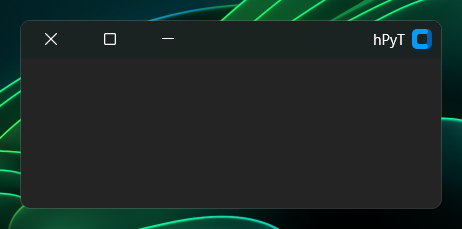
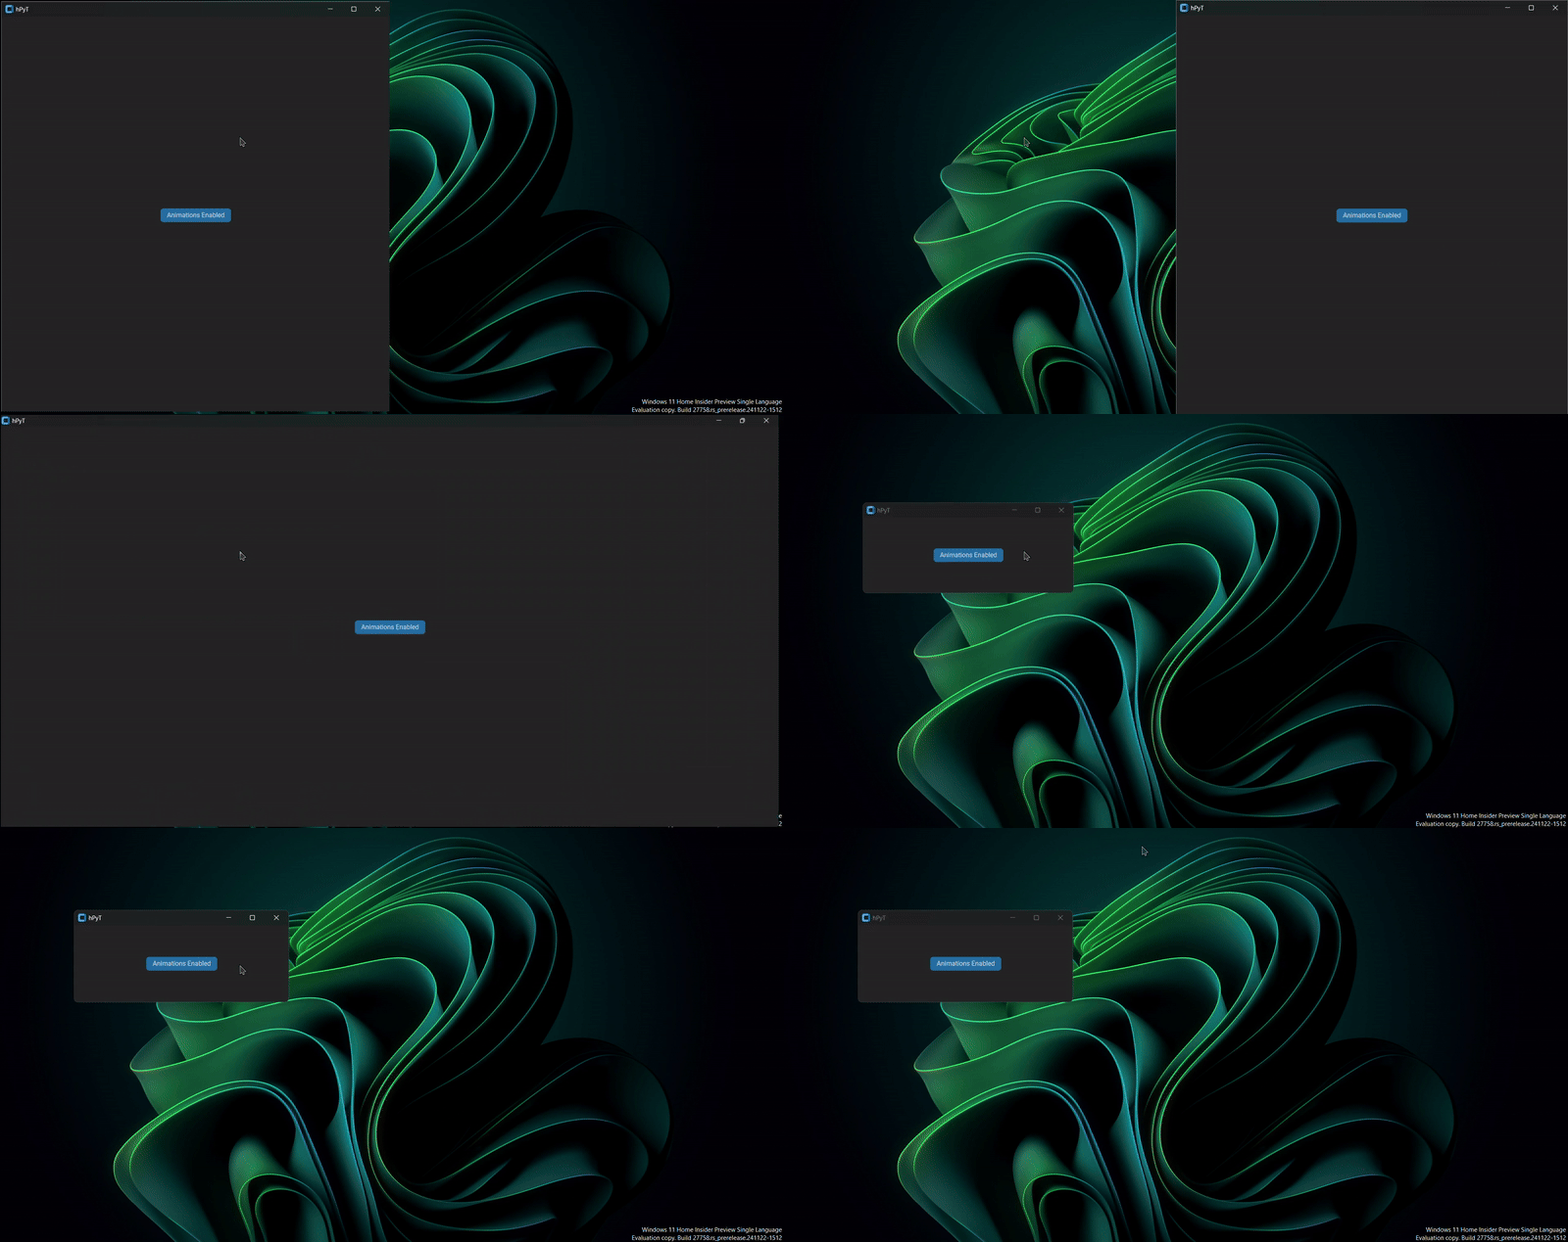
A package for manipulating windows and titlebar of GUI applications made using Python. Supports Windows 7, 8.x, 10, and 11.
hPyT-Preview-1.2.0.mp4
📖 Table of Contents
- hPyT - Hack Python Titlebar
- 📚 Supported Libraries
- 📦 Installing
- 🧩 Running the preview app
- 📥 Importing
- NEW Features in
v1.4.0🎉 - Hide/Unhide TitleBar - Understanding Window Geometry
- 🌈 Rainbow TitleBar
- 🌈 Rainbow Border
- Hide/Unhide both Maximize and Minimize Buttons (Completely Hides both buttons)
- Hide/Unhide All Buttons or Stuffs
- Enable/Disable Maximize Button
- Enable/Disable Minimize Button
- 🎨 Custom TitleBar Color
- 🖌️ Custom TitleBar Text Color
- 🖌️ Custom Border Color
- Window Corner Radius
- Window DWM Manipulation
- Opacity
- ⚡ Flashing Window
- 💻 Window Management
- ✨ Window Animations
- ✏️ Stylize text
- Workaround for other libraries
- Miscellaneous
- 📜 hPyT Changelog
- Tkinter & CustomTkinter
- PyQt
- PySide
- WxPython
- Kivy
- Almost all other UI libraries
Important
Follow this section to see how to use hPyT with other libraries.
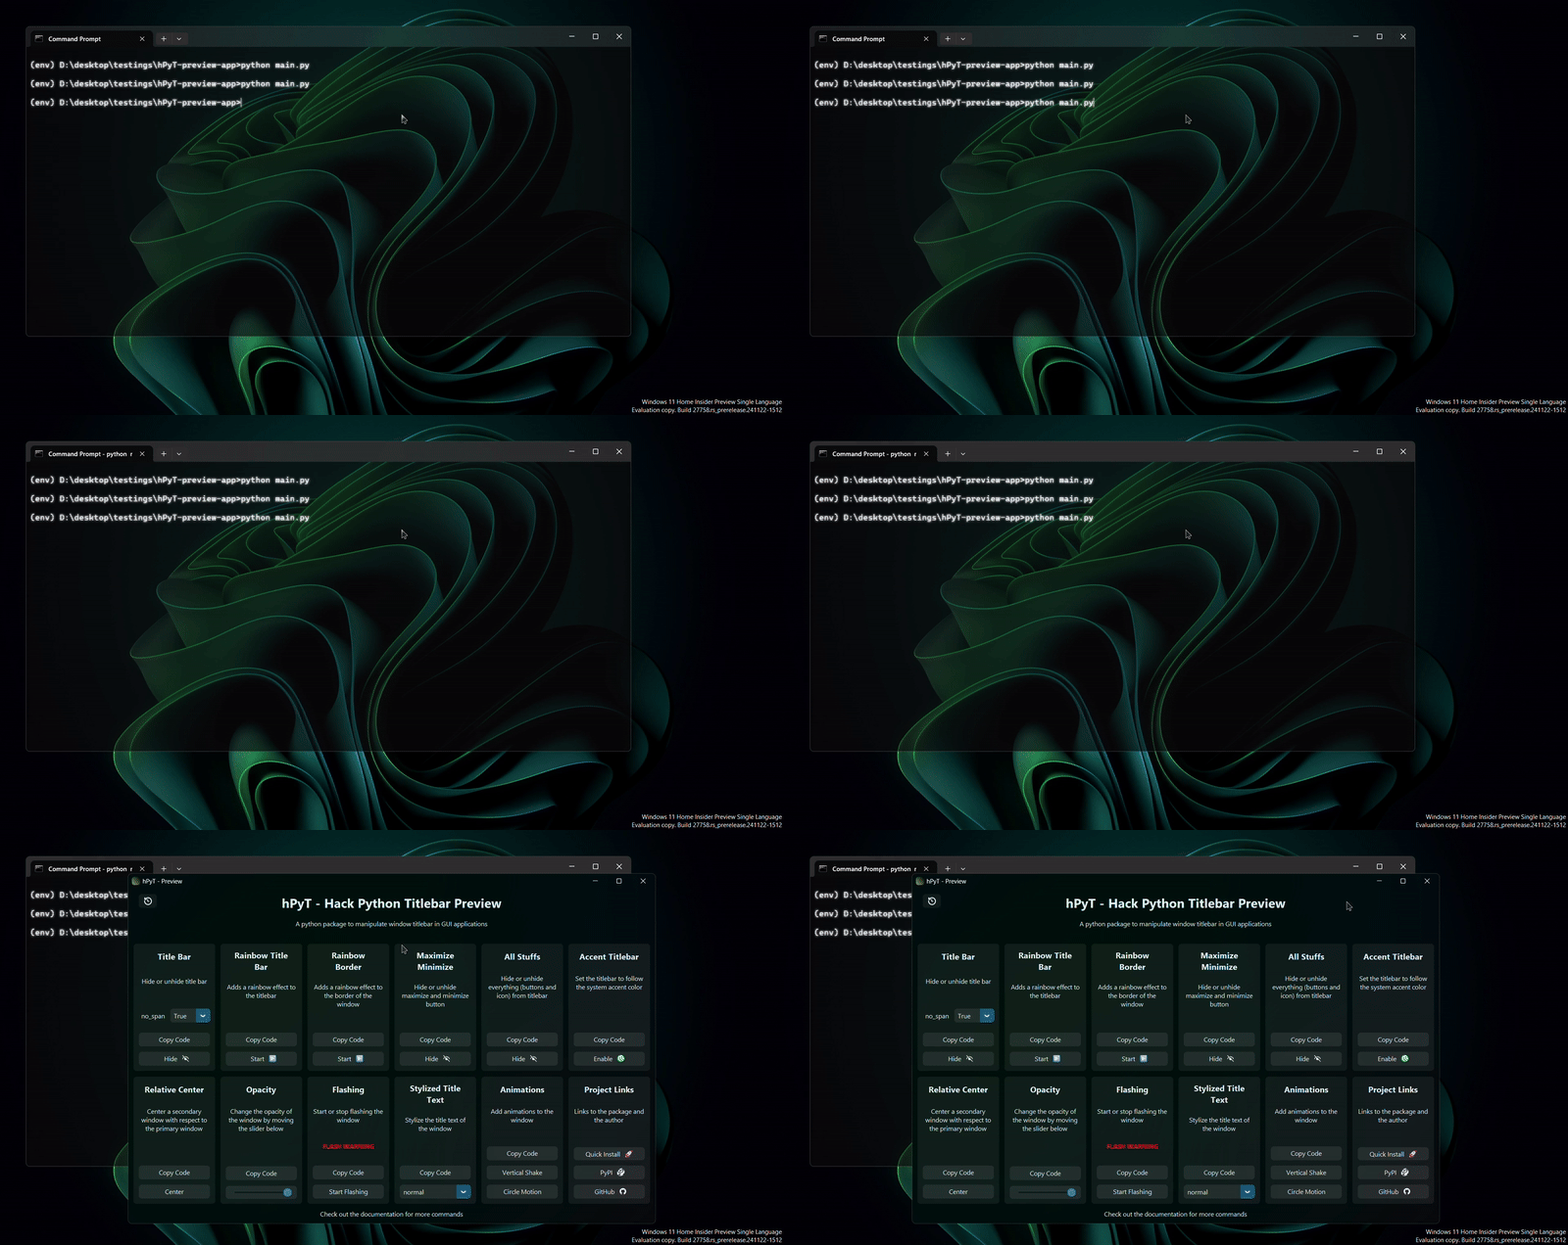
pip install hPyT==1.4.0After installing the module, you can run the following command to open the preview/demo app:
python -m hPyT...or try this even simpler command (if it doesn't work, check if your Python installation's Scripts folder exists in your PATH environment variable):
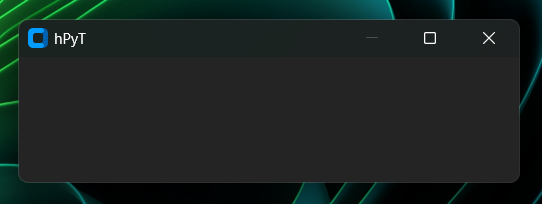
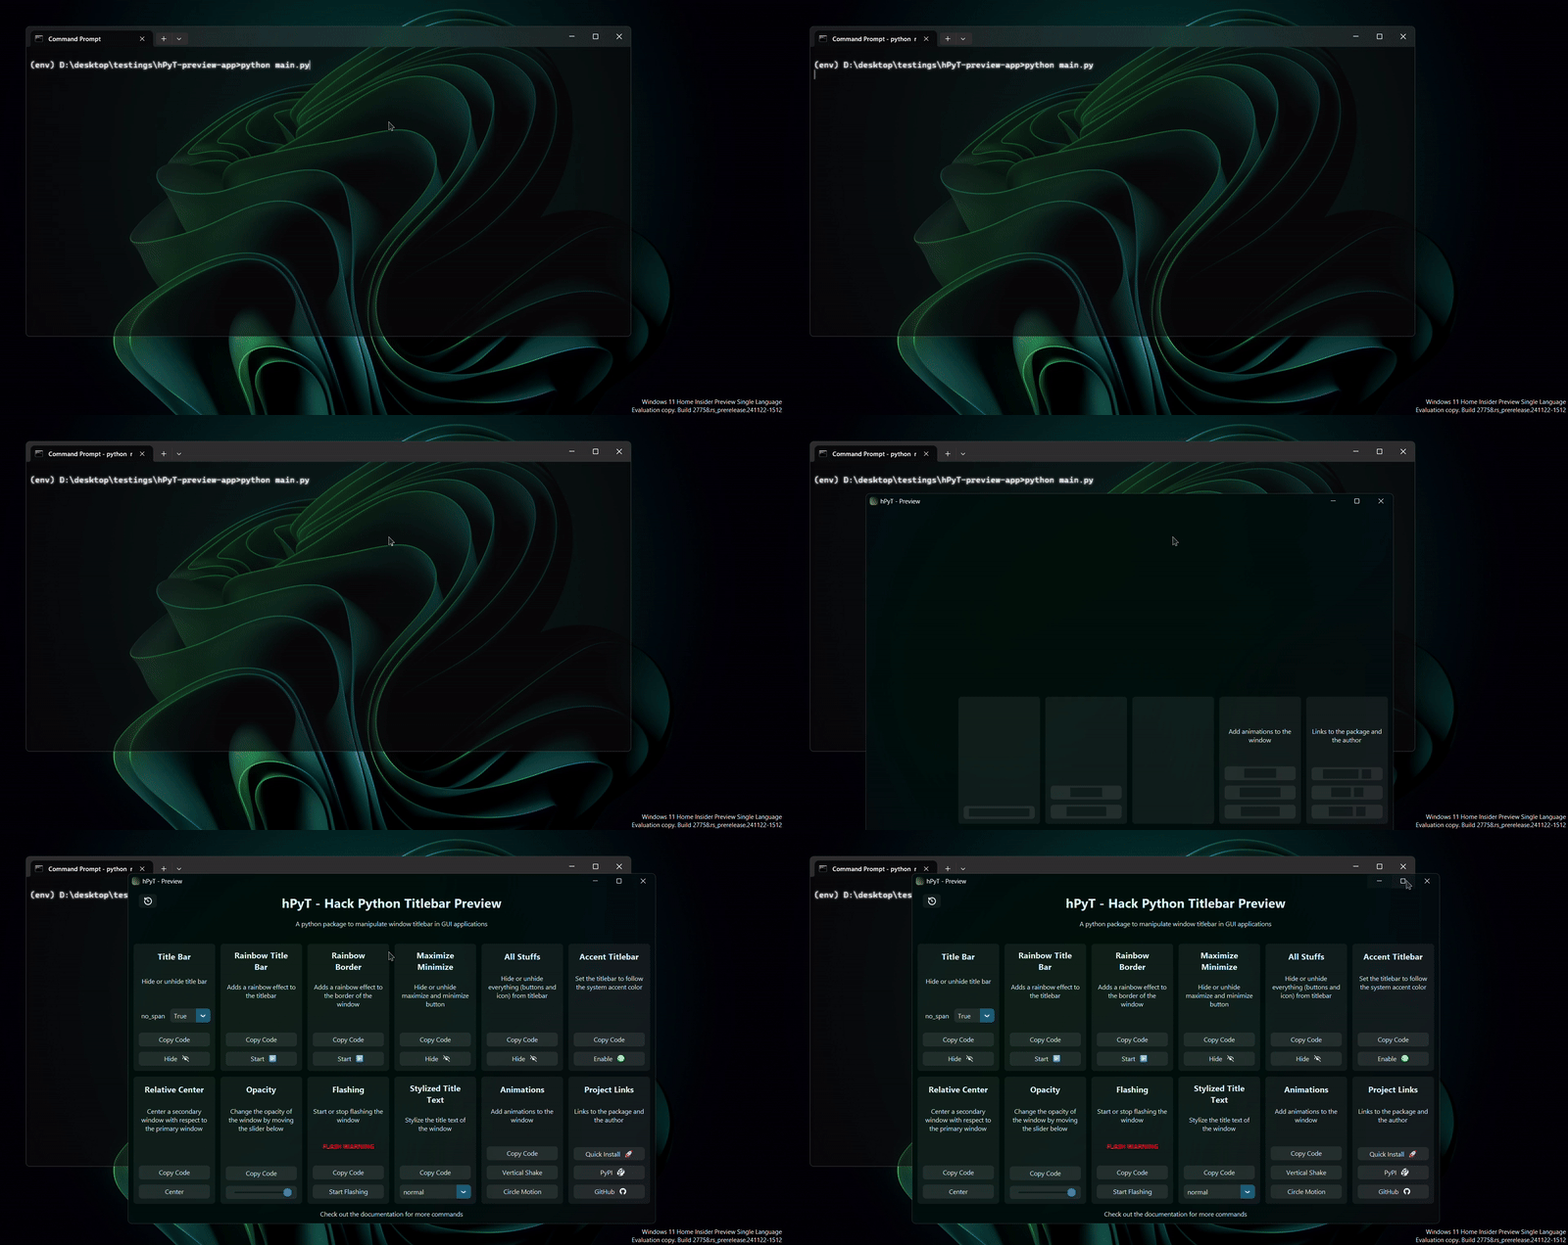
hPyT-previewIt looks like this:
This app allows you to play with hPyT's features and see them in action.
from hPyT import *
from customtkinter import * # you can use any other library from the above mentioned list

window = CTk() # creating a window using CustomTkinter- Function to change
corner radiusof the window with thehPyT.corner_radiusmodule - Functions to manipulate
DWMwindow attributes with thehPyT.window_dwmmodule- Enable RTL layout
- Disable DWM transitions
- Cloak the window
title_bar.hide(window, no_span = False) # hides full titlebar
# optional parameter : no_span, more details in the note below
# title_bar.unhide(window)| Parameter | Type | Default | Description |
|---|---|---|---|
no_span |
bool |
False |
If True, the content area height will not be adjusted to accommodate the title bar. |
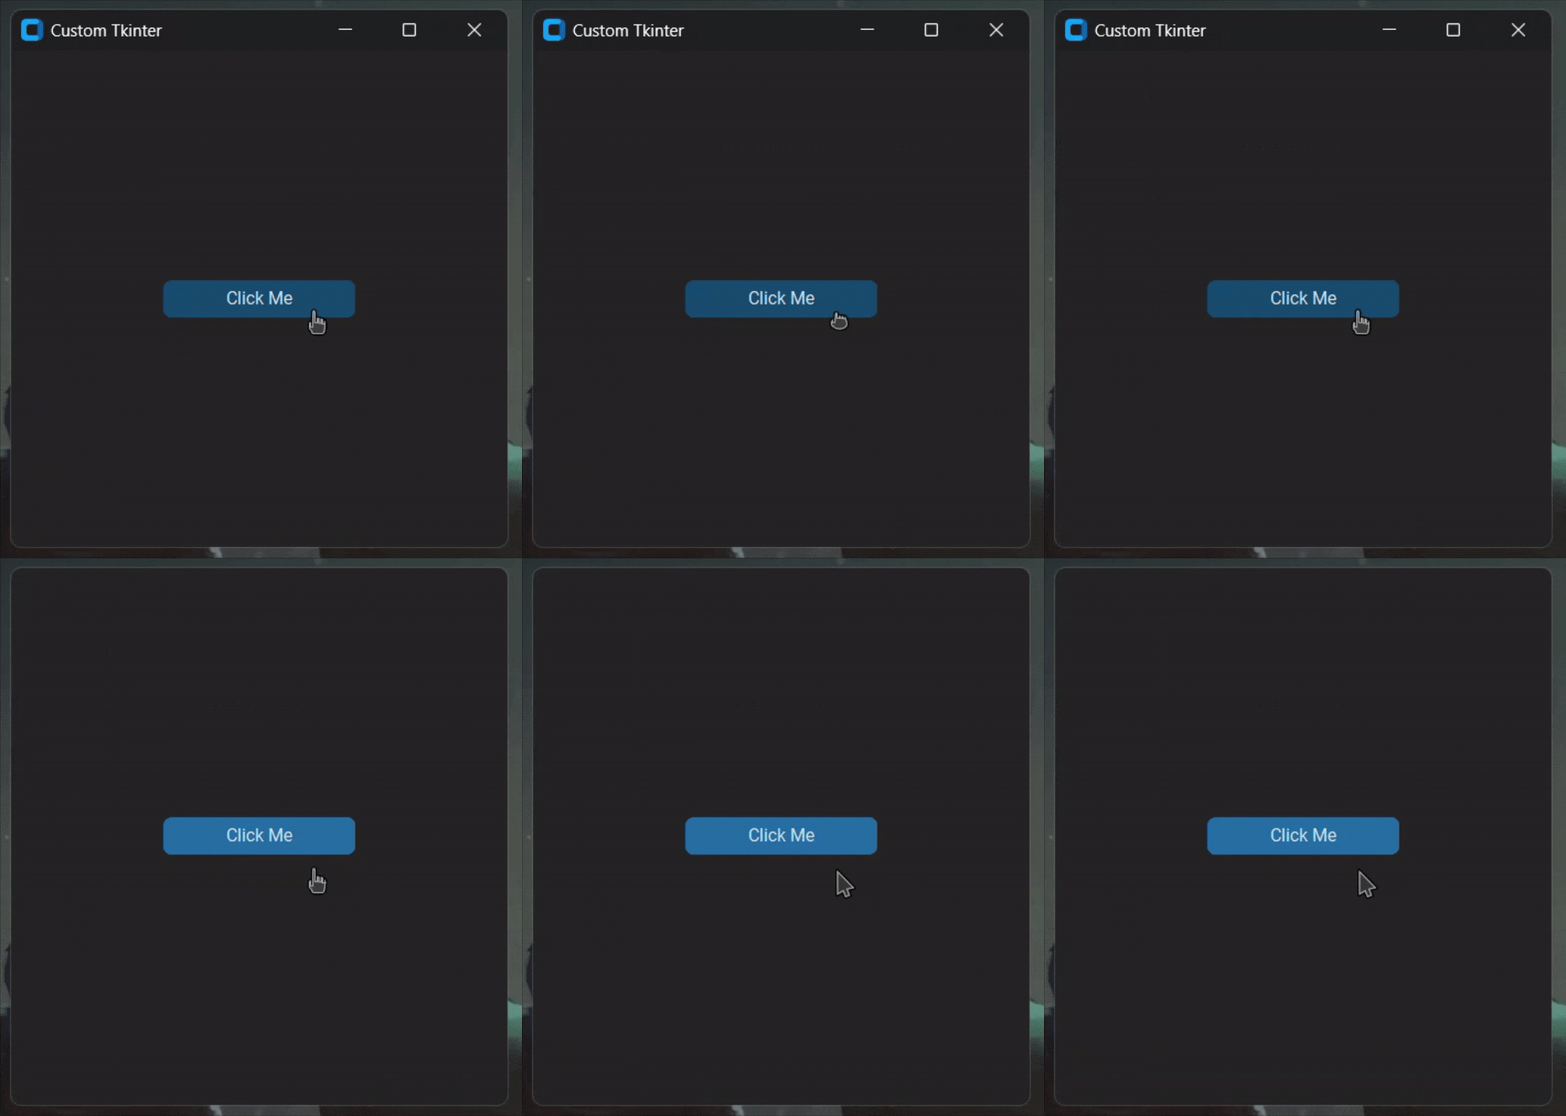
When hiding a title bar, the application window's total geometry and its content area geometry behave differently, which may introduce ambiguities. Here's a detailed explanation of the issue:
-
Full Window Dimensions:
- Includes the content area, title bar, and borders.
- When the user specifies dimensions (e.g.,
400x400), it usually represents the content area dimensions. The total window height becomescontent height + title bar height + border width. - The color of the
top borderandtitle baris usually the same in Windows 11 & 10, making it appear as a single entity. So when hiding the title bar, we also need to hide the top border. - However, in Windows 7 & 8, the top border is a different color from the title bar, so we don't need to hide the top border when hiding the title bar. Moreover removing the top border will make the window behave abnormally in these versions.
-
Content Area Dimensions:
- Represents only the usable area inside the window, excluding the title bar and borders.
When the title bar is hidden:
- The content area height expands to occupy the height previously used by the title bar. For example, a
400x400content area might expand to400x438(assuming the visual title bar height is 38px).
Better illustrated in the following example:
...

def show_window_dimensions():
    hwnd: int = ctypes.windll.user32.GetForegroundWindow()

    x_with_decorations: int = root.winfo_rootx()  # X position of the full window
    y_with_decorations: int = root.winfo_rooty()  # Y position of the full window

    x_without_decorations: int = root.winfo_x()  # X position of the content area
    y_without_decorations: int = root.winfo_y()  # Y position of the content area

    titlebar_height: int = y_with_decorations - y_without_decorations
    border_width: int = x_with_decorations - x_without_decorations

    window_rect: RECT = get_window_rect(hwnd)

    width: int = window_rect.right - window_rect.left
    height: int = window_rect.bottom - window_rect.top

    print(f"Title bar height: {titlebar_height}")
    print(f"Border width: {border_width}")
    print(f"Main window dimensions: {width}x{height}")
    print(
        f"Content window dimensions: {root.winfo_geometry()}"
    )  # This will return the dimensions of the content area only

...

def click(e=None):
    root.update_idletasks()

    print("------ Before hiding title bar ------")
    show_window_dimensions()

	title_bar.hide(root)
	is_hidden = True

    print("------ After hiding title bar ------")
    show_window_dimensions()


button = CTkButton(root, text="Click Me", command=click)
button.place(relx=0.5, rely=0.5, anchor="center")

root.mainloop()
Output:
------ Before hiding title bar ------
Title bar height: 38
Border width: 9
Main window dimensions: 468x497
Content window dimensions: 450x450
------ After hiding title bar ------
Title bar height: 0
Border width: 9
Main window dimensions: 468x497
Content window dimensions: 450x488
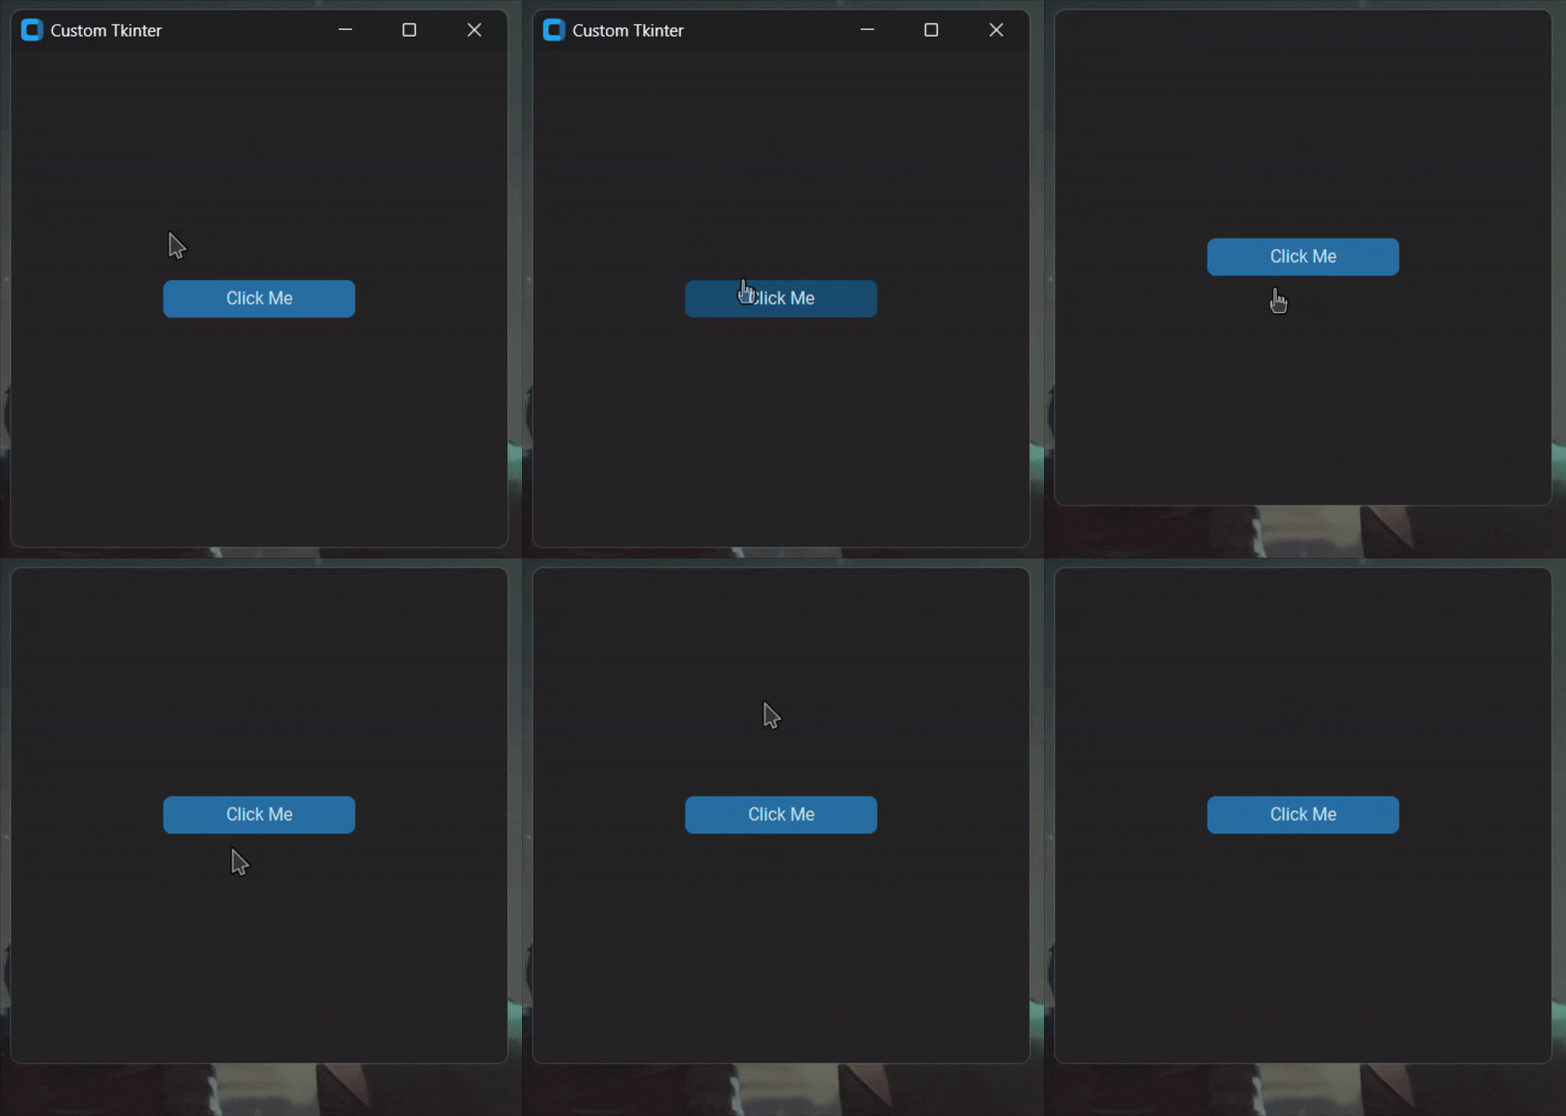
By the above example, you can see that the content area height has increased from 450px to 488px after hiding the title bar.
This automatic resizing may cause layout problems or unintended behavior in some applications. For instance:
- UI elements might overlap or stretch.
- Custom layouts may require recalibration.
To address this, a no_span parameter is introduced in the hide method. This parameter allows users to control whether the content area height should be adjusted dynamically to maintain its original size.
- Default Behavior (
no_span=False): The content area height will expand to occupy the title bar's space. - With
no_span=True: The content area will be resized dynamically to maintain its original dimensions.
title_bar.hide(root, no_span=True)- Content window dimensions: 450x488
+ Content window dimensions: 450x450
- Main window dimensions: 468x497
+ Main window dimensions: 468x459This feature is only supported on Windows 11.
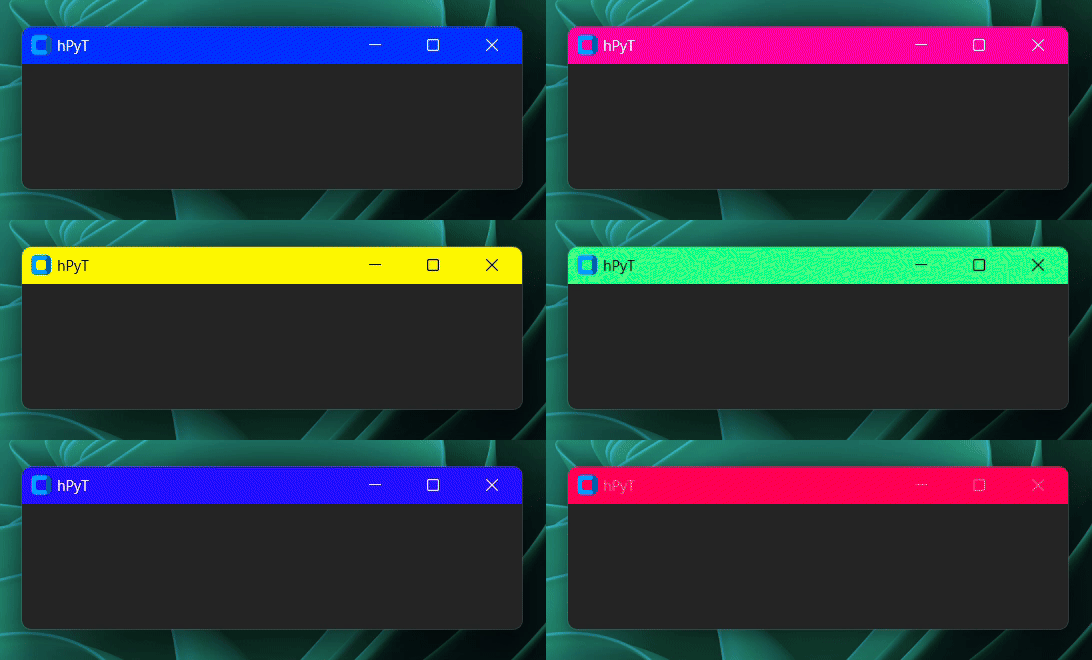
rainbow_title_bar.start(window, interval=5) # starts the rainbow titlebar
# rainbow_title_bar.stop(window) # stops the rainbow titlebar| Parameter | Type | Default | Description |
|---|---|---|---|
interval |
int |
5 |
The time in milliseconds in which the color would change. |
color_stops |
int |
5 |
The number of color stops between each RGB value. |
This feature is only supported on Windows 11.
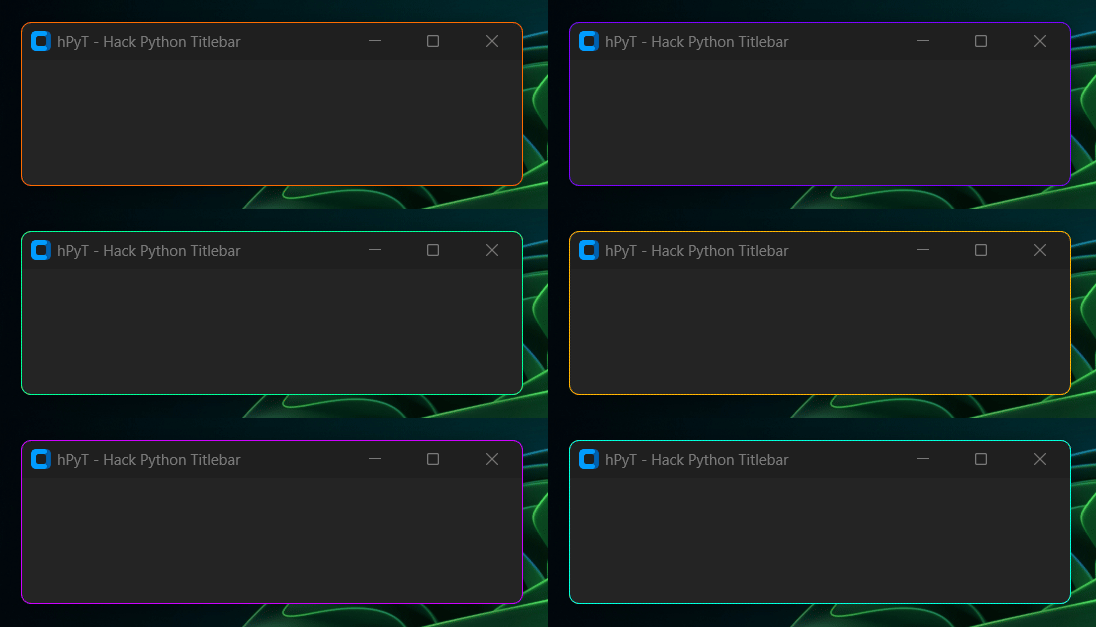
rainbow_border.start(window, interval=4) # starts the rainbow border
# rainbow_border.stop(window) # stops the rainbow border| Parameter | Type | Default | Description |
|---|---|---|---|
interval |
int |
5 |
The time in milliseconds in which the color would change. |
color_stops |
int |
5 |
The number of color stops between each RGB value. |
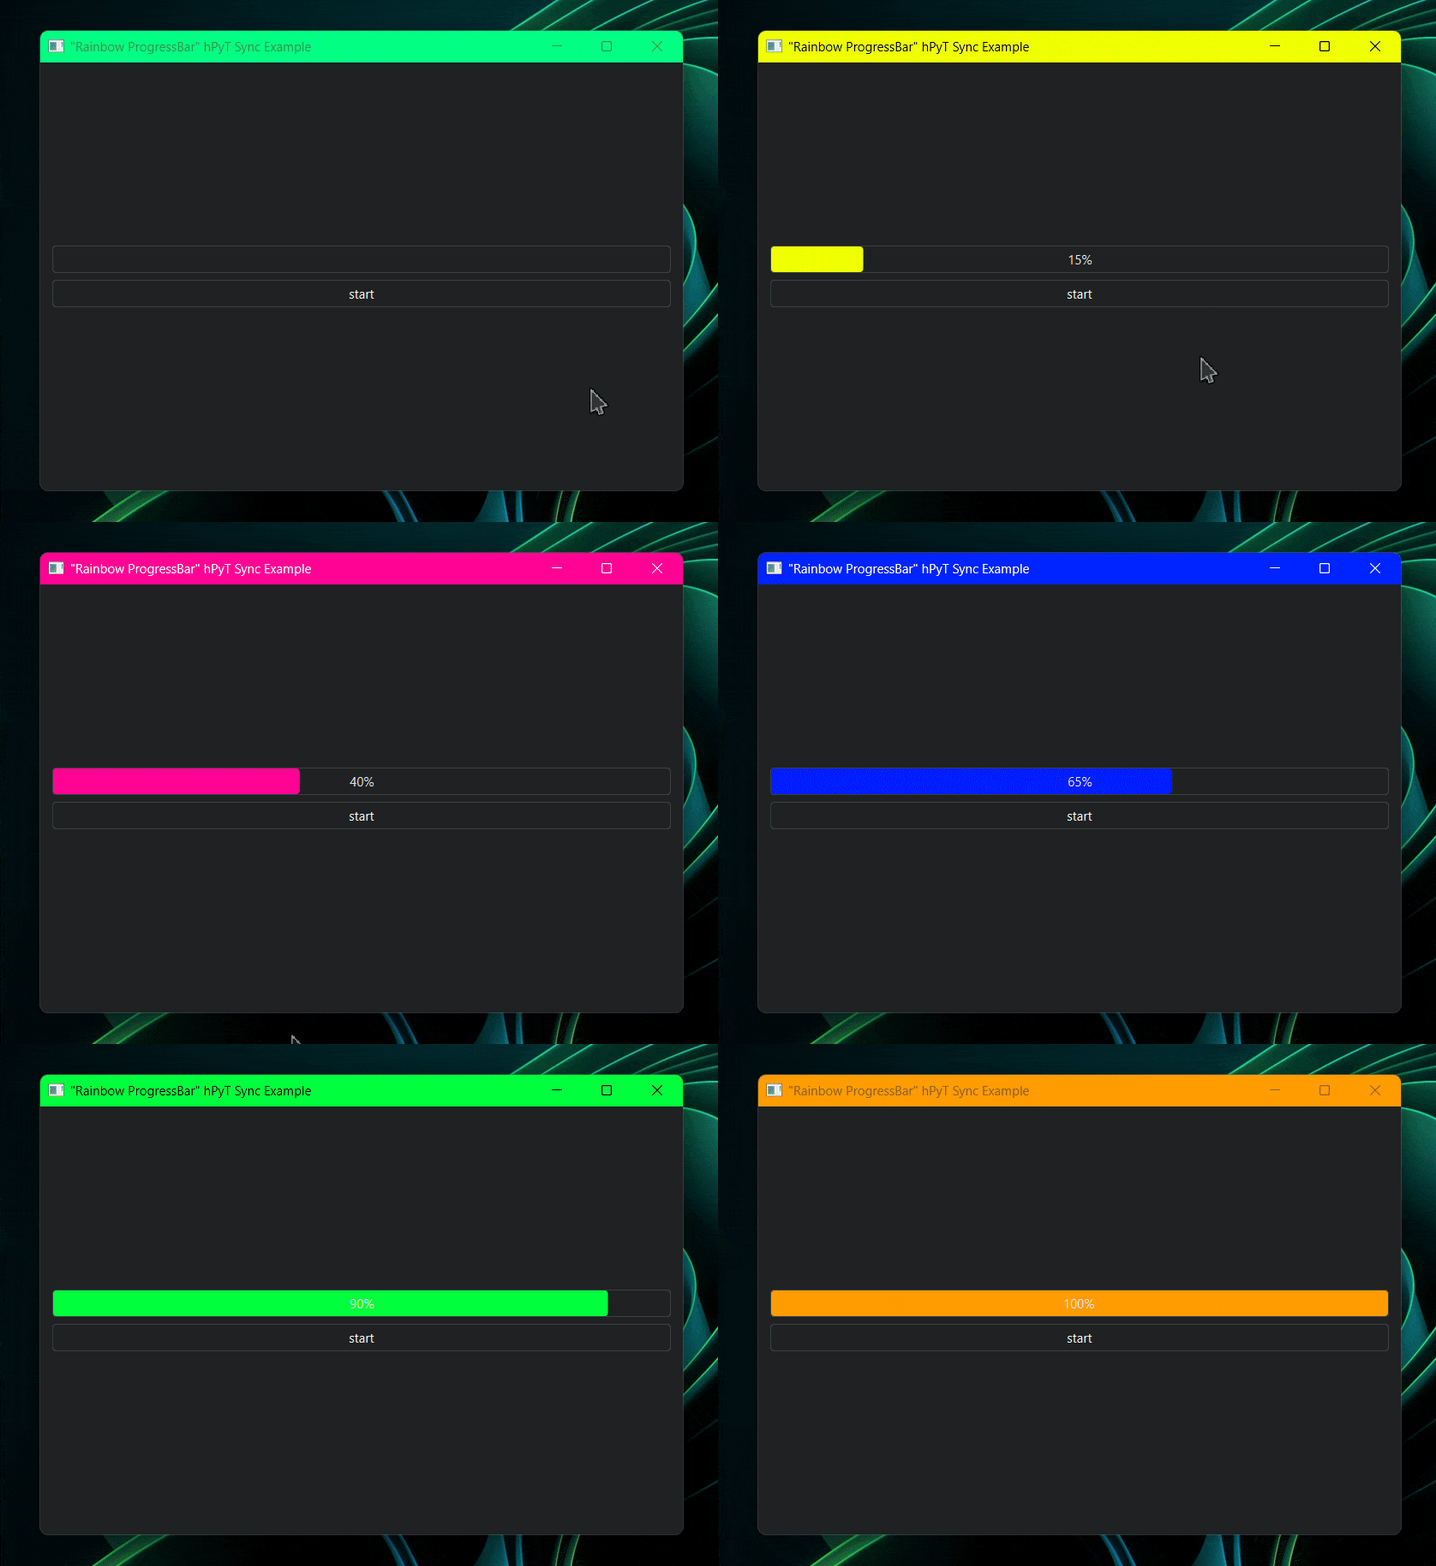
from hPyT import *

...

rainbow_title_bar.start(window, interval=30) # starts the rainbow titlebar
# rainbow_border.start(window, interval=30) # also works with rainbow border

current_color = rainbow_title_bar.get_current_color() # or rainbow_border.get_current_color()
# you can use this color to synchronize the color of other elements with the titlebar
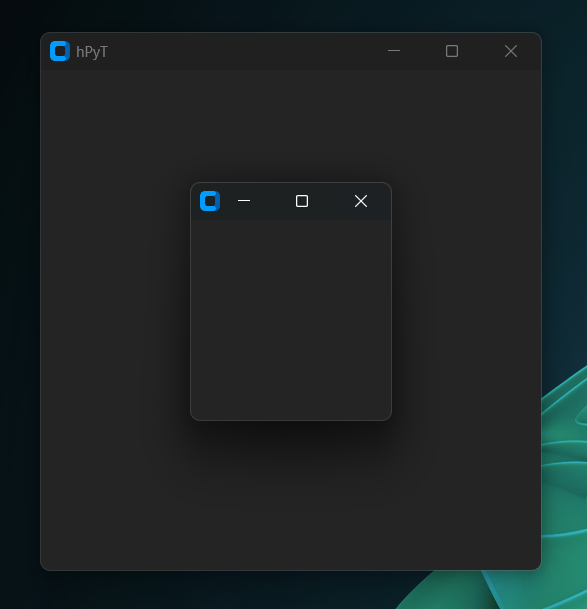
Code for the above illustration available in /examples/rainbow-synchronization-example.py
maximize_minimize_button.hide(window) # hides both maximize and minimize button
# maximize_minimize_button.unhide(window)all_stuffs.hide(window) # hides close button
# all_stuffs.unhide(window)Tip
To hide the text, set the window title to ''.
maximize_button.disable(window) # hides maximize button
# MaximizeButton.enable(window)minimize_button.disable(window) # hides minimize button
# MinimizeButton.enable(window)This feature is only supported on Windows 11.
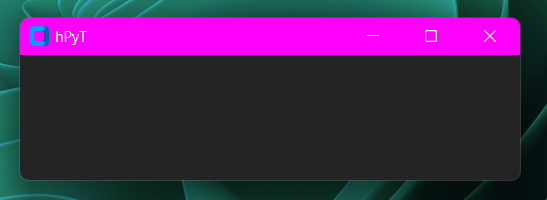
title_bar_color.set(window, color='#ff00ff') # sets the titlebar color to magenta
# title_bar_color.reset(window) # resets the titlebar color to default| Parameter | Type | Default | Description |
|---|---|---|---|
color |
Union[str, Tuple[int]] |
❌ | The color to set the titlebar to in either Hex (string) or RGB (tuple of integers) format |
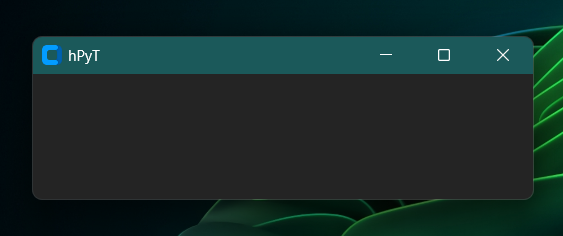
title_bar_color.set_accent(window) # sets the titlebar color to the current Windows accent colorNote
The titlebar color will automatically change when the Windows accent color changes
This feature is only supported on Windows 11.
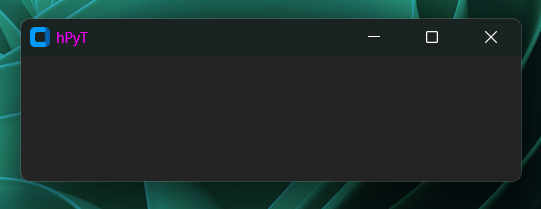
title_bar_text_color.set(window, color='#ff00ff') # sets the titlebar text color to magenta
# title_bar_text_color.reset(window) # resets the titlebar text color to default| Parameter | Type | Default | Description |
|---|---|---|---|
color |
Union[str, Tuple[int]] |
❌ | The color to set the titlebar text to in either Hex (string) or RGB (tuple of integers) format |
This feature is only supported on Windows 11.
border_color.set(window, color='#ff00ff') # sets the border color to magenta
# border_color.reset(window) # resets the border color to default| Parameter | Type | Default | Description |
|---|---|---|---|
color |
Union[str, Tuple[int]] |
❌ | The color to set the border to in either Hex (string) or RGB (tuple of integers) format |
border_color.set_accent(window) # sets the border color to the current Windows accent colorNote
The border color will automatically change when the Windows accent color changes.
This feature is only supported on Windows 11.
corner_radius.set(window, style="round-small") # sets the window border radius to round-small
# corner_radius.reset(window) # resets the window border radius to default
List of available styles:
Warning
The round-small option removes the window's shadow, unlike the other options.
DWM - Desktop Window Manager is the component of a window which controls non-client area of the window. The features below are generally used to improve the accessibility of a window.
window_dwm.toggle_rtl_layout(window, enabled=True) # enables RTL layout for the window
# window_dwm.toggle_rtl_layout(window, enabled=False) # disables RTL layout for the window
Note
This feature enables the RTL layout for the non-client area of the window which includes the titlebar, border, etc.
Disabling DWM Transitions will make the animations for minimize, maximize, restore, etc. more snappy and faster.
window_dwm.toggle_dwm_transitions(window, enabled=False) # disables DWM transitions for the window
# window_dwm.toggle_dwm_transitions(window, enabled=True) # enables DWM transitions for the windowNote
This will only affect the minimize, maximize, restore, etc. animations. It will not affect custom animations.
Important
This feature won't work if the global animations are disabled by the user in the Windows settings.
If window cloaking is enabled, the window will be hidden while still being composed by DWM i.e the window will be rendered but it will not be visible to the user.
window_dwm.toggle_cloak(window, enabled=True) # hides the window

# Do complex taks like rendering window widgets

window_dwm.toggle_cloak(window, enabled=False) # shows the window
Tip
By cloaking a window, DWM can optimize the rendering process since it doesn't have to display the window's content on the screen. This can help improve the performance of applications, especially those with complex UI elements or animations.
opacity.set(window, opacity=0.5) # sets the window opacity to 50%
# opacity.set(window, opacity=1.0) # resets the window opacity to 100%| Parameter | Type | Default | Description |
|---|---|---|---|
opacity |
float |
❌ | The opacity to set the window to. It should be a value between 0 (transparent) and 1.0 (opaque). |
window_flash.flash(window, count=10, interval=100) # flashes the window 10 times with 100ms interval
# window_flash.stop(window) # stops the flashing immediately| Parameter | Type | Default | Description |
|---|---|---|---|
count |
int |
5 |
The number of times the window will flash. |
interval |
int |
1000 |
The time in milliseconds in which the window will flash. |
window_frame.center(window)window_frame.center_relative(window, child_window)Example Usecase
window = CTk()
window.title("Primary Window")
window.geometry('600x300')
window_frame.center(window)

child_window = CTkToplevel()

window_frame.center_relative(window, child_window)

window.bind("<Configure>", lambda event: window_frame.center_relative(window, child_window))

def on_close():  # this is required to stop the window from centering the child window after the parent window is closed
	window.unbind("<Configure>")
	child_window.destroy()

child_window.protocol("WM_DELETE_WINDOW", on_close)

window.mainloop()window_frame.move(window, 100, 100) # moves the window to (100, 100)
window_frame.resize(window, 500, 500) # resizes the window to 500x500
window_frame.maximize(window) # maximizes the window
window_frame.minimize(window) # minimizes the window
window_frame.restore(window) # restores the windowwindow_animation.circle_motion(window, count=5, interval=5, radius=30)
# moves the window in a circular motion 5 times with 5ms interval and 30px radius| Parameter | Type | Default | Description |
|---|---|---|---|
count |
int |
5 |
The number of times the window will move in a circular motion. |
interval |
int |
5 |
The time in milliseconds in which the window will move in a circular motion. |
radius |
int |
20 |
The radius of the circular motion. |
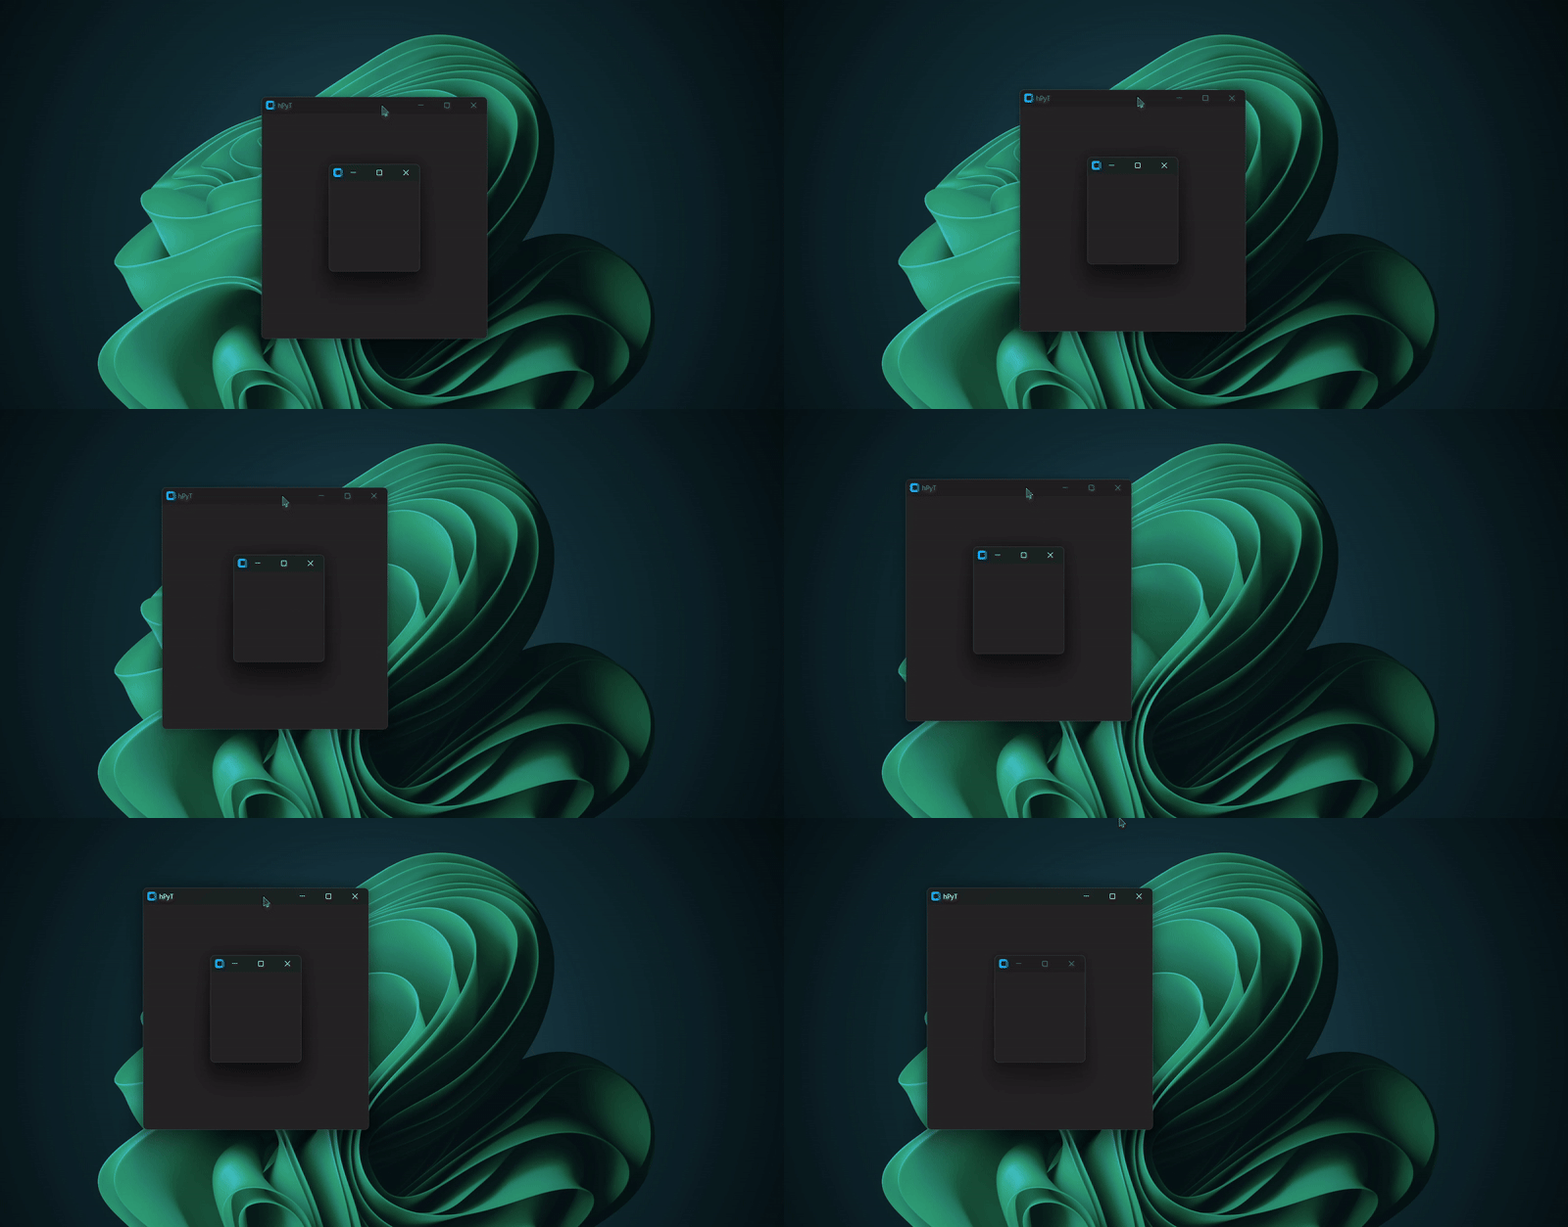
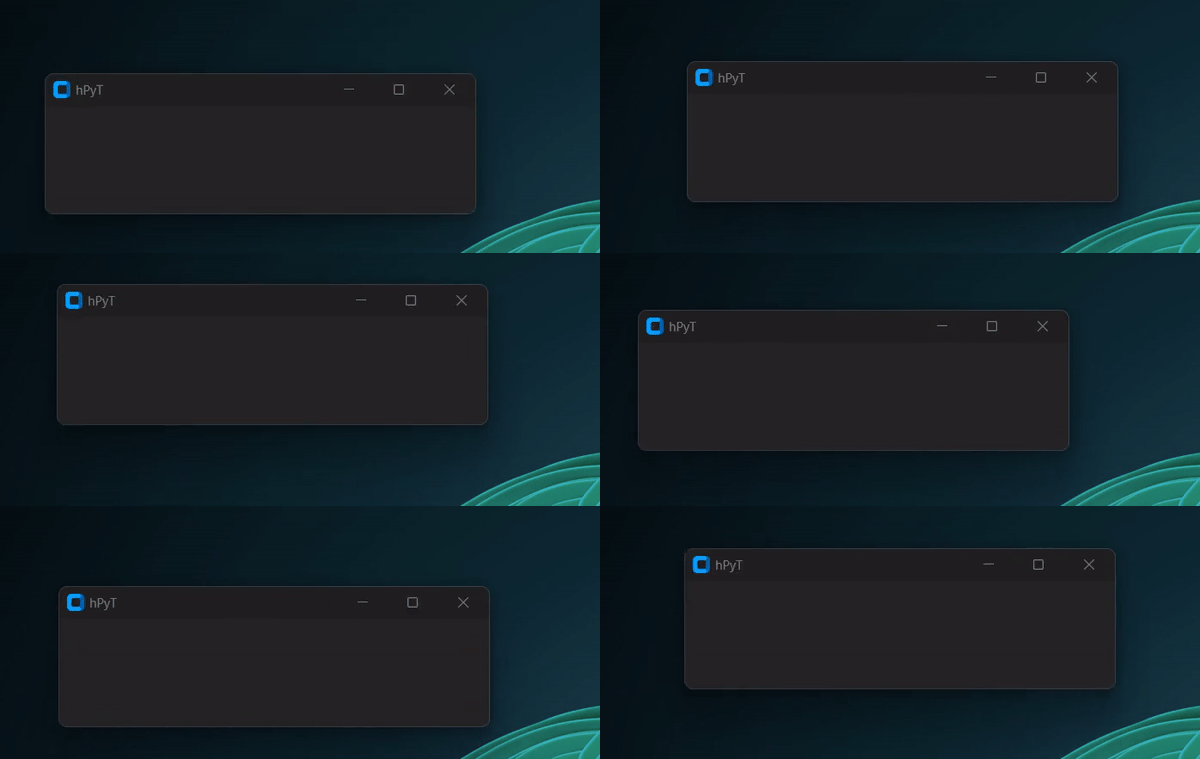
The animation might appear a bit fasterer and rougher in the above preview gif than it is
window_animation.vertical_shake(window, count=5, interval=5, amplitude=20)
# shakes the window vertically 5 times with 5ms interval and 10px distance| Parameter | Type | Default | Description |
|---|---|---|---|
count |
int |
5 |
The number of times the window will shake vertically. |
interval |
int |
5 |
The time in milliseconds in which the window will shake vertically. |
amplitude |
int |
20 |
The distance the window will shake vertically. |
window_animation.horizontal_shake(window, count=5, interval=5, amplitude=20)
# shakes the window horizontally 5 times with 5ms interval and 10px distance| Parameter | Type | Default | Description |
|---|---|---|---|
count |
int |
5 |
The number of times the window will shake horizontally. |
interval |
int |
5 |
The time in milliseconds in which the window will shake horizontally. |
amplitude |
int |
20 |
The distance the window will shake horizontally. |
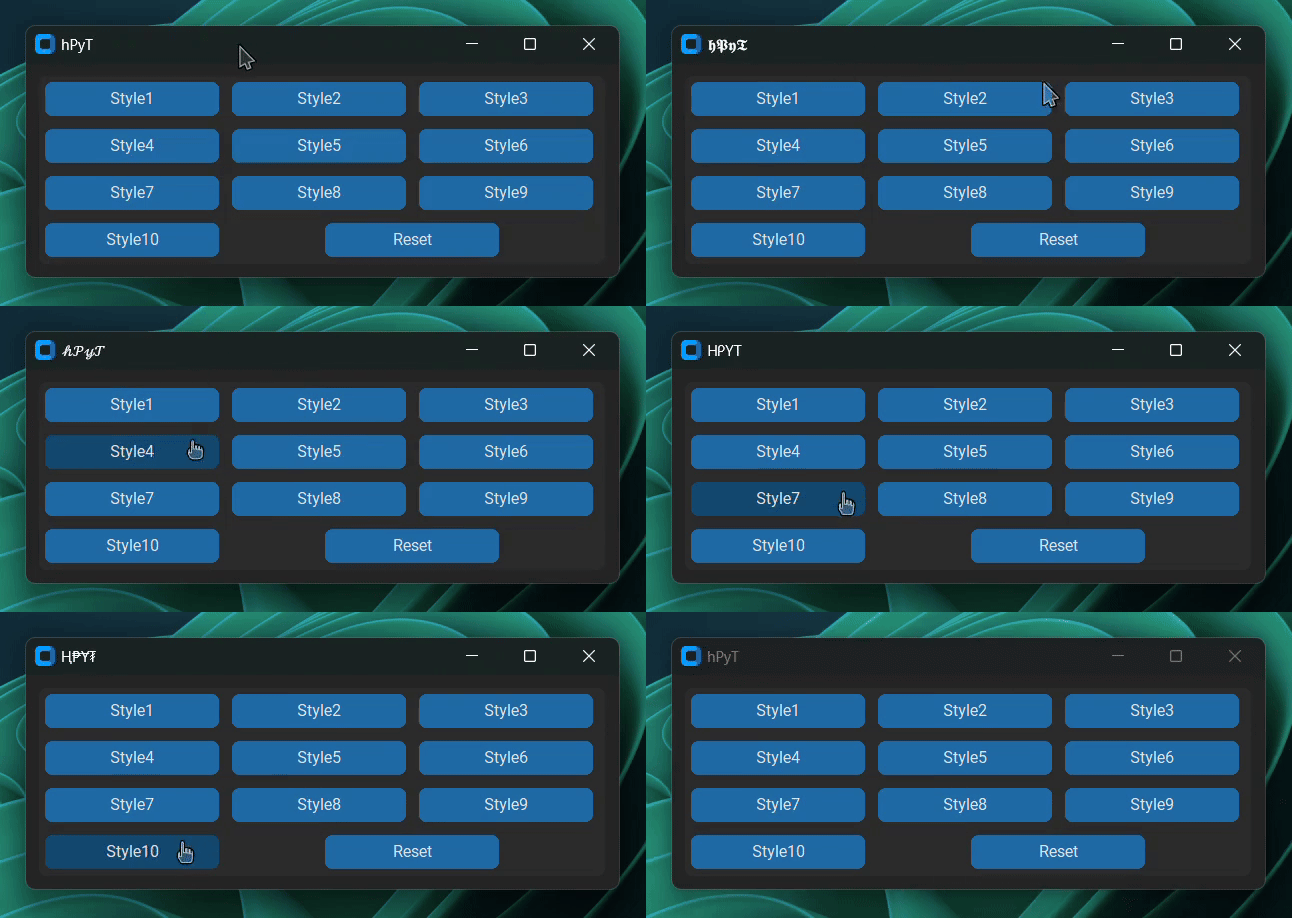
title_text.stylize(window, style=1)Choose any style from 1 to 10.
Below is a gif demonstrating all of the available styles
Note
It is recommended to use the title_text.set function to change the title of the window instead of directly setting the title of the window.
This is because the title_text.set function also caches the original title and the styled title so that it can be used to verify the consistency of the title before applying the style.
This menthod is applicable for any other UI library like pygame pySimpleGUI, etc. which are not mentioned in the supported libraries list. You just need to pass the hwnd of the window instead of the window object to the functions as demonstrated below.
import tkinter as tk
from hPyT import *
import ctypes

# make sure that the window has been created and is active

hwnd = ctypes.windll.user32.GetActiveWindow()
rainbow_border.start(hwnd, interval=4) # use the hwnd of the window instead of the window objectprint(get_accent_color()) # prints the current windows accent color
>>> '#1b595a'print(stylize_text("Your Custom Text", style=1)) # stylizes your text
# all of the styles shown on the above gif are available
>>> "𝔜𝔬𝔲𝔯 ℭ𝔲𝔰𝔱𝔬𝔪 𝔗𝔢𝔵𝔱"- Add new feature for customizing the corner radius of the window
- Add new feature for manipulating the non-client area of the window
- Fix the issue with stylize text not looking for changes made by the user
- Fix the issue with title text not being consistent on older versions of Windows
- Add support for x86/x32 pythonarchitecture
- Fix color conversion issue which returned the wrong color when the Windows accent color was set to a custom color
- Add handling for WM_NCACTIVATE and WM_NCPAINT messages to improve title bar rendering
- Add dynamic height adjustment to hide_titlebar method using the no_span parameter
- Minor Bug Fixes
- Add feature for automatically changing the accent color of the titlebar and border
- Fix an issue which caused ImportError when used with a python version less than 3.9
- Add method for applying the current Windows accent color to the titlebar and border color
- Add method for getting the current Windows accent color
- Add type annotations and docstrings to functions for better clarity and autocompletion
- Fixed taskbar unhide/hide bug
- Add support for synchronizing the rainbow effect with other ui elements.
- Add support for UI libraries like Kivy, PySimpleGUI, PyGame, etc.
- Improve the rainbow titlebar & border effects.
- Improve the center_relative function & examples.
- Add support for setting custom border color
- Add support for rainbow border color effect
- Add support for resetting the titleBar color and titleText color
- Fix an issue which caused the titleBar to appear black after the rainbow titleBar effect was stopped
- Minor Bug Fixes
- Add support for rainbow titlebar
- Add support for styling title text
- Add support for vertical, horizontal shake and circle motion window animations
- Add support for centering a window on the screen
- Add support for centering a window relative to another window
- Add support for moving/resizing/maximizing/minimizing/restoring a window
- Add support for setting custom titlebar color
- Add support for setting custom titlebar text color
- Add flashing inverval support
- Add window flashing support
- Add window opacity support
- Add support for PyGTK
- Add support for WxPython, PyQt and PySide
- Initial Release


