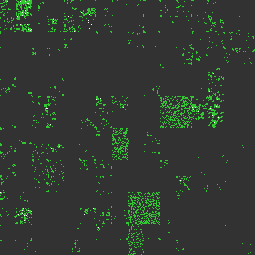
hilbertlapse is a collection of tools that are used to image IP Space, at a fixed point in time, or as a timelapse, combining multiple snapshots into a single animated GIF.
The pipeline used by hilbertlapse is the following:
+------+     +-------+     +---------+
| SCAN +---->+ IMAGE +---->+ ANIMATE |
+------+     +-------+     +---------+
Therefore, the entire project is not a single binary that runs and outputs the desired results, but instead three binaries, or at least three steps, which are connected either by a different program, or simple bash scripts and pipes.
This is done to add flexibility to the entire process, so any binary in the pipeline can be exchanged with any other, interchangeably, but also to make it easier to develop and prototype, as this was created for a blog post. In that blog post you can find more information about the project. This flexibility now allows hilbertcurve to run each part in a different machine, or set of machines. For example, run pings in a set of servers, and imaging and animating in a researcher laptop.
The three steps of hilbertlapse are described below:
The scanner is a utility that performs some sort of scan on a set of IP Addresses. The current recommended way to achieve this is using masscan, which works on many operating systems, is one of the fastest pieces of software, and it's available in many OS repositories.
The recommended way to run masscan is:
/usr/bin/masscan --ping --rate=256 -oL "scans/$(date +%Y/%m/%d/%H:%M)" 193.5.16.0/22 2>/dev/null > /dev/nullYou can of course adjust the rate, do sharding, etc. as long as you use the
list (-oL) output of the tool and you have the results available in a single
file. This would also work with port scans, but ping is used above as an
example.
The above uses the date command to name the output file so it's safe to run
in a cron job e.g. every hour, producing a unique file per scan. In this
example, you'd have a scans directory, and within it one folder per year,
containing one folder per month, containing one folder per day, containing all
the hourly scans. Be sure to mkdir -p the folder first!
An example output file would be:
open icmp 0 193.5.16.0 1703671357
open icmp 0 193.5.16.1 1703671358
open icmp 0 193.5.16.80 1703671358
open icmp 0 193.5.16.89 1703671358
The imager is a utility that accepts a file from masscan, and then creates a
PNG based on the details included in the input. The imager included in the
current repository will take a scan of a network and create a PNG that will
have each open value set to #32c832 and all other states to the color
#323232. The colors are of course configurable.
The mapping of IPv4 Addresses to (X,Y) coordinates on the PNG file is done
using a Hilbert Curve map, to
add subnet locality.
An example output of imager is this:
The supported command line arguments are:
-i: The file to read the scanner output from (defaultstdin)-o: The file to write the final PNG to (defaultstdout)
-r: The IP Range to focus on (default193.5.16.0/22)
-u: The color to paint hosts that are up (default#32c832)-d: The color to paint hosts that are down (default#323232)
-l: The text you want to add to the image as a label (default ``)-c: The color of the text label you want (default#cdcdcd)-p: The position of the label, top/bottom + left/right (defaultbottom-right)
The final component of the pipeline, the animator, accepts a list of file
names of PNG files, and then creates and outputs an Animated GIF, where each
frame is the content of every PNG that has been given to it.
The currently recommended tool for animating the output of imager is
ffmpeg. It is available in many OS' repositories
already.
Assuming you have a number of sequentially named images, you can run:
ffmpeg -i 'imager-output-%d.png' animation.gifOf course, being ffmpeg, you can export this in video, add audio, change
frame timings, etc. Have all the fun in the world with it!
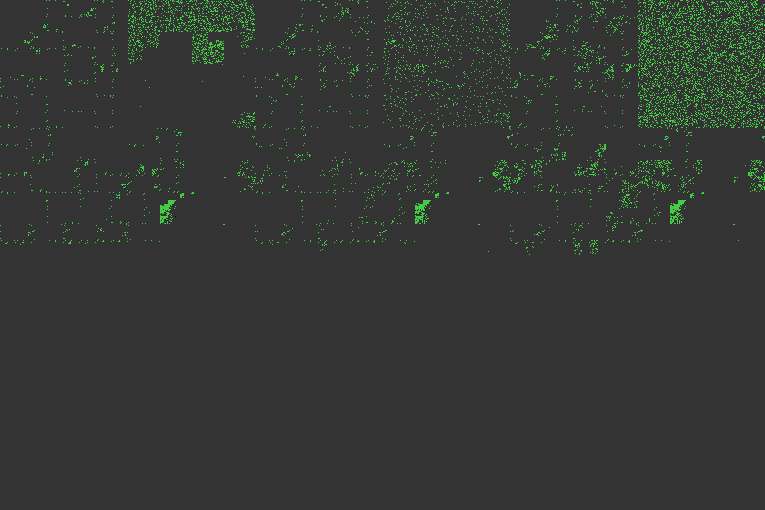
An example output is this:
For added features like text labels, you can see this here.
You can find more information and more real world examples in my main blog post, as well as a subsequent one about the scan of the #36C3 event.
After you build and compile the three tools above (or yours), you can have a running setup that will be doing the scans fairly easily. The three tools can run on the same computer, or on different ones, it does not matter, and the scanning can be parallelized over multiple hosts.
First, in the scanning computer, add a cron job, or any other means of preference to execute a script periodically. This could run at every interval you want. I have used one hour for mine. The script that should run should be something like this:
#!/bin/bash

DATENAME=$(date +%Y/%m/%d)
mkdir -p ~/scan/$DATENAME
/usr/bin/masscan --ping --rate=256 -oL "$DATENAME/$(date +%H-%M).txt" 193.5.16.0/22,147.189.216.0/21 2>/dev/null > /dev/nullThe next phase is imaging, here you need to run the imager once for every
scan you want to create a PNG of. The imager accepts the file name of the
input scan, and the file name of the output PNG.
An example of doing this in bash can be:
find . | grep .txt | sort -n | cat -n | while read n scan; do imager -i $scan -o img/$n.png -r 193.5.16.0/22; doneThis will iterate over all txt files, feel free to make the grep more
strict or loose depending on your needs), and call imager for each one,
giving it the input file, and having the output be written in a directory
called img, with the file name being a sequential number, with the .png
suffix to the end.
The final step is to, if required, create an animated file out of the PNGs, in the form of a GIF, or any video format. In order to do this, just run the command below:
ffmpeg -i '%d.png' out.gif
Feel free to contribute any changes you may have made, or open GitHub Issues
with any requests, problems, bugs, etc. If you write additional imagers, they
are more than welcome and I will appreciate any Pull Requests. Make sure they
are in their own folder, and do not have any dependencies you did not include.
Ideally make them compatible with the current ones, so people can decide which
imager they want to use. If you need to include a README.md file with
instructions, please do so in the folder of the tool you contribute.
Also, make sure you have seen the license you contribute your code under, and if you are not okay to contribute under this license, please create a different repository, containing just your tool, and link to this one here. Also, feel free to modify this document with a link to your tool, so people can find it and use it.

