


Maintainer: @mickmister Co-Maintainer: @larkox
Help Wanted tickets can be found here.
This repository is licensed under the Mattermost Source Available License, and requires a valid Mattermost E20, Professional, or Enterprise license. See our documentation to learn more. If you are contributing to the project, please enable ServiceSettings.EnableDeveloper in your server's config. The plugin will not start and show an error message in your server logs, if you are the missing the Enterprise License.
This plugin supports a two-way integration between Mattermost and Microsoft Outlook Calendar. For a stable production release, please download the latest version from the Plugin Marketplace and follow these instructions to install and configure the plugin.
- Daily summary of calendar events.
- Automatic user status synchronization into Mattermost.
- Accept or decline calendar event invites from Mattermost.
- Sign into portal.azure.com using an admin Azure account.
- Navigate to App Registrations
- Click New registration at the top of the page.

- Then fill out the form with the following values:
- Name:
Mattermost MS Calendar Plugin - Supported account types: Default value (Single tenant)
- Redirect URI:
https://(MM_SITE_URL)/plugins/com.mattermost.mscalendar/oauth2/complete
Replace (MM_SITE_URL) with your Mattermost server's Site URL. Select Register to submit the form.

- Navigate to Certificates & secrets in the left pane.

- Click New client secret. Then click Add, and copy the new secret on the bottom right corner of the screen. We'll use this value later in the Mattermost admin console.

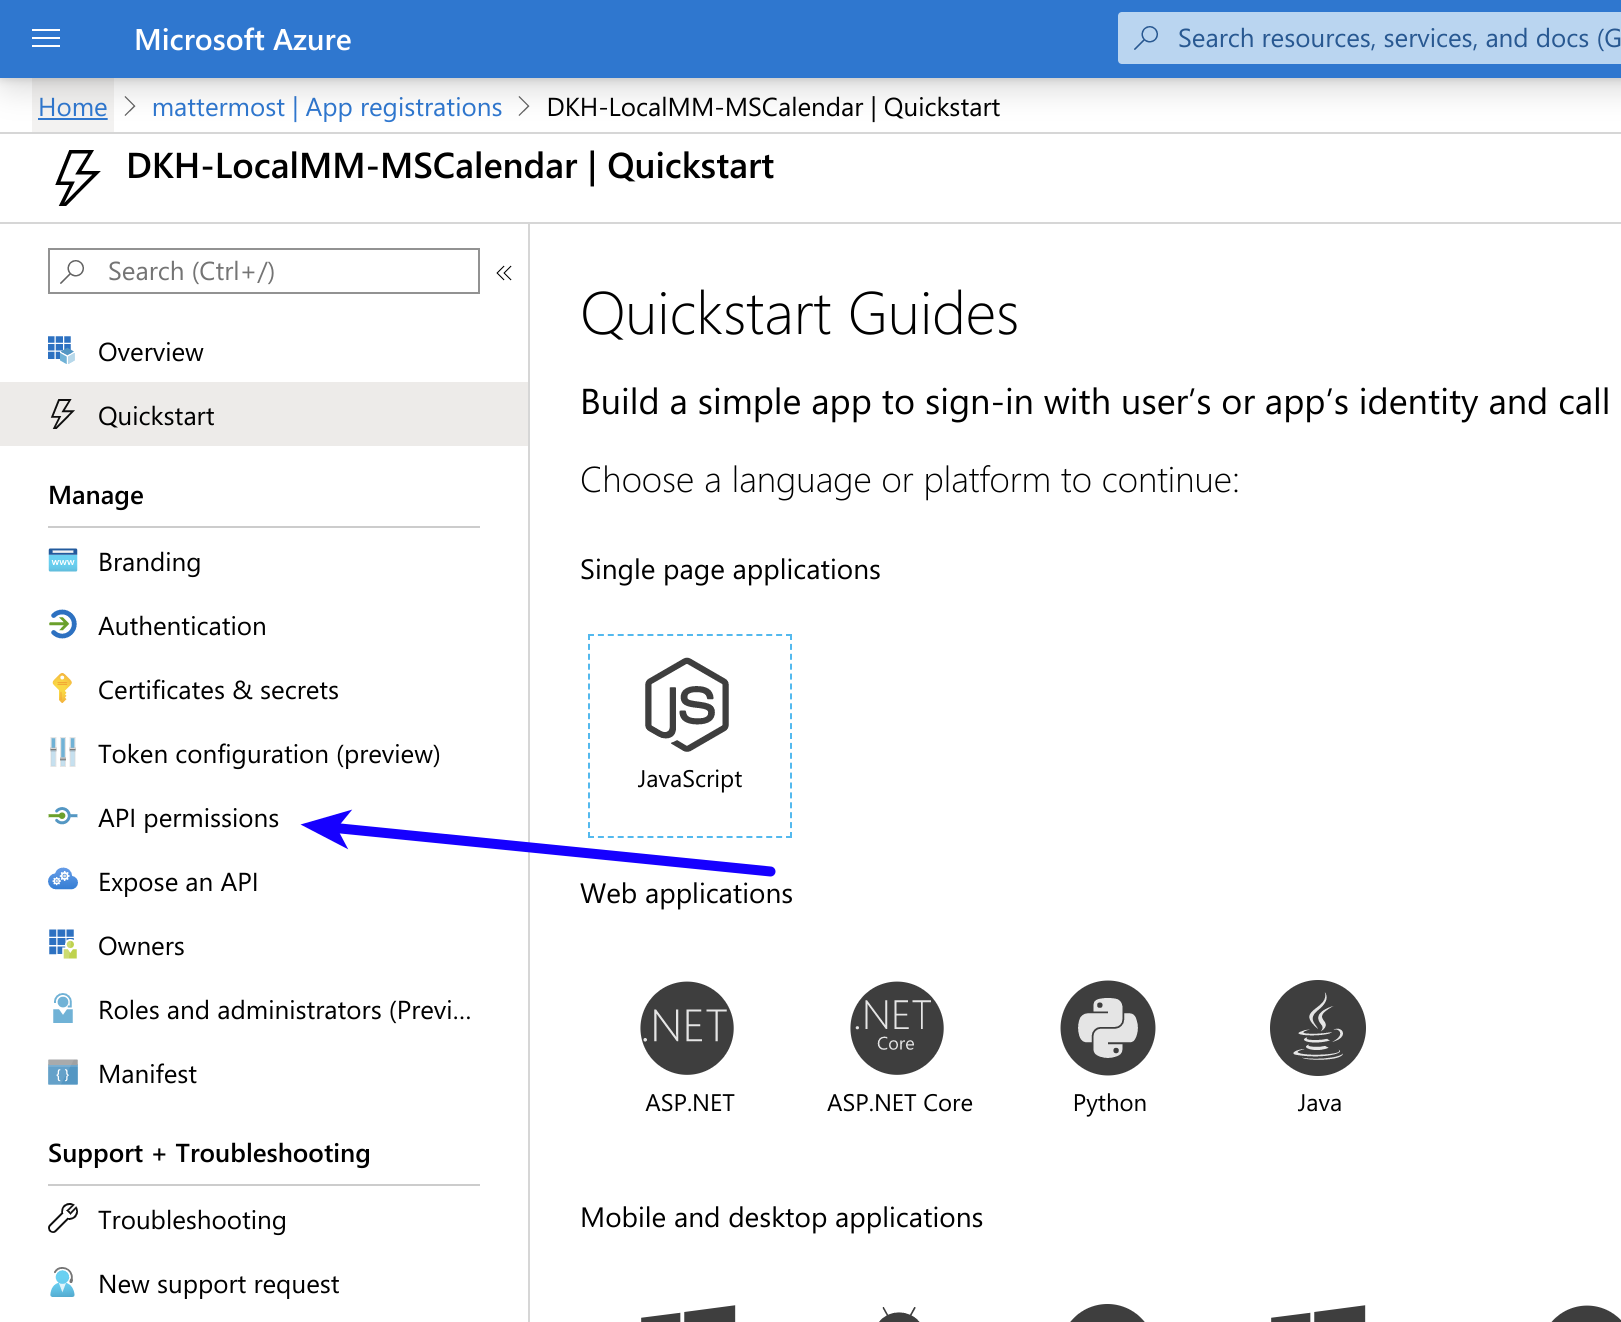
- Navigate to API permissions in the left pane.
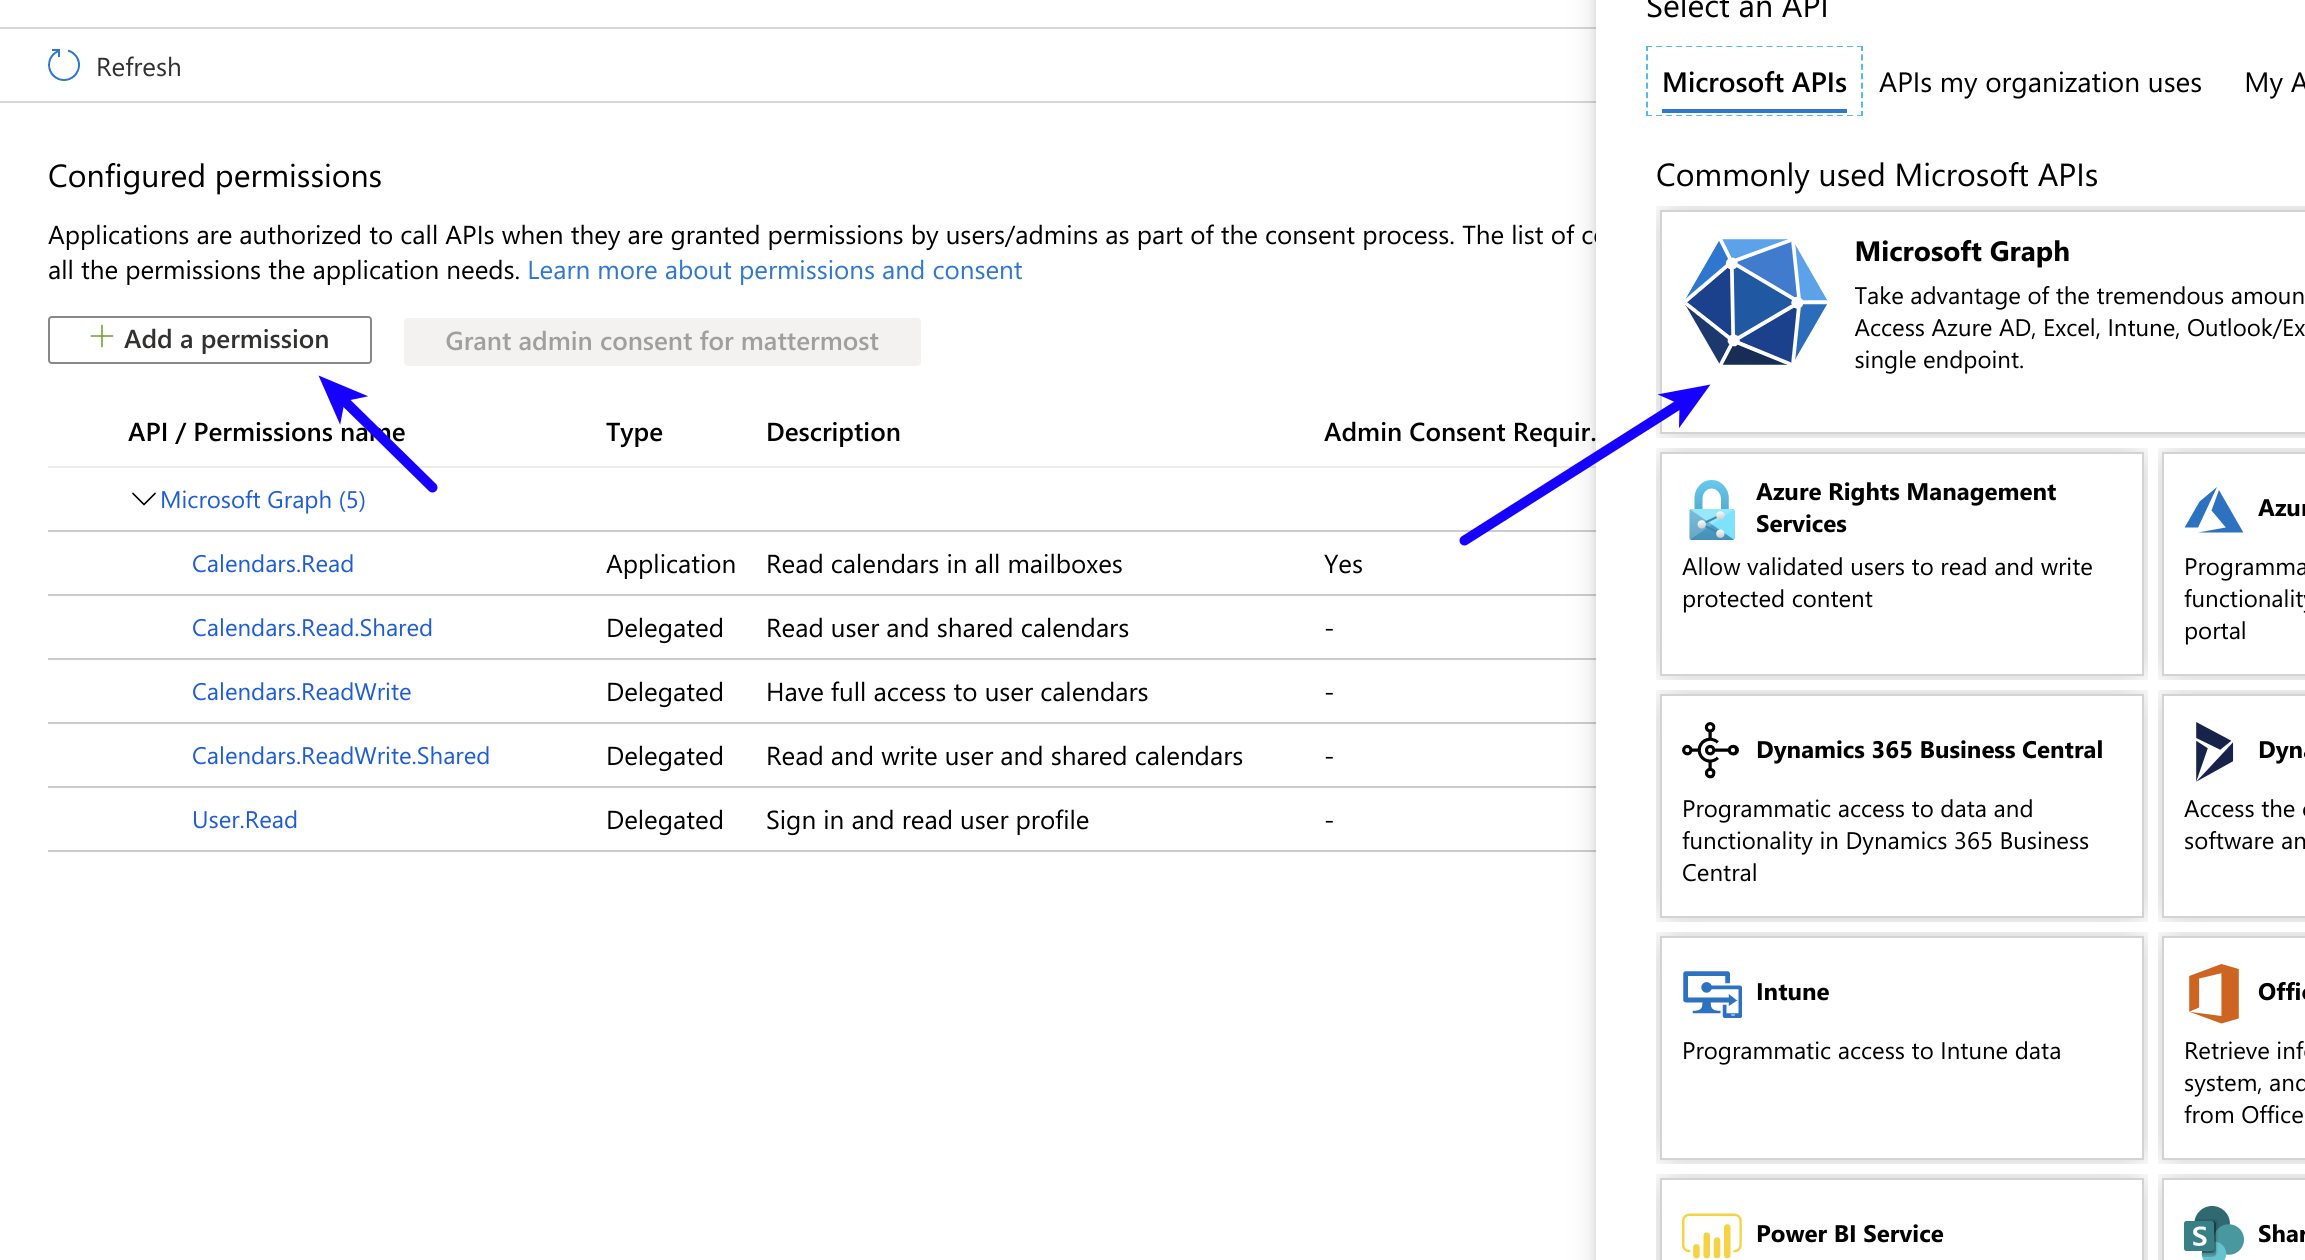
- Click Add a permission, then Microsoft Graph in the right pane.
- Click Delegated permissions, and scroll down to select the following permissions:
Calendars.ReadWriteCalendars.ReadWrite.SharedMailboxSettings.Read

-
Click Add permissions to submit the form.
-
Next, add application permissions via Add a permission > Microsoft Graph > Application permissions.
-
Select the following permissions:
Calendars.ReadMailboxSettings.ReadUser.ReadAll
- Click Add permissions to submit the form.
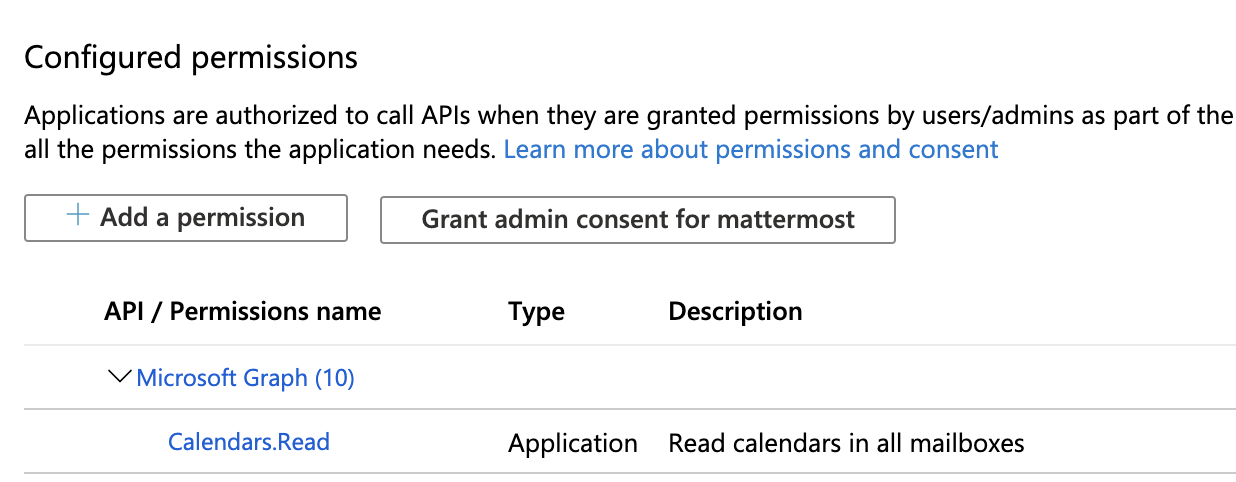
- Click Grant admin consent for... to grant the permissions for the application.
You're all set for configuration inside of Azure.
- Copy the
Client IDandTenant IDfrom the Azure portal.

- Navigate to System Console > PLUGINS (BETA) > Microsoft Calendar. Fill in the following fields:
Admin User IDs- List of user IDs to manage the plugin.tenantID- Copy from Azure App.clientID- Copy from Azure App.Client Secret- Copy from Azure App (Generated in Certificates & secrets, earlier in these instructions).