CSS Variables
The visual appearance of the privacy notice can be easily customized using the settings page in WordPress. For advanced customization, you can either include your own stylesheet in a (child) theme or use CSS Variables (custom properties). This makes Customization without overriding styles in the CSS cascade or - even worse - using !important.
Here are all variables you can customize out of the box and the default values used by CookieFox. All are set for the .coofiefox class selector.
.cookiefox{
	--cookiefox--color-text-primary: #000000;
	--cookiefox--color-text-secondary: #767676;
	--cookiefox--color-button-primary: #3d854f;
	--cookiefox--color-button-secondary: #767676;
	--cookiefox--background: #ffffff;
	--cookiefox--font-family: inherit;
	--cookiefox--font-size: 16px;
	--cookiefox--font-size-mobile: 14px;
	--cookiefox--line-height: 1.5;
	--cookiefox__notice--box-shadow: 0px 0px 15px rgba(0,0,0,0.1);
	--cookiefox__modal--border-radius: 6px;
	--cookiefox__title--font-size: 1.3125em;
	--cookiefox__title--font-weight: bold;
	--cookiefox__text--font-size: 0.875em;
	--cookiefox__text--font-weight: normal;
	--cookiefox__text--text-align: left;
	--cookiefox__button--font-size: 1.0625em;
	--cookiefox__button--font-weight: normal;
	--cookiefox__button--text-transform: none;
	--cookiefox__button--border-radius: 5px;
	--cookiefox__footer--background: rgba(0,0,0,0.025);
	--cookiefox__footer--color-border: rgba(0,0,0,0.05);
	--cookiefox__embed--background: #f0f0f0;
	--cookiefox__embed--border-color: #e8e8e8;
}
In the Dashboard, go to "Appearance" → "Customize" and click "Additional CSS" in the sidebar to access the CSS editor. You can copy and paste the code above to get started and adapt the variables you need to achieve your desired appearance. Then, click "Publish":
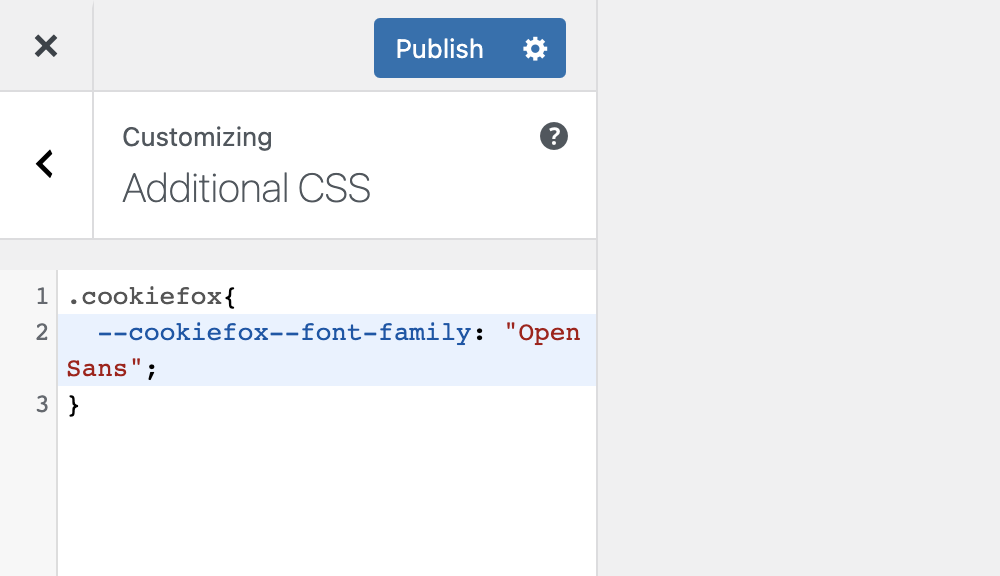
.cookiefox{
    --cookiefox--font-family: "Open Sans";
}
.cookiefox{
    --cookiefox__notice--box-shadow: none;
    --cookiefox__modal--border-radius: 0px;
}