This packages enables the usage of core Frontegg features in mobile applications built with flutter. Using this package, you'll be able to integrate Frontegg's login and signup flows.
User management (administration box) capabilities are not available using the flutter SDk.
In pubspec.yaml:
frontegg: ...versionImport in project
import 'package:frontegg_mobile/frontegg.dart';final frontegg = Frontegg("baseUrl", "logoImage");
FronteggUser? user;Login
TextButton(
  child: Text('login'),
  onPressed: () async {
    user = await frontegg.login(context);
    setState(() {});
})
Sign Up
 TextButton(
  child: Text('signup'),
  onPressed: () async {
    user = await frontegg.signup(context);
    setState(() {});
}),
Log out
TextButton(
  child: Text('logout'),
  onPressed: () async {
  user = await frontegg.logout();
  setState(() {
    if (user?.isAuthorized == false) {
    user = null;
    }
   });
 }
User Information
after login
user?.email, user?.name, user?.phoneNumberaccessToken is saved in shared preferences, in order to get it, use:
import 'package:shared_preferences/shared_preferences.dart';


final SharedPreferences prefs = await SharedPreferences.getInstance();
final String? token = prefs.getString('accessToken');
final String? refreshToken = prefs.getString('refreshToken');
If you need localization (i18n), create a folder called localization in a root directory of the application and a json file that will contain the translations (e.g. filename.json. don't forget to add it in pubspec.yaml) and add it while initialization like:
final frontegg = Frontegg("baseUrl", "logoImage", localizationFileName: 'filename.json');
FronteggUser? user;{
"login": "Sign in",
"signup": "Sign Up",
"email": "Email",
"enter_your_password": "Enter Your Password",
"password": "Password",
"forgot_password": "Forgot Password?",
"email_and_password_are_required": "Email and password are required",
"required": "Required",
"must_be_a_valid_email": "Must be a valid email",
"dont_have_an_account": "Don't have an account?",
"already_have_an_account": "Already have an account?",
"something_went_wrong": "Something went wrong",
"magic_link_error": "Authentication with Magic Link is not available on mobile devices",
"or": "or",
"with": "with",
"continue": "Continue",
"check_our_email": "Check your email",
"we_sent_code_at": "We sent you a six digit code at",
"enter_code_below": "Enter the generated 6-digit code below",
"email_required": "Email is required",
"havent_received_it": "Haven’t received it?",
"resend_code": "Resend a new code",
"twofactor_authentication": "Two-Factor authentication",
"enter_code_from_app": "Please enter the 6 digit code from your authenticator app",
"dont_ask_for_365_days": "Don't ask again on this device for 365 days",
"having_trouble": "Having trouble?",
"disable_multifactor_with_code": "Click here to disable Multi-Factor with recovery code",
"recover_MFA": "Recover MFA",
"enter_MFA_recovery_code": "Please enter your MFA recovery code",
"code": "Code",
"input_code": "Input code",
"enter_email_to_reset_password": "Enter the email address associated with your account and we'll send you a link to reset your password",
"password_reset_email_has_been_sent": "A password reset email has been sent to your registered email address",
"remind_me": "Remind me",
"invalid_authentication": "Invalid authentication",
"enter_email": "Enter your email",
"enter_name": "Enter your name",
"name": "Name",
"enter_company_name": "Enter your company name",
"company_name": "Company name",
"data_required": "All data is required",
"thanks_for_signing_up": "Thanks for signing up!",
"check_inbox_to_activate_account": "Please check your inbox in order to activate your account.",
"wrong_code": "Wrong Code"
}To access Google Sign-In, you'll need to make sure to register your application.
You do need to enable the OAuth APIs that you want, using the Google Cloud Platform API manager.
Make sure you've filled out all required fields in the console for OAuth consent screen.
Otherwise, you may encounter APIException errors.
This plugin requires iOS 9.0 or higher.
- First register your application.
- Make sure the file you download in step 1 is named
GoogleService-Info.plist. - Move or copy
GoogleService-Info.plistinto the[my_project]/ios/Runnerdirectory. - Open Xcode, then right-click on
Runnerdirectory and selectAdd Files to "Runner". - Select
GoogleService-Info.plistfrom the file manager. - A dialog will show up and ask you to select the targets, select the
Runnertarget. - Then add the
CFBundleURLTypesattributes below into the[my_project]/ios/Runner/Info.plistfile.
<!-- Put me in the [my_project]/ios/Runner/Info.plist file -->
<!-- Google Sign-in Section -->
<key>CFBundleURLTypes</key>
<array>
	<dict>
		<key>CFBundleTypeRole</key>
		<string>Editor</string>
		<key>CFBundleURLSchemes</key>
		<array>
			<!-- TODO Replace this value: -->
			<!-- Copied from GoogleService-Info.plist key REVERSED_CLIENT_ID -->
			<string>{REVERSED_CLIENT_ID}</string>
		</array>
	</dict>
</array>
<!-- End of the Google Sign-in Section -->Register your application in Facebook Developer Console. Create a new app and fill the form as requested. Select Facebook login setup and skip the 2nd & 3rd steps.
Add some string-related values to strings.xml file.
<?xml version="1.0" encoding="utf-8"?>
<resources>
    <string name="app_name">{your app name}</string>
    <string name="facebook_app_id">{your-app-id}</string>
    <string name="fb_login_protocol_scheme">fb{your-app-id}</string>
</resources>
Add the below permission in AndroidManifest.xml file after application element.
<uses-permission android:name="android.permission.INTERNET"/>
Add the following meta-data element, an activity for Facebook, and activity and intent filter for Chrome Custom Tabs inside your application element
<meta-data android:name="com.facebook.sdk.ApplicationId" android:value="@string/facebook_app_id"/>
<activity android:name="com.facebook.FacebookActivity"
    android:configChanges="keyboard|keyboardHidden|screenLayout|screenSize|orientation"
    android:label="@string/app_name" />
<activity
  android:name="com.facebook.CustomTabActivity"
  android:exported="true">
<intent-filter>
<action android:name="android.intent.action.VIEW" />
<category android:name="android.intent.category.DEFAULT" />
<category android:name="android.intent.category.BROWSABLE" />
<data android:scheme="@string/fb_login_protocol_scheme" />
</intent-filter>
</activity>
Rebuild your project to cross-verify the whole configuration.
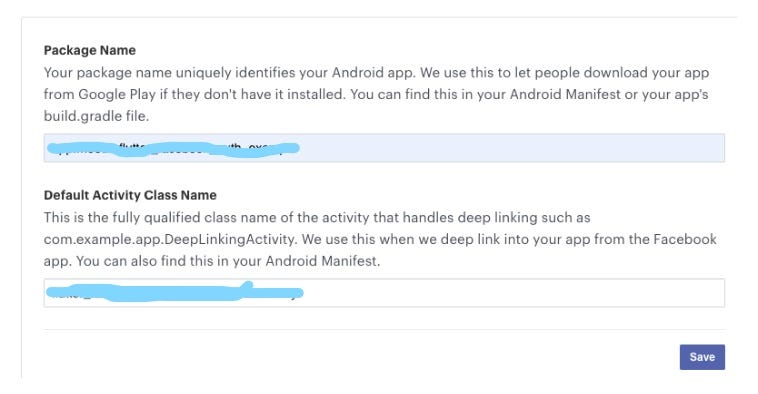
Package Name : Default Activity Class Name :
You can generate a key hash using the below command in the terminal.
keytool -exportcert -alias androiddebugkey -keystore ~/.android/debug.keystore | openssl sha1 -binary | openssl base64
Now you have to add native platforms in-app. so let's do this by a tap on Add platform button which is located at the Setting -> Basics menu
Registration Of Android Platform
Set ios minimal Deployment target to 14
Please add the below code in Info.plist file.
<key>CFBundleURLTypes</key>
	<array>
		<dict>
			<key>CFBundleTypeRole</key>
			<string>Editor</string>
			<key>CFBundleURLSchemes</key>
			<array>
				<string>{Your Reverse Client Id}</string>
				<string>fb{Your FB App Id}</string>
			</array>
		</dict>
	</array>
	<key>FacebookAppID</key>
	<string>{Your FB App Id}</string>
  <key>FacebookClientToken</key>
  <string>{Your client-token}</string>
	<key>FacebookDisplayName</key>
	<string>{Your FB App Name}</string>
	<key>LSApplicationQueriesSchemes</key>
	<array>
  		<string>fbapi</string>
  		<string>fbauth2</string>
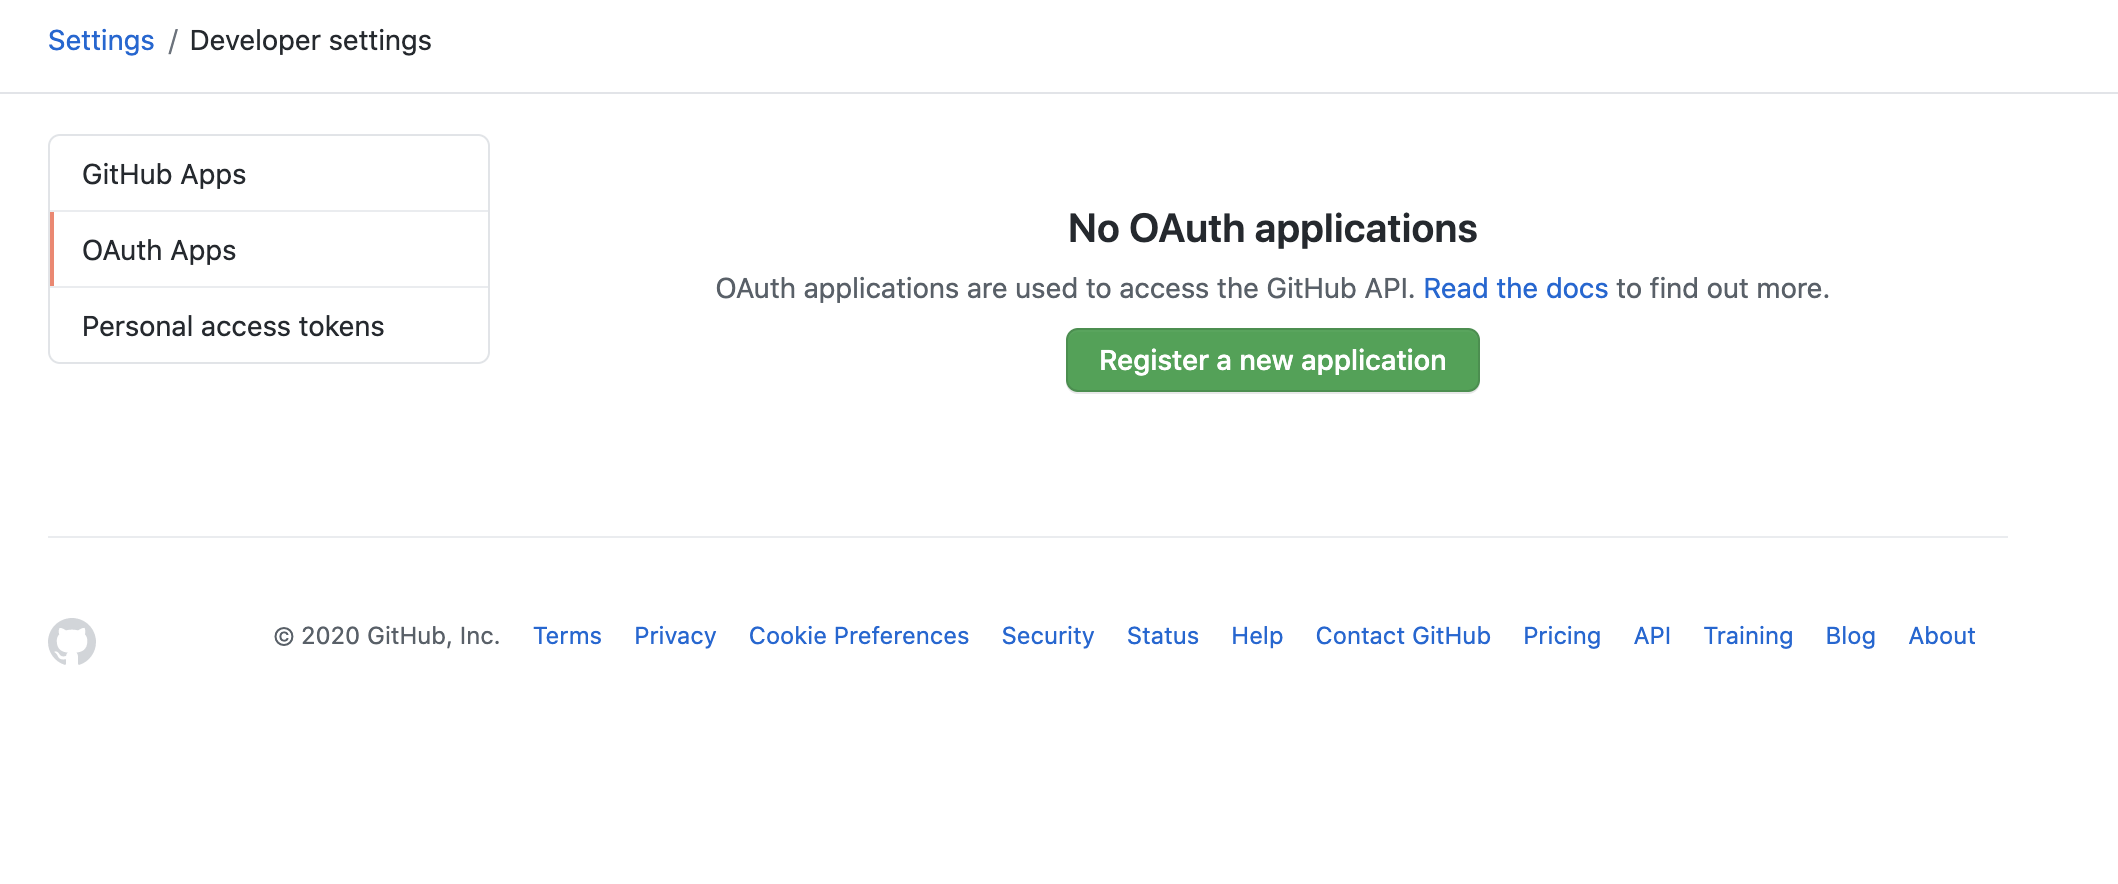
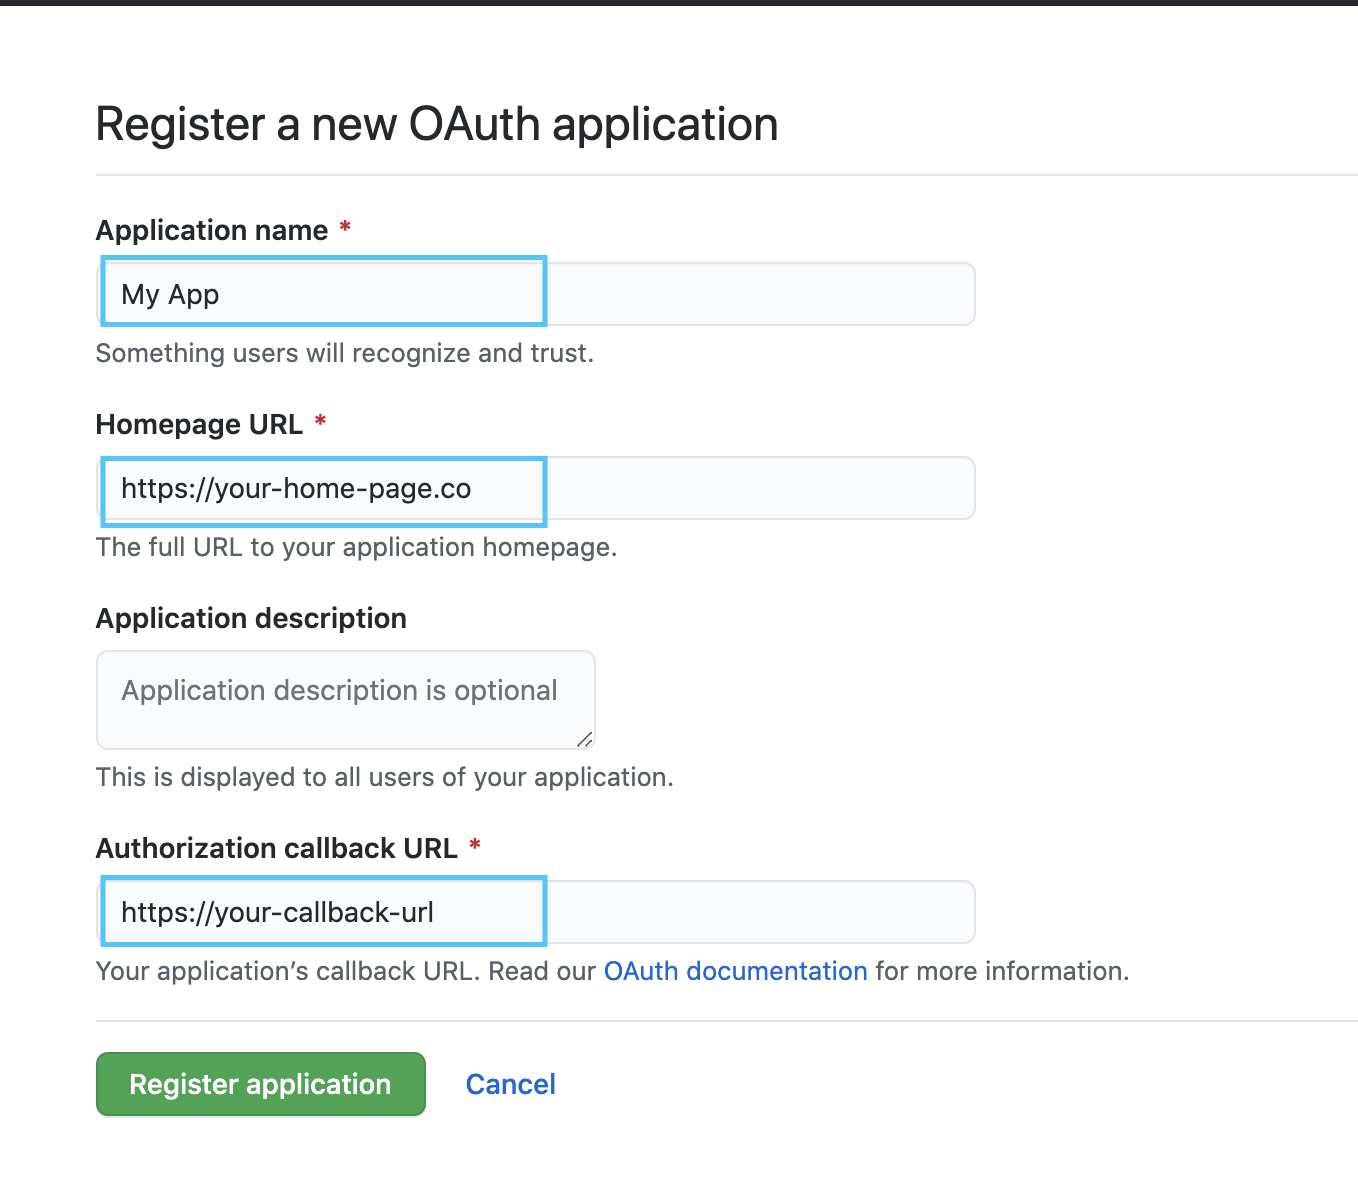
</array>You'll need to register an OAuth App.
Configure your app by setting a callbackUrl, this can be any url.
Once registered, you’ll be given a OAuth token and OAuth secret.
Initialize Frontegg like
 final frontegg = Frontegg("baseUrl", "logoImage",
gitHubSignIn: {"clientId": "your-client-id", "clientSecret": "your-client-secret"});For using this library you have to create an azure app at the Azure App registration portal. Use native app as platform type (with callback URL: https://login.live.com/oauth20_desktop.srf).
Initialize Frontegg like
 final frontegg = Frontegg("baseUrl", "logoImage",
      microsoftConfig: {"tenant": "your-tenant-id", "clientId": "your-application(client)-id"});


