The purpose of this app is to allow GOV.UK designers to prototype html layouts that can be linked together and published publicly for research and usability testing. This was developed primarily for User Formats designers to use, but there's no reason other designers couldn't use it too.
It exists for the following reasons:
- To make it easier to create structured layouts based on a grid system.
- To avoid the time and code overhead of having to prototype on branches of govuk repos.
- To allow us to easily publish prototypes for testing (using Heroku).
Some caveats:
- You need Rails 4 installed.
- The emphasis is on speed of prototype creation for designers rather than perfect code for developers.
- It's about making quick, throw away layouts that would need to be rebuilt for production.
- It uses Rails so requires that locally to be used.
- It hotlinks to the GOV.UK application.css and gov_uk_template.css in production.
- It uses copies of the frontend toolkit and design patterns grids, both of which may need copying across again if they change significantly.
It's probably not that much use to others, but help yourself if you want to clone :)
This prototyping tool is essentially not much more than a Rails app with some additional SCSS and markup made available to make making pages easier.
The first prerequisite is to have Rails 4 installed.
Rails can be installed using RubyGems, which requires ruby to be installed on your machine.
With ruby installed (and ideally managed using rbenv) you can then install Rails with RubyGems with the command:
gem install rails
With Rails successfully installed, you should then clone this repository to a location of your choice on your machine:
git clone [email protected]:futurefabric/govuk-prototyping-rails.git
In the command line, cd in to the repo you just cloned. To start the rails server, run:
rails server
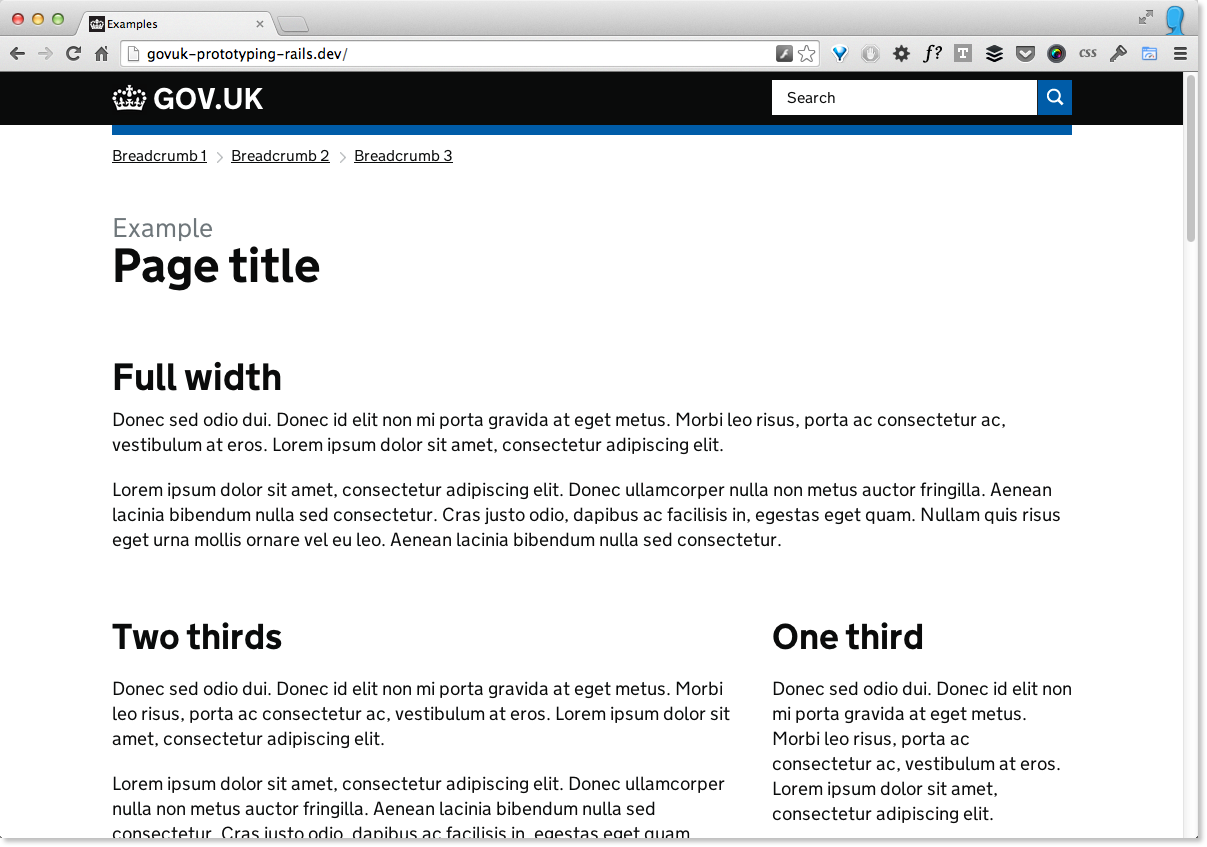
You should now be able to view the default example view of this prototyping app by going to http://localhost:3000 in your browser. It should look something like this:
The idea is to have separate branches for separate prototypes, which can then optionally be deployed to their own respective heroku apps.
This should be the first thing you do. Do not make commits/push to master when making a prototype. I will be really unhappy and may cry. To set up your local branch, first create it and then check it out:
git checkout -b your_prototype_name
By default, when you go to http://localhost:3000 the prototyping app will serve up an example page showing some dummy content laid out using the GOV.UK elements grid system, which works responsively.
This is for two reasons. Firstly, because it's a 'hello world' that shows everything has worked to this point. Secondly, because it gives you some example HTML and CSS to refer to when making layouts.
To remove this default example index page (which will therafter still be available at http://localhost:3000/examples) and replace it with one for your prototype, you'll need to do two things: create a controller and set up a route.
A controller in an MVC framework like Rails tells the app what to do when a user visits a certain url. When making a prototype it is what we'll use to separate out different parts or pages of the prototype.
To create a controller for your new default index page, run:
rails generate controller home index
This will create the controller (and associated files) for a new page.
Before you can view your new page, you need to give it a title and tell the app whether or not it has related links and breadcrumbs.
Open app/controllers/home_controller.rb and app/controllers/examples_controller.rb
In the examples_controller.rb you'll see three variables:
@title = 'Examples'
@has_breadcrumbs = true
@has_related_links = false
Copy these across to home_controller.rb in exactly the same place between def index and end.
For now, change @has_breadcrumbs to false (we'll come back to this in a moment).
Save your changes and the page can now be viewed at http://localhost:3000/home/index
If you want to edit the html for the page you just created, you'll need to edit it's view.
A view is where code that is presented in the browser is kept.
To edit the code for the example above, open app/views/home/index.html.erb
An .erb file can contain HTML and Ruby.
Routes allow you to map urls to controllers.
In the case of the new page we made above, we might want to make a cleaner, tidier url so that our default index page sits at the root url (http://localhost:3000).
To do this you need to edit config/routes.rb.
Open this file and change the site root by replacing:
root 'examples#index'
with:
root 'home#index'
Save your changes and your newly created view should now be viewable at http://localhost:3000
You can add more controllers and routes to create the urls you need for your prototype.
Let's say we want to make a page that lives at http://localhost:3000/contact
To do this, you would first generate a controller for it. In your command line:
rails generate controller contact index
Then you would configure your page as described above.
Then open up config/routes.rb and add the following to this file (ideally beneath where the root is specified)
get 'contact' => 'contact#index'
This tells Rails that any request for http://localhost:3000/contact should use the contact controller and specifically, it's index action.
This will then automatically look for a file in app/views/contact/index.html.erb and display it in the browser.
Try it. Save your changes and go to http://localhost:3000/contact.
You can do this as many times as you need for different pages and then link them together.
If you want either of these things to appear on a page, change the variable to true in the appropriate controller.
Then copy the following two files from app/views/examples to the folder of the view you want them to appear in:
_breadcrumbs.html.erb
_related_links.html.erb
When you visit the page you will now see breadcrumbs and related links added.
To edit the content for these two components, open the above files and make the changes you need to.
At some point you'll probably need to share your prototype on a public url.
To do this, it's probably best to use Heroku. For two reasons: it's free (albeit the page may take time to initally be served to the browser) and it plays nicely with Rails and git.
This prototyping app was made with the following in mind:
- One branch per prototype
- One Heroku app per prototype
This means each prototype is isolated and not affected by others and can also be permanently available on a given Heroku url.
So a branch needs to map to a Heroku app. Follow these steps:
If you haven't already, create an account on Heroku and install the toolbelt.
In your command line (replacing 'prototype-name' with the name of your prototype):
heroku apps:create prototype-name
This will create an app at http://prototype-name.herokuapp.com
git remote
Should show a remote called heroku. We need to rename this to match our prototype:
git remote rename <old> <new>

(eg.  git remote rename heroku prototype-name-heroku)
git push prototype-name-heroku your-local-branch-name:master
This will push your app to the heroku address you set in step 2.
And you're done...
...hopefully.