Live Demo https://hypy13-django-daisy.hf.space/en/admin/
Username: demo
Password: demo
for RTL mode: https://hypy13-django-daisy.hf.space/fa/admin/
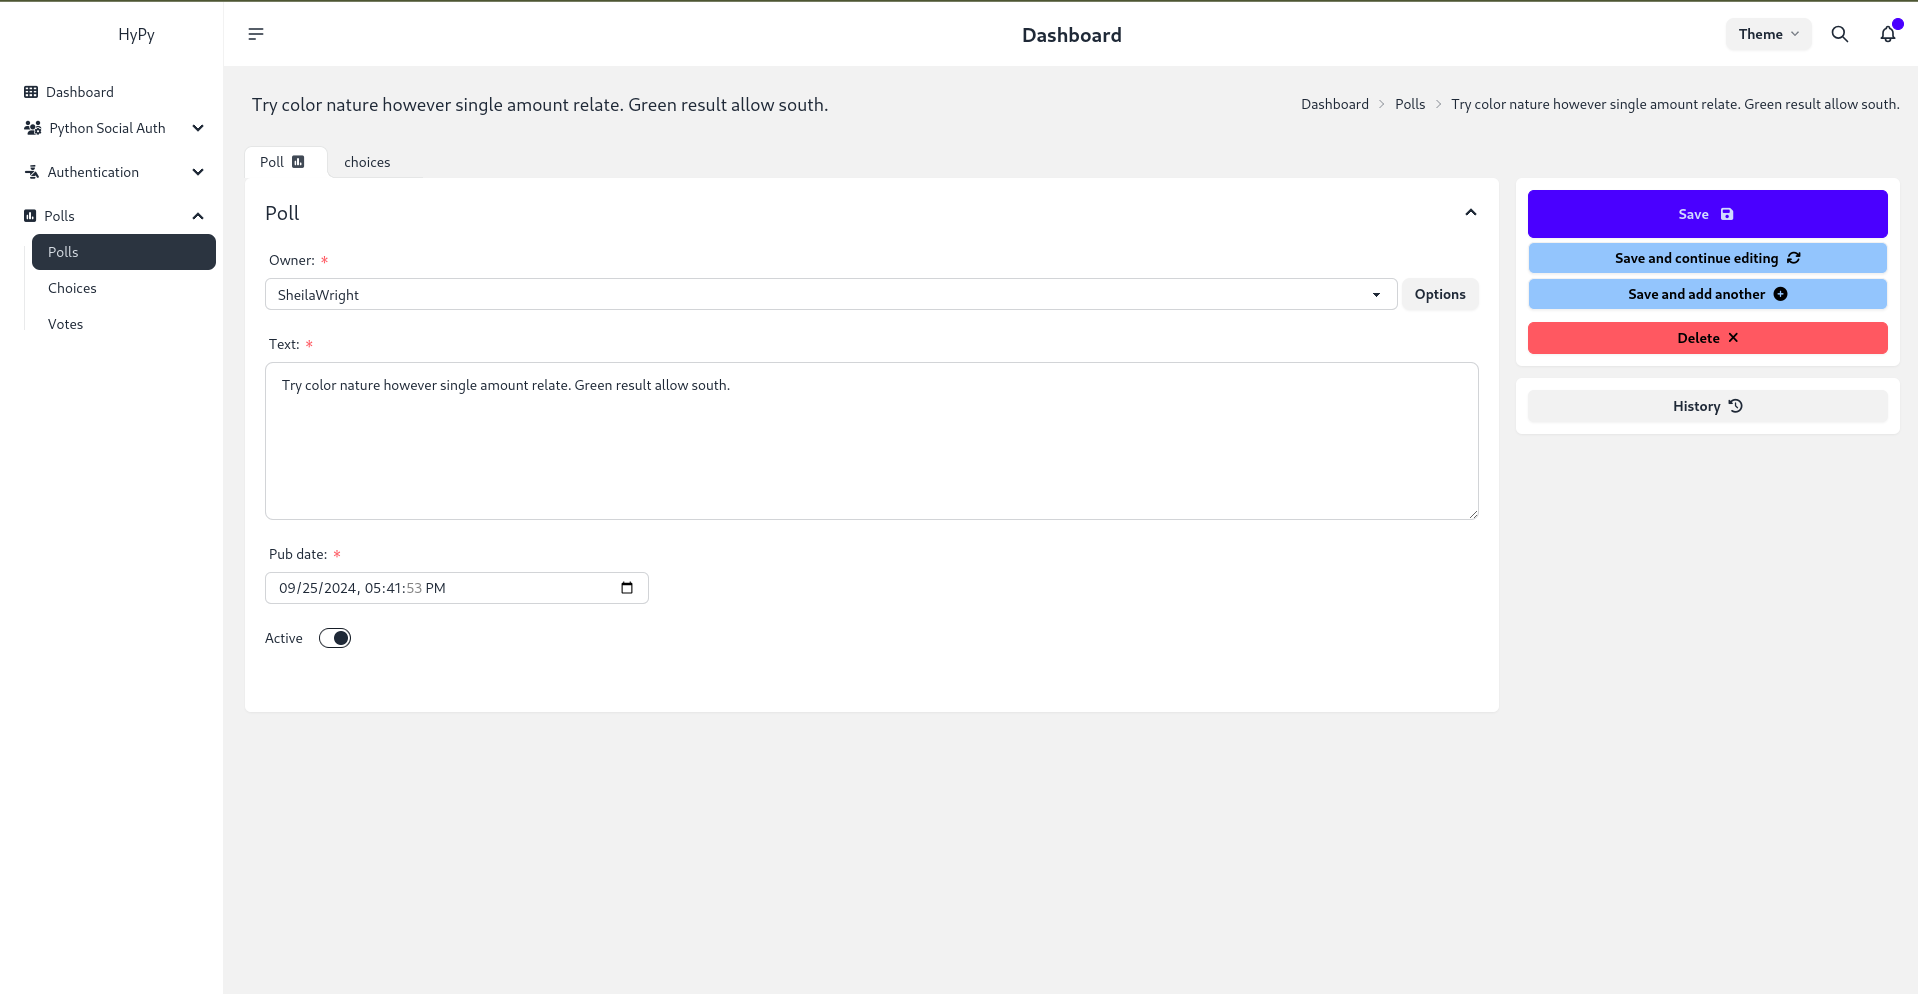
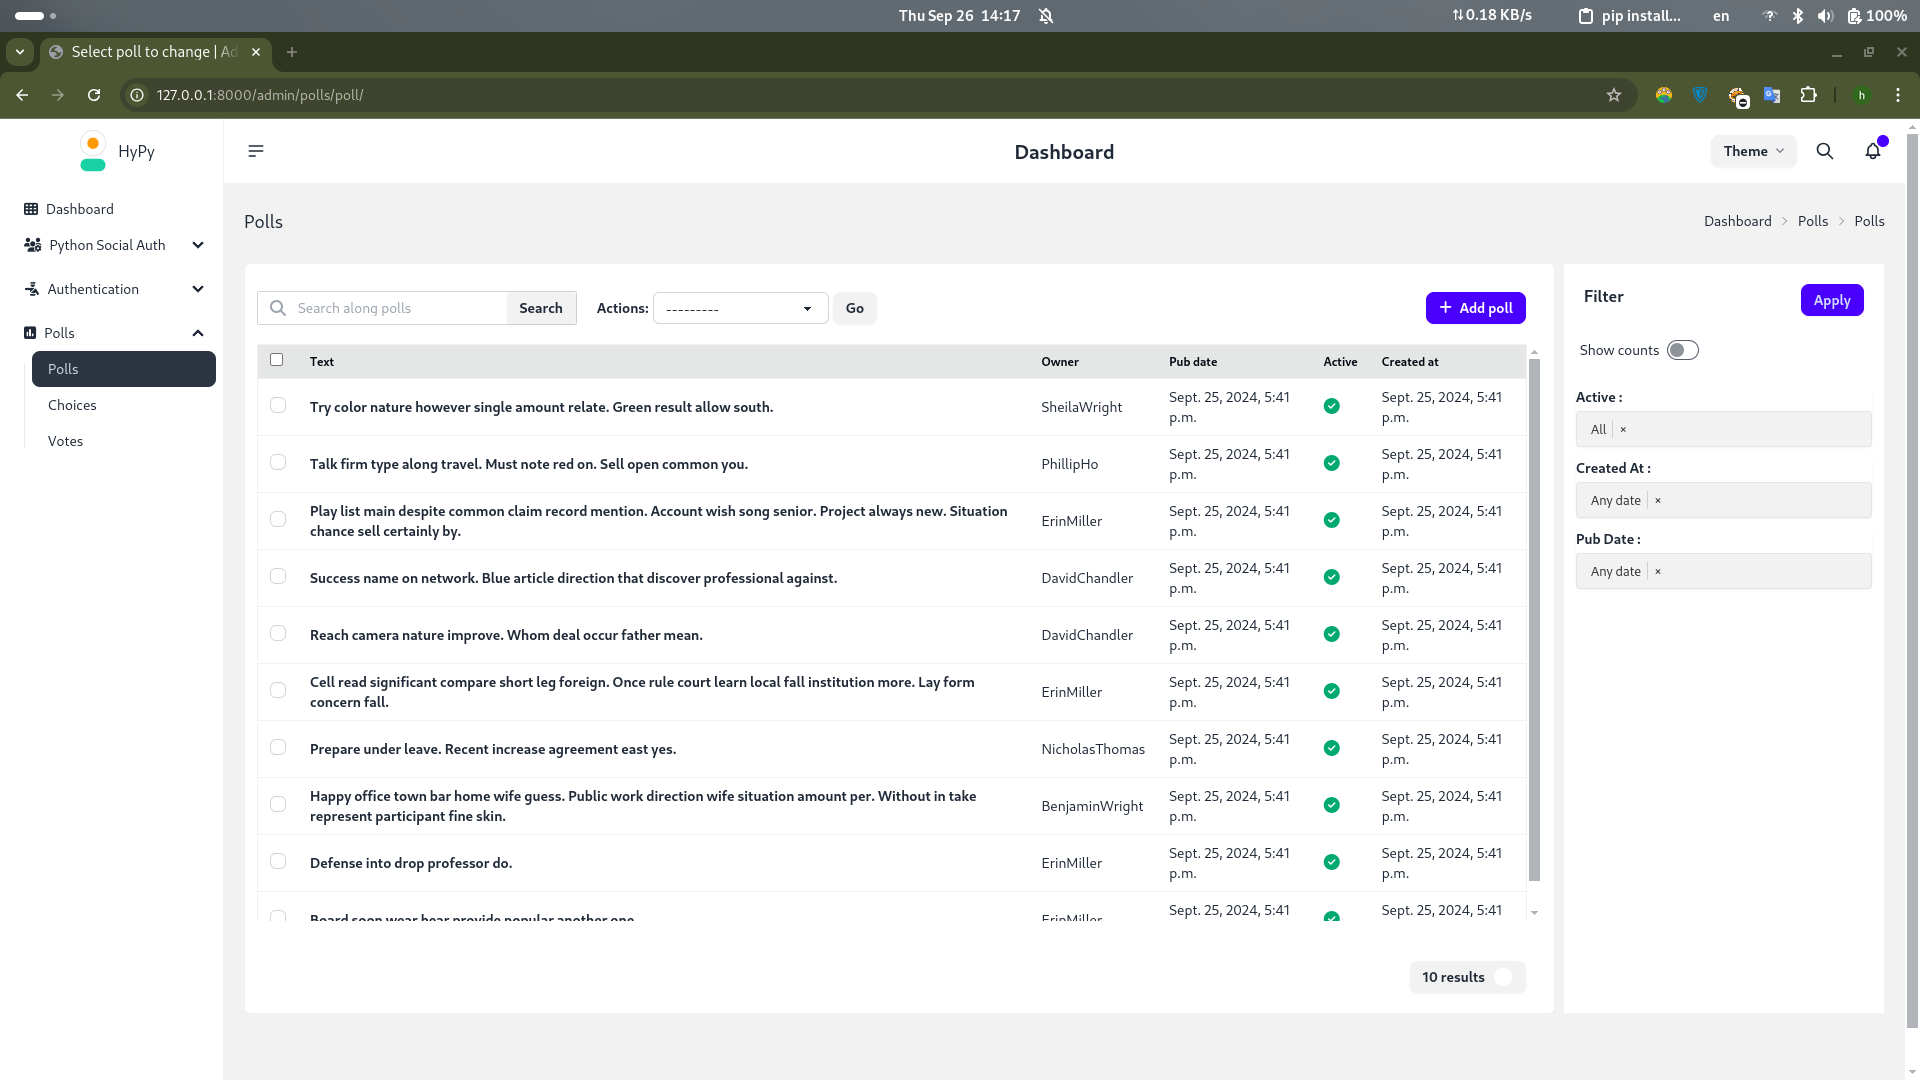
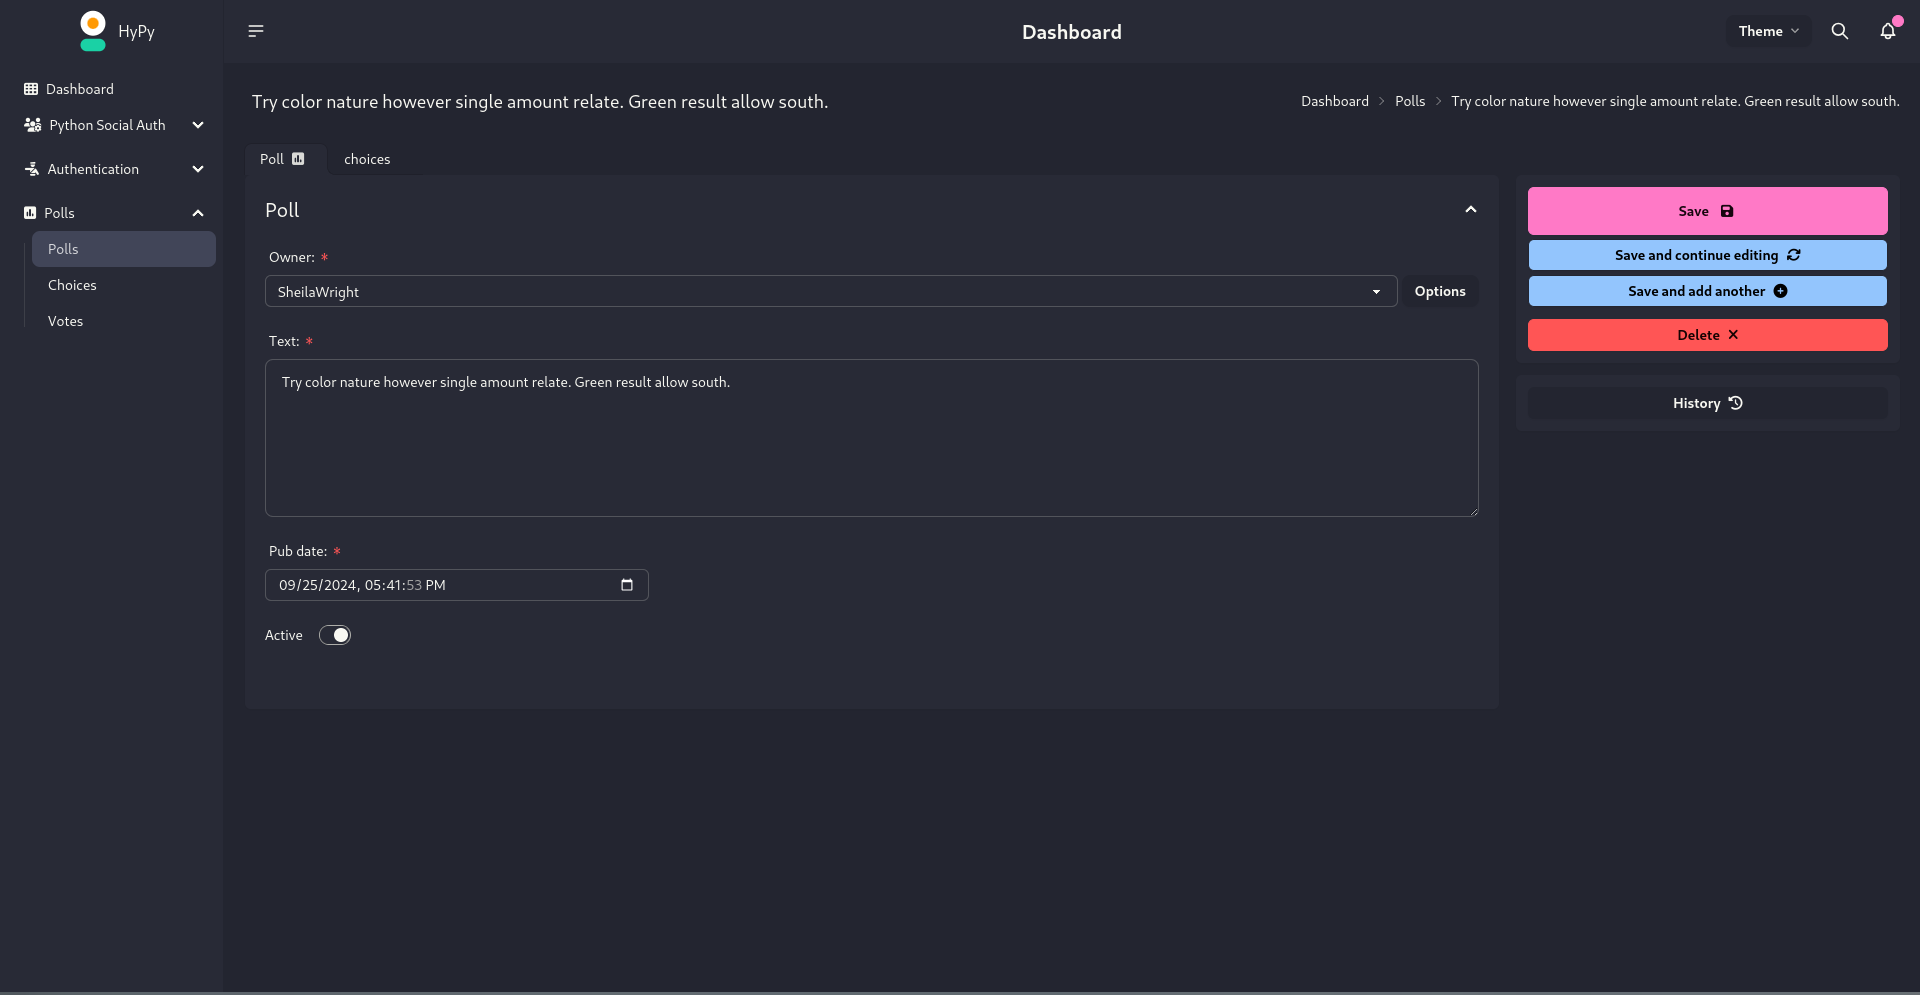
Django Daisy is a modern, sleek, and highly responsive admin dashboard built with DaisyUI and TailwindCSS. It brings a polished and user-friendly interface that scales beautifully across devices, from mobile to desktop, making your admin experience fast and efficient.
https://hypy13.github.io/django-daisy-docs/
- 🌍 Responsive Design: Perfectly adapts to all screen sizes, ensuring a seamless user experience across mobile, tablet, and desktop devices.
- 🔄 RTL Support: Complete right-to-left language support, with a clean and consistent layout for RTL users.
- 🎨 Multi-Theme Support: Effortlessly switch between themes to match your brand identity or personal style.
- 🚀 Enhanced UX/UI: Experience an optimized interface with tabbed inline admin panels for better organization and usability.
- 📝 Tabbed Inline Admin: Manage related data more efficiently with tabbed inline admin sections, improving organization and accessibility.
- 🔍 Advanced Admin Filtering: Utilize multi-value filters for fast and precise navigation through admin lists.
- Django 3.2 - 5.1.1 are fully supported.
Stay tuned! Continuous improvements and new features are regularly added to enhance your experience.
pip install django-daisypip install -e git+https://github.com/hypy13/django-daisy.git#egg=django-daisyAfter installation, add django_daisy to your INSTALLED_APPS in the Django settings file.
INSTALLED_APPS = [
    'django_daisy',
    'django.contrib.admin',
    ...
]
Once you've made these changes, enjoy the fresh new theme!
You can configure app-specific settings in the apps.py file for each application within your Django project. Below is an example of how to customize the Polls app:
class PollsConfig(AppConfig):
    name = 'polls'  # The name of the app
    icon = 'fa fa-square-poll-vertical'  # FontAwesome icon for the app (optional)
    divider_title = "Apps"  # Title of the section divider in the sidebar (optional)
    priority = 0  # Determines the order of the app in the sidebar (higher values appear first, optional)
hide = False # Set to True to hide the app from the sidebar menu (optional)- name: The name of the app.
- icon: An optional FontAwesome icon to display next to the app name in the sidebar.
- divider_title: The title for the section divider, grouping similar apps together (optional).
- priority: An optional setting that controls the order of apps in the sidebar; higher values appear at the top.
- hide: If set to
True, the app will be hidden from the sidebar menu.
You can define various project-wide settings for customizing the Django admin interface in your settings.py file using the DAISY_SETTINGS dictionary. Below is an example configuration:
DAISY_SETTINGS = {
    'SITE_TITLE': 'Django Admin',  # The title of the site
    'SITE_HEADER': 'Administration',  # Header text displayed in the admin panel
    'INDEX_TITLE': 'Hi, welcome to your dashboard',  # The title for the index page of dashboard
    'SITE_LOGO': '/static/admin/img/daisyui-logomark.svg',  # Path to the logo image displayed in the sidebar
    'EXTRA_STYLES': [],  # List of extra stylesheets to be loaded in base.html (optional)
    'EXTRA_SCRIPTS': [],  # List of extra script URLs to be loaded in base.html (optional)
    'LOAD_FULL_STYLES': False,  # If True, loads full DaisyUI components in the admin (useful if you have custom template overrides)
    'SHOW_CHANGELIST_FILTER': False,  # If True, the filter sidebar will open by default on changelist views
    'DONT_SUPPORT_ME': False, # Hide github link in sidebar footer
    'SIDEBAR_FOOTNOTE': '', # add footnote to sidebar
    'APPS_REORDER': {
        # Custom configurations for third-party apps that can't be modified directly in their `apps.py`
        'auth': {
            'icon': 'fa-solid fa-person-military-pointing',  # FontAwesome icon for the 'auth' app
            'name': 'Authentication',  # Custom name for the 'auth' app
            'hide': False,  # Whether to hide the 'auth' app from the sidebar (set to True to hide)
            'app': 'users',  # The actual app to display in the sidebar (e.g., rename 'auth' to 'users')
            'divider_title': "Auth",  # Divider title for the 'auth' section
        },
        'social_django': {
            'icon': 'fa-solid fa-users-gear',  # Custom FontAwesome icon for the 'social_django' app
        },
    },
}- SITE_TITLE: Sets the title of your site (visible in the browser tab).
- SITE_HEADER: The header displayed at the top of the Django admin interface.
- INDEX_TITLE: The title shown on the dashboard page of the admin panel.
- SITE_LOGO: Specifies the path to a logo image that appears in the sidebar.
- EXTRA_STYLES: A list of additional CSS files to be loaded into the admin interface (useful for custom styling).
- EXTRA_SCRIPTS: A list of additional JavaScript files to be loaded into the admin interface.
- LOAD_FULL_STYLES: If set to
True, loads the full DaisyUI library for styling, which can be useful if you have overridden the admin templates. - SHOW_CHANGELIST_FILTER: Controls whether the changelist filter sidebar is shown by default.
- DONT_SUPPORT_ME: Hide github link in sidebar footer.
- SIDEBAR_FOOTNOTE: Add footnote to sidebar.
- APPS_REORDER: This allows you to reorder, customize, and modify third-party apps. For example, you can change the name of the
authapp tousers, provide a custom icon, or hide it from the sidebar entirely.
To create a tabbed inline admin interface in your Django project, follow these steps:
-
Import the necessary modules: import NavTabMixin in your
admin.pyfile:from django_daisy.mixins import NavTabMixin
-
Extend
NavTabMixinin yourInlineAdminclass: Create your inline admin class by extendingNavTabMixinalong withadmin.TabularInlineoradmin.StackedInlinefor a different layout:class ChoiceInline(admin.TabularInline, NavTabMixin): # or admin.StackedInline for a different layout model = Choice extra = 1
-
Register your inline admin class: Use the inline admin class in your
ModelAdminclass:@admin.register(Poll) class PollAdmin(admin.ModelAdmin): inlines = [ChoiceInline]
We welcome contributions from the community! Feel free to submit any issues, suggestions, or pull requests to help improve Django Daisy.
Special thanks to Cloud With Django for featuring my theme in their video. Your support means a lot!
Demo Video: https://www.youtube.com/watch?v=WEKTXu1la9M


