Kite is an AI-powered programming assistant that helps you write Python code inside JupyterLab. Kite helps you write code faster by saving you keystrokes and showing you the right information at the right time. Learn more about how Kite boosts your JupyterLab editor's capabilities at https://kite.com/integrations/jupyter/.
At a high level, Kite provides you with:
- 🧠 Line-of-Code Completions powered by machine learning models trained on the entire open source code universe
- 🔍 Instant documentation for the symbol underneath your cursor so you save time searching for Python docs
- JupyterLab >=2.2.0,<4.0.0a0
- Kite Engine
- Python 3.6+ with pip
Use another editor? Check out Kite’s other editor integrations.
The Kite Engine needs to be installed in order for the extension to work properly. The extension itself provides the frontend that interfaces with the Kite Engine, which performs all the code analysis and machine learning 100% locally on your computer (no code is sent to a cloud server).
macOS Instructions
- Download the installer and open the downloaded
.dmgfile. - Drag the Kite icon into the
Applicationsfolder. - Run
Kite.appto start the Kite Engine.
Windows Instructions
- Download the installer and run the downloaded
.exefile. - The installer should run the Kite Engine automatically after installation is complete.
Linux Instructions
- Run
bash -c "$(wget -q -O - https://linux.kite.com/dls/linux/current)"from the terminal. - The installer should run the Kite Engine automatically after installation is complete.
If you're using JupyterLab 3.0.x, simply run:
pip install "jupyterlab-kite>=2.0.2"If you're using JupyterLab 2.2.x, run:
pip install "jupyter-kite<2.0.0"
jupyter labextension install "@kiteco/jupyterlab-kite"
⚠️ JupyterLab 2.2.x requires NodeJS to be installed
Learn more about why you should use Kite with JupyterLab.
The following is a brief guide to using Kite in its default configuration.
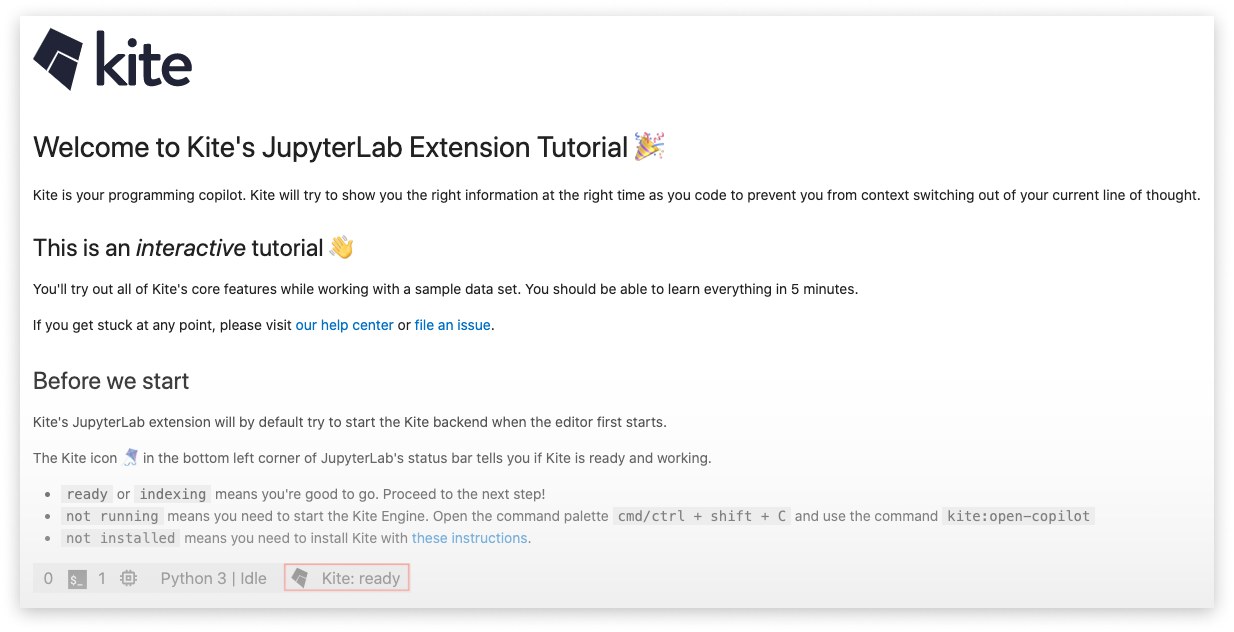
When starting JupyterLab with the Kite Assistant for the first time, you'll be guided through a tutorial that shows you how to use Kite.
This tutorial will only be displayed once. You can show it again at any time by running the command Kite: Tutorial from JupyterLab's command palette.
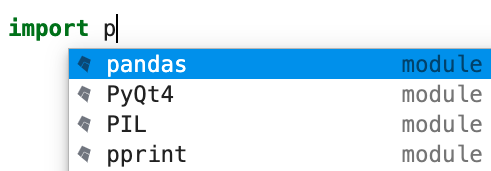
Simply start typing in a saved Python file or Jupyter notebook and Kite will automatically suggest completions for what you're typing. Kite's autocompletions are all labeled with the 🪁 symbol.
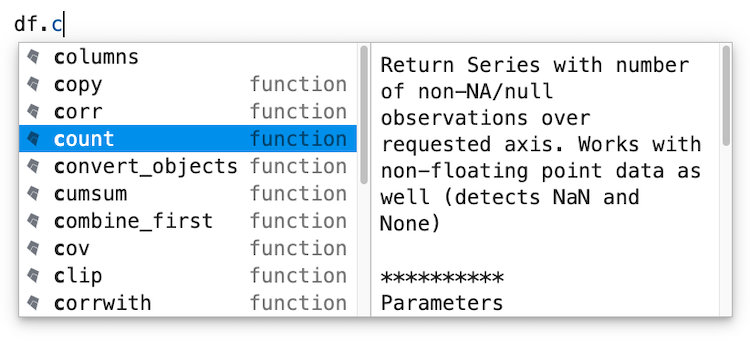
Kite's completions come with documentation to help you remember how each completion works.
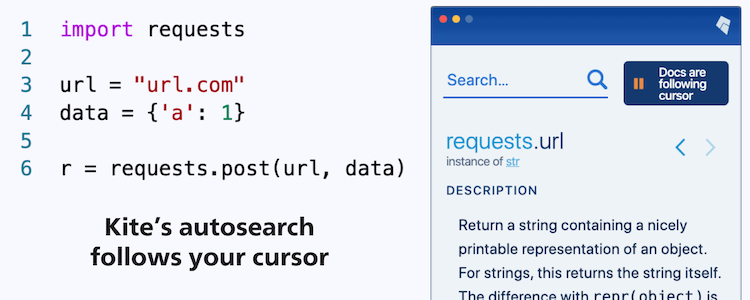
Kite can show you documentation for the symbols in your code in the separate Copilot application.
To do so, open Kite's Copilot (visit the URL kite://home in your browser), ensure that the button labeled "Click for docs to follow cursor" in the upper right corner is enabled, and then simply position your cursor over a symbol.
Kite comes with several commands that you can run from JupyterLab's command palette.
| Command | Description |
|---|---|
Kite: Open Copilot |
Open the Copilot |
Kite: Engine Settings |
Open the settings for the Kite Engine |
Kite: Tutorial |
Open the Kite tutorial file |
Kite: Help |
Open Kite's help website in the browser |
Kite: Toggle Docs Panel |
Toggle the docs panel |
Visit our help docs for FAQs and troubleshooting support.
Happy coding!
Kite is built by a team in San Francisco devoted to making programming easier and more enjoyable for all. Follow Kite on Twitter and get the latest news and programming tips on the Kite Blog. Kite has been featured in Wired, VentureBeat, The Next Web, and TechCrunch.


