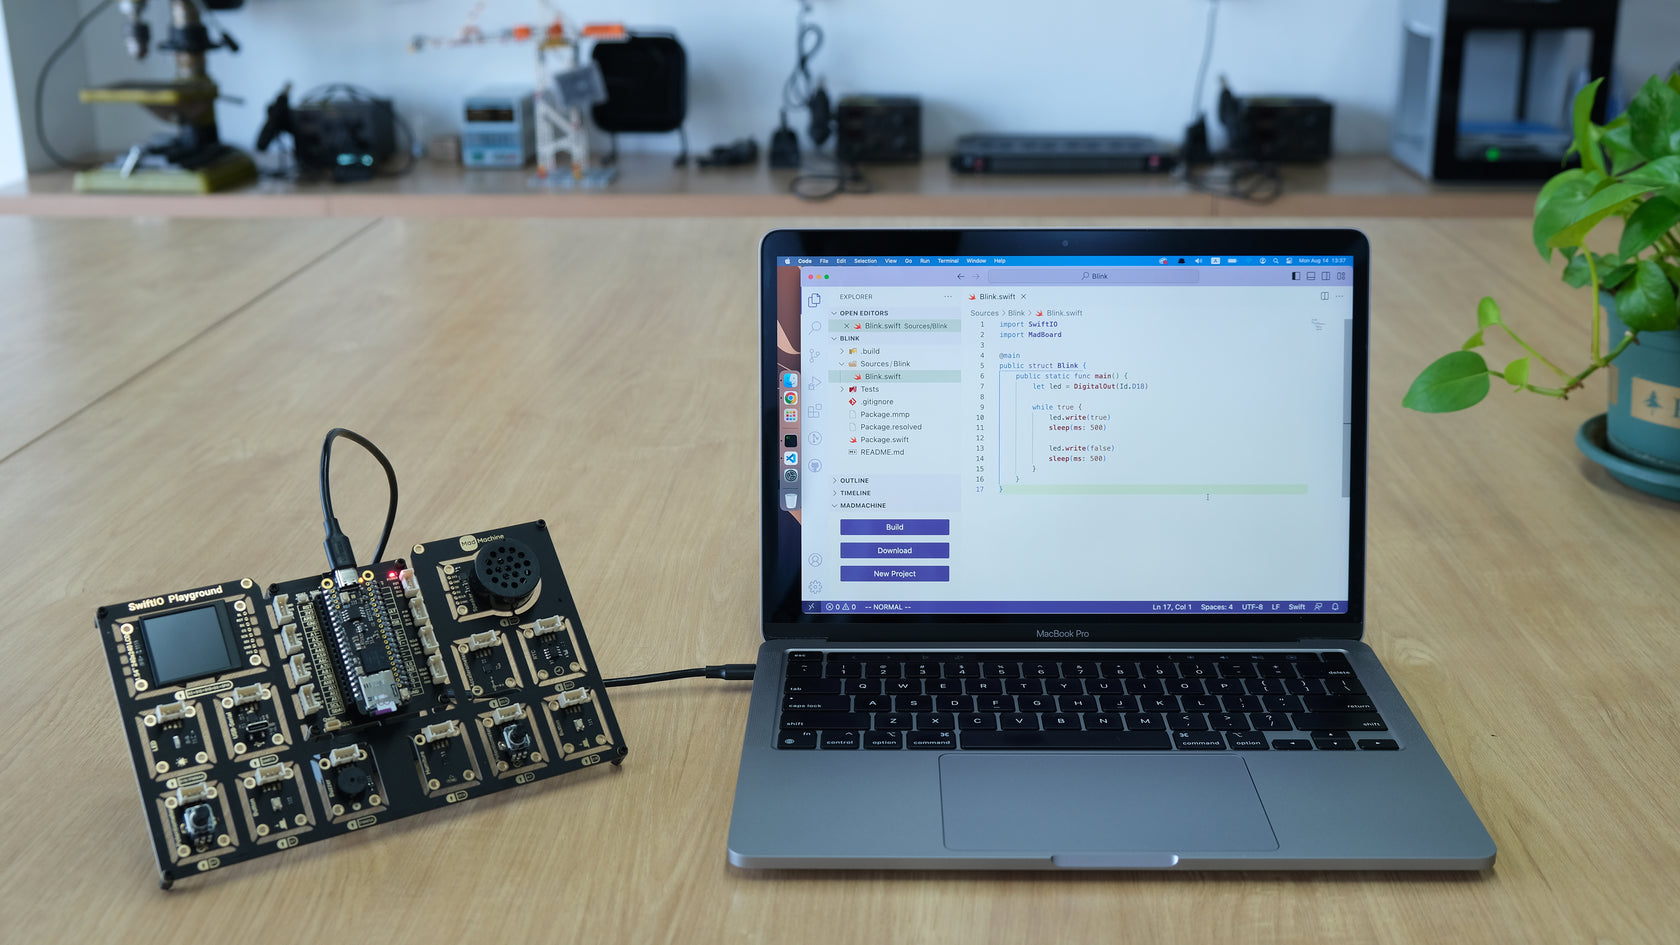
The MadExamples repository offers a collection of examples designed to help you delve into embedded Swift programming. Explore these resources to master programming microcontrollers using Swift.
Refer to this step-by-step tutorial for setting up the required software environment and working on a "Hello, World" project.
Immerse yourself and become thoroughly acquainted with embedded Swift programming by leveraging the SwiftIO Playground kit.
It contains a series of demo projects to guide you from fundamental concepts, including electronics and Swift programming, and to progressively advanced use cases such as sound generation and graphic display. Additionally, it is complemented by a series of comprehensive tutorials to provide detailed guidance throughout your learning journey.
- 01LED - start by learning how to blink an LED, which will help you become familiar with digital output.
- 02Button - interact with a button to grasp digital input concepts.
- 03Buzzer - create sound with a buzzer to understand PWM (Pulse Width Modulation).
- 04Potentiometer - rotate a potentiometer to control an LED or buzzer and explore analog input concepts.
- 05Humiture - measure temperature and humidity while learning to utilize I2C communication.
- 06RTC - retrieve the current time using an RTC via I2C communication.
- 07Accelerometer - detect movement by reading acceleration data using I2C communication.
- 08LCD - create graphics on a small screen and explore SPI communication.
- 09Speaker - play music through a speaker, grasp essential sound principles, and delve into I2S communication.
- 10UART - learn how to utilize a USB-serial converter to establish communication between your board and other USB devices.
- 11WiFi - utilize ESP32 to establish a WiFi connection and transmit/receive data from the internet.
- 12MoreProjects - engage in more advanced projects by incorporating different modules from the kit. This allows you to apply what you've learned and explore a wider range of possibilities.
These examples provide dozens of missions that come with the SwiftIO Maker kit to explore all modules.
- Mission1_Blink - blink the onboard blue LED every second by changing the output voltage.
- Mission2_RGB_LED - turn on and off red, green and blue LED alternatively every second.
- Mission3_Push_Button - turn on the LED if the button is pressed.
- Mission4_Potentiometer_RGB - change the LED blink rate by rotating a potentiometer.
- Mission5_Buzzer - change the buzzer sound pitch by rotating a potentiometer.
- Mission6_Seven_Segment_Display - show a number on a 7-segment display.
- Mission7_DC_Motors - turn a potentiometer to set the speed of a motor.
- Mission8_Servo_Motor - turn a potentiometer to change the angle of a servo between 0 and 180 degrees.
- Mission9_LCD - use I2C protocol to communicate with LCD to display a string.
- Mission10_Humiture_Sensor - use I2C protocol to read the current temperature and communicate with 16x2 LCD to display the temperature.
- Mission11_Reproduce_Mission10 - display temperature on a 16x2 LCD using external libraries.
- Mission12_Buzzer_Music - play a piece of music according to the score.


