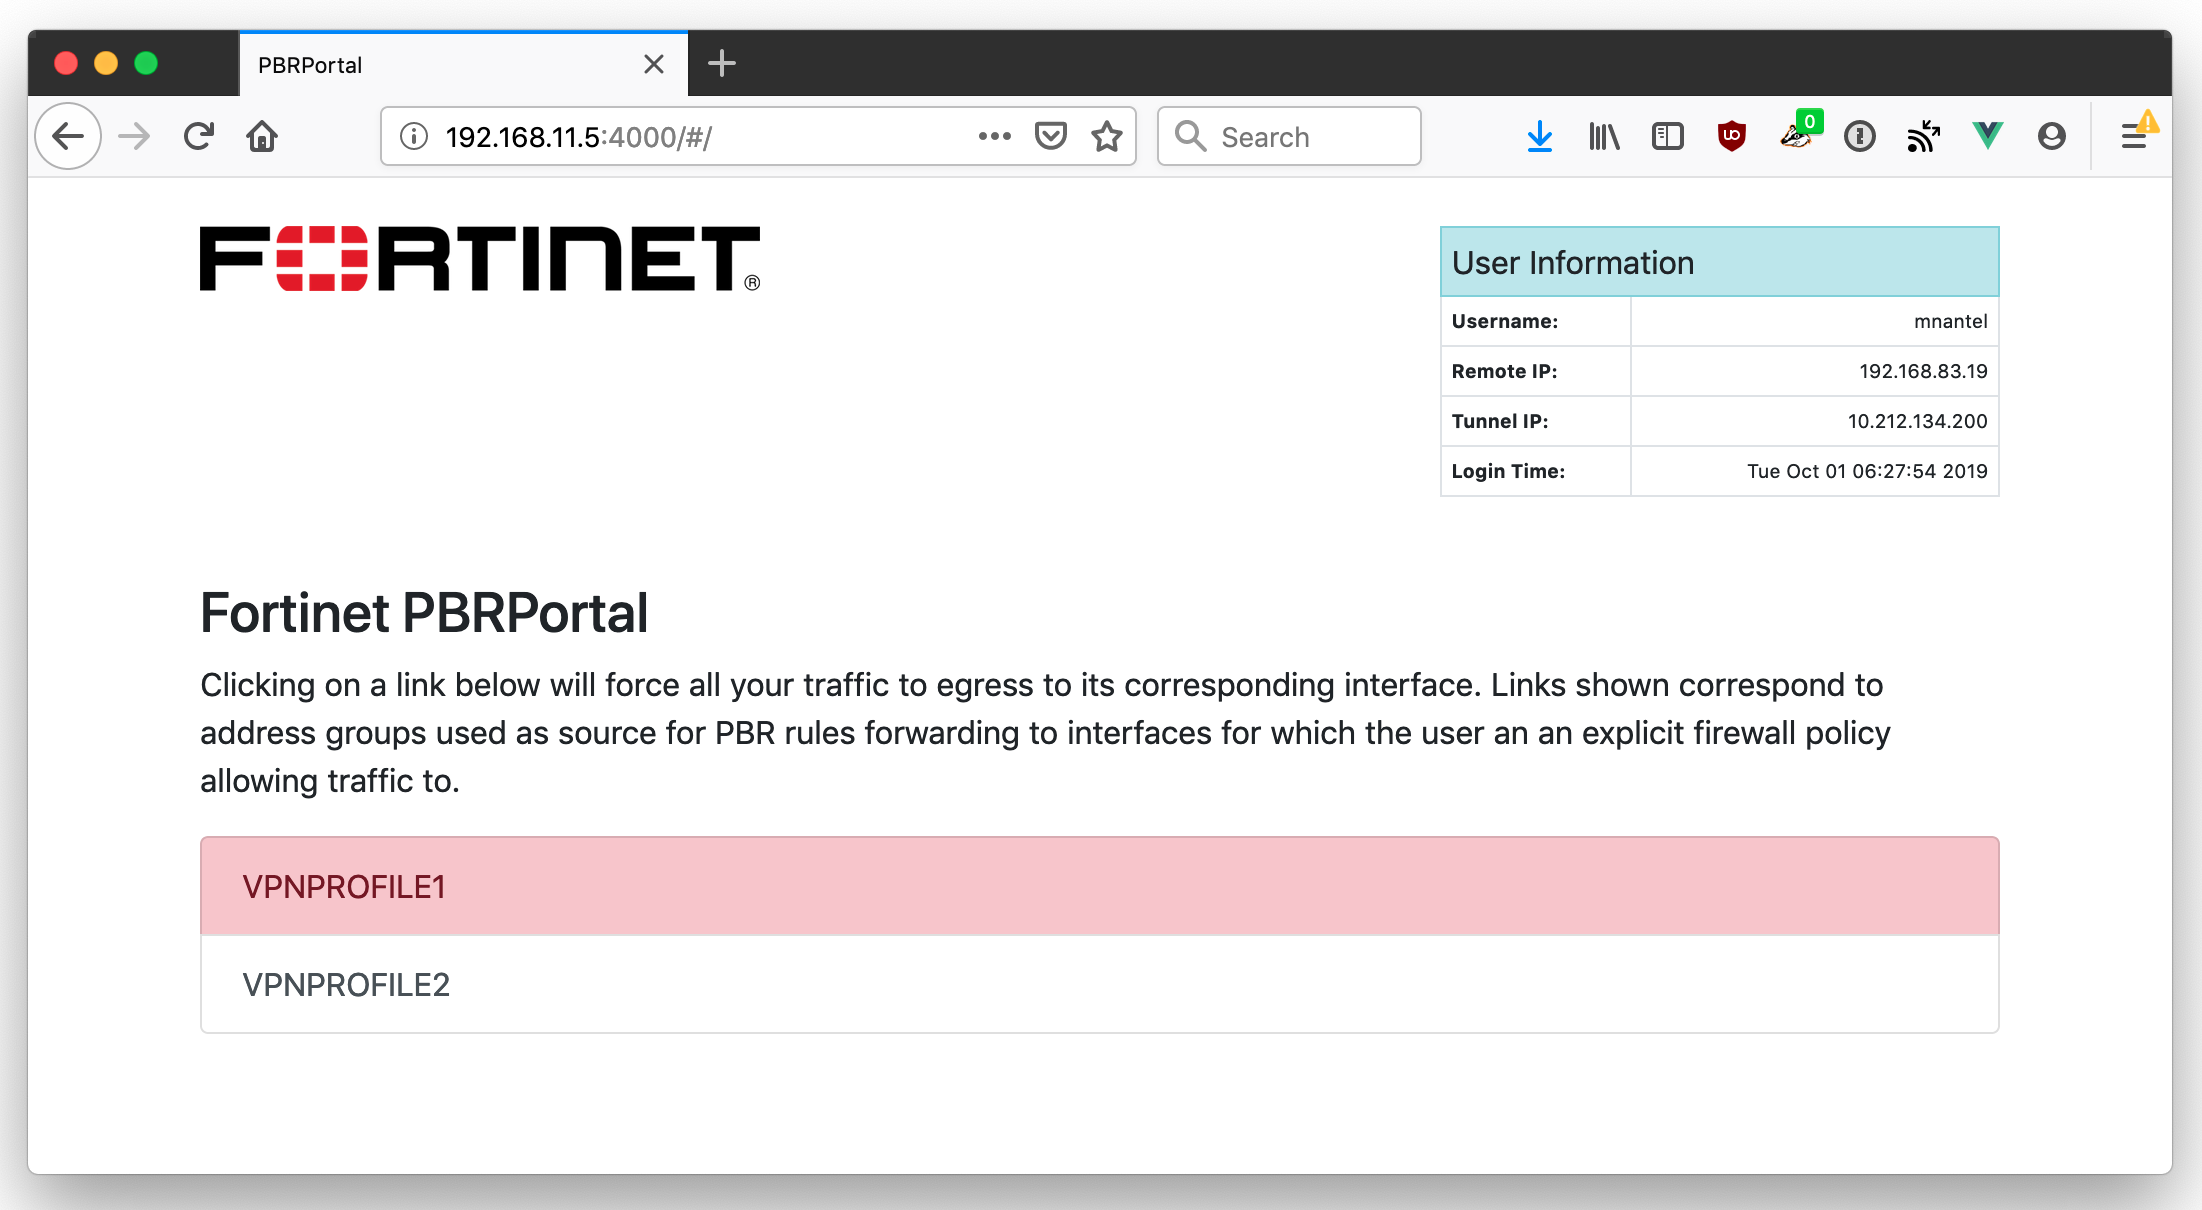
This project's purpose is to change the belonging group of the client IP accessing it to a group listed on the portal on a target FortiGate device. The workflow is the following:
- User establishes a connection to the portal using a web browser
- The portal polls the target FortiGate for a list of address group objects with the comment set to "pbrprofile". The portal lists those address groups for the user to click on.
- The user clicks on the desired target group.
- pbrportal detects the client source IP and deletes all group memberships associated with that IP address.
- pbrportal adds the client source IP object to the clicked profile (the matching address group)
pbrportal also listens for REST calls made from the FortiGate device, which can be issued by the automation framework in FortiOS 6.2.2 and above, in order to receive messages when a user initiates a connection of any kind. This API's purpose is to "reset" the source IP by removing all existing group memberships for the address object in question.
The following is a sample "config system automation-action" that can be used to call this specific API. In this example, we are resetting an IP when a user connects to the FortiGate via SSL VPN:
config system automation-trigger
    edit "newtun"
        set event-type event-log
        set logid 39947
    next
end
config system automation-action
    edit "apinewconnect"
        set action-type webhook
        set method put
        set uri "192.168.10.5/newtun/%%log.tunnelip%%"
        set port 4000
    next
end
This is not currently OS-packaged, and thus the current process for Linux based platforms (tested on Debian):
- Install Golang (see online docs on doing this for your platform)
- mkdir /opt/
- git clone https://github.com/mnantel/pbrportal
- cd pbrportal
- cp config.example.json config.json (modify as needed)
- go get -d ./... (download all necessary dependancies)
- go build .
- cp pbrportal.service /etc/systemd/system/
- systemctl daemon-reload
- systemctl enable pbrportal.service
- systemctl start pbrportal.service
Verify that the service is operating:
- systemctl status pbrportal.service
Review the logs for the service if it is not starting:
- journalctl -u pbrportal.service Logs from this command will also show ongoing activity for PBRPortal.
If you need to upgrade:
- cd /opt/pbrportal
- git pull
- systemctl restart pbrportal.service
You will need an api-admin user account on the target FortiOS device, which you can enable by creating the user under 'config system api-user' and then running command 'exec api-user generate MYUSER' to generate the apikey. Ensure that this account has trusted-host set to point only to the PBRPortal IP address.
The config.json is split in backend/frontend config options, for security reasons: backend config is not transmitted to the client-side SPA JS, to ensure only the backend has access to the device APIkey.
Frontend config allows changing the logo image file, header text and descriptive text, along with whether to show the VPN user info.
The logo image file must reside in the /web subfolder. Since the frontend is responsive, no need to resize.
If you need to support overlapping address for the target environments, you must enable 'allow-subnet-overlap', under 'config system setting'.
Sample of the related FortiOS configuration below, where PBRPortal is at 192.168.11.5, and we use 2 LDAP groups in our example. Profiles shown by PBRPortal are derived from referencing policies, pbr rules and address groups to ensure users cannot PBR themselves to interfaces without having any permissions configured (while this would technically not allow access, its just unclean).
config firewall address
    edit "nullip"
        set subnet 127.127.127.127 255.255.255.255
    next
    edit "PORTAL"
        set subnet 192.168.11.5 255.255.255.255
    next
end
config firewall addrgrp
    edit "VPNPROFILE1"
        set member "nullip"
        set comment "pbrprofile"
    next
    edit "VPNPROFILE2"
        set member "nullip"
        set comment "pbrprofile"
    next
end
config router policy
    edit 1
        set input-device "ssl.root"
        set srcaddr "all"
        set dstaddr "PORTAL"
        set action deny
    next
    edit 2
        set input-device "ssl.root"
        set srcaddr "VPNPROFILE1"
        set dstaddr "all"
        set output-device "CUSTOMER1"
    next
    edit 3
        set input-device "ssl.root"
        set srcaddr "VPNPROFILE2"
        set dstaddr "all"
        set output-device "CUSTOMER2"
    next
end
config firewall policy
   edit 1
        set name "VLAN101Access"
        set srcintf "ssl.root"
        set dstintf "VLAN101"
        set srcaddr "all"
        set dstaddr "NET_10.10.10.0/24"
        set action accept
        set schedule "always"
        set service "ALL"
        set groups "LDAP_VPNPROFILE1"
    next
    edit 2
        set name "VLAN102Access"
        set srcintf "ssl.root"
        set dstintf "VLAN102"
        set srcaddr "all"
        set dstaddr "NET_10.10.10.0/24"
        set action accept
        set schedule "always"
        set service "ALL"
        set groups "LDAP_VPNPROFILE2"
    next
    edit 3
        set name "PBRPortal Access"
        set srcintf "ssl.root"
        set dstintf "port5"
        set srcaddr "all"
        set dstaddr "PORTAL"
        set action accept
        set schedule "always"
        set service "ALL"
        set groups "LDAP_VPNPROFILE1" "LDAP_VPNPROFILE2"
    next
end
config system interface
    edit "CUSTOMER1"
        set vdom "root"
        set ip 10.10.10.1 255.255.255.0
        set allowaccess ping
        set interface "port2"
        set vlanid 101
    next
    edit "CUSTOMER2"
        set vdom "root"
        set ip 10.10.10.1 255.255.255.0
        set allowaccess ping
        set interface "port2"
        set vlanid 102
    next
end
config system settings
    set allow-subnet-overlap enable
end
