Grafana is a popular technology that makes it easy to visualize metrics and logs. The OCI Logging Grafana Plugin can be used to extend Grafana by adding Oracle Cloud Logging as a data source in Grafana.
The plugin allows you to retrieve logs related to a number of resources on Oracle Cloud: Compute, Networking, Storage, and custom logs from your application. Once these logs are in Grafana, they can be analysed along with metrics, giving you a single pane of glass for your application monitoring needs.
For custom logs from your application, see Custom Logging on OCI.

We will discuss two different Grafana IAM configurations that needs to be in place, for Grafana to fetch the logs from Oracle Cloud Logging Service.
The Oracle Cloud Infrastructure CLI provides you with a way to perform tasks in OCI from your command line rather than the OCI Console. It does so by making REST calls to the OCI APIs. We will be using the CLI to authenticate between our local environment hosting Grafana and OCI in order to pull in metrics. The CLI is built on Python (version 2.7.5 or 3.5 or later), running on macOS, Windows, or Linux.
Begin by installing the Oracle Cloud Infrastructure CLI. Follow the
installation prompts to install the CLI on your local environment. After the
installation is complete, use the oci setup config command to have the CLI
walk you through the first-time setup process. If you haven't already uploaded
your public API signing key through the console, follow these instructions
to do so.
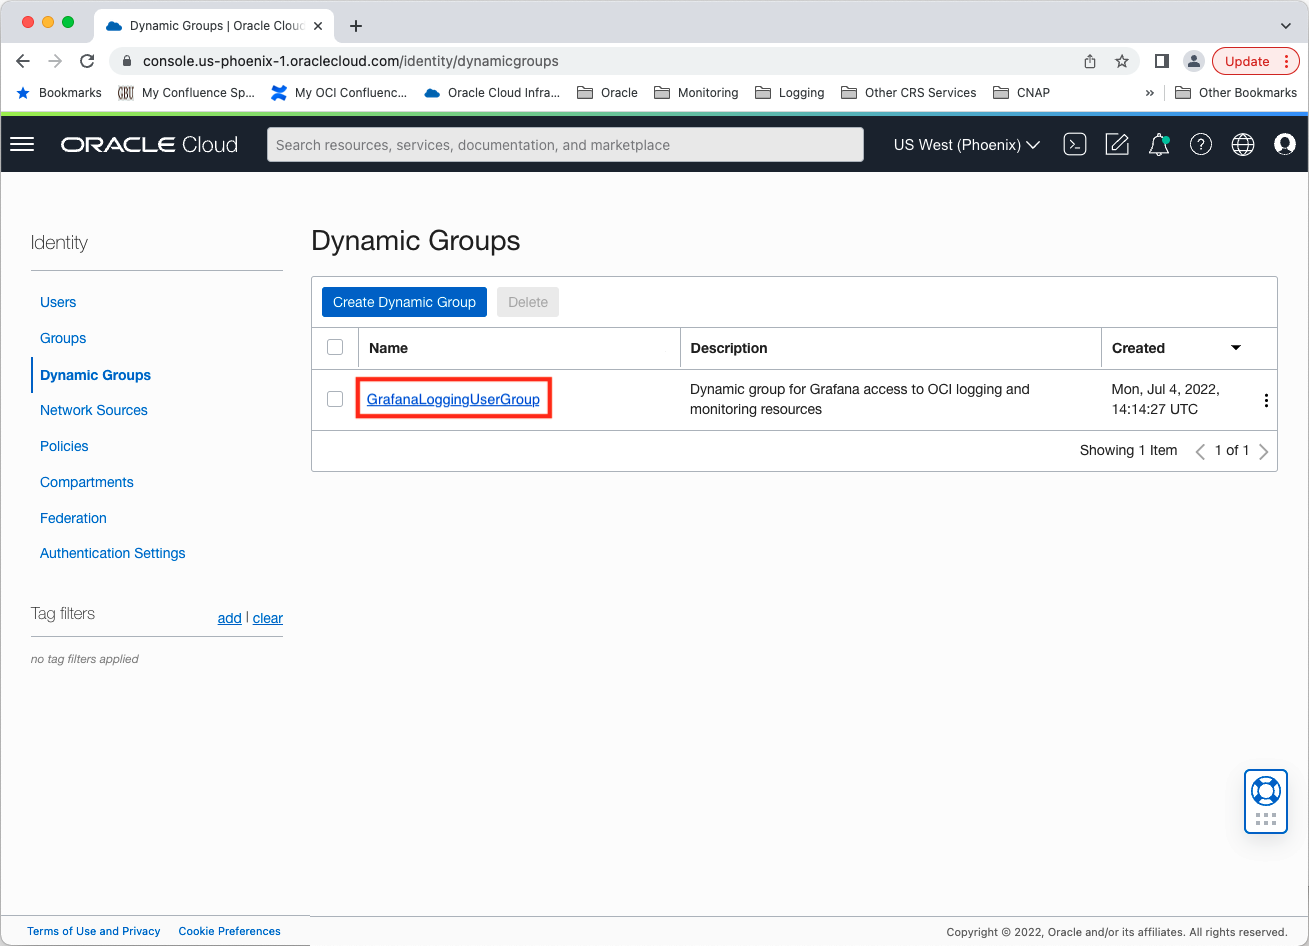
In the OCI console under Identity > Groups click Create Group and create a new group called GrafanaLoggingUserGroup. Add the user configured in the OCI CLI to the newly-created group.
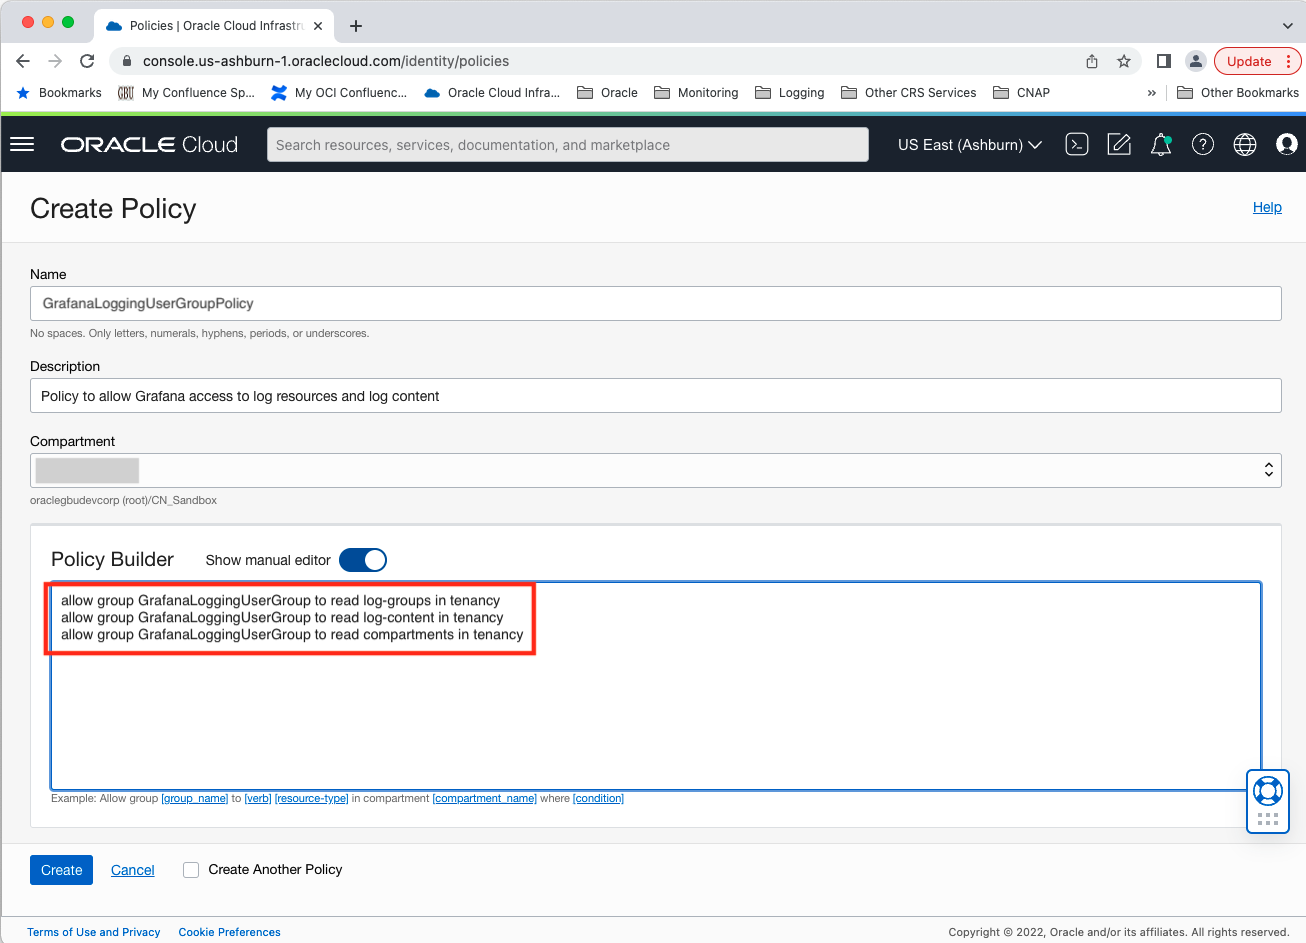
Under the Policy tab switch to the root compartment and click Create Policy. Create a policy allowing the group to read tenancy metrics. Add the following policy statements:
allow group GrafanaLoggingUserGroup to read log-groups in tenancyallow group GrafanaLoggingUserGroup to read log-content in tenancy
Provision an Oracle Linux virtual machine in OCI connected to a
Virtual Cloud Network with access to the public internet. If you do not
already have access to a Virtual Cloud Network with access to the public
internet you can navigate to Virtual Cloud Networks under Networking and
click Create Virtual Cloud Network. Choosing the
CREATE VIRTUAL CLOUD NETWORK PLUS RELATED RESOURCES option will result in a
VCN with an Internet Routing Gateway and Route Tables configured for access to
the public internet. Three subnets will be created: one in each availability
domain in the region.
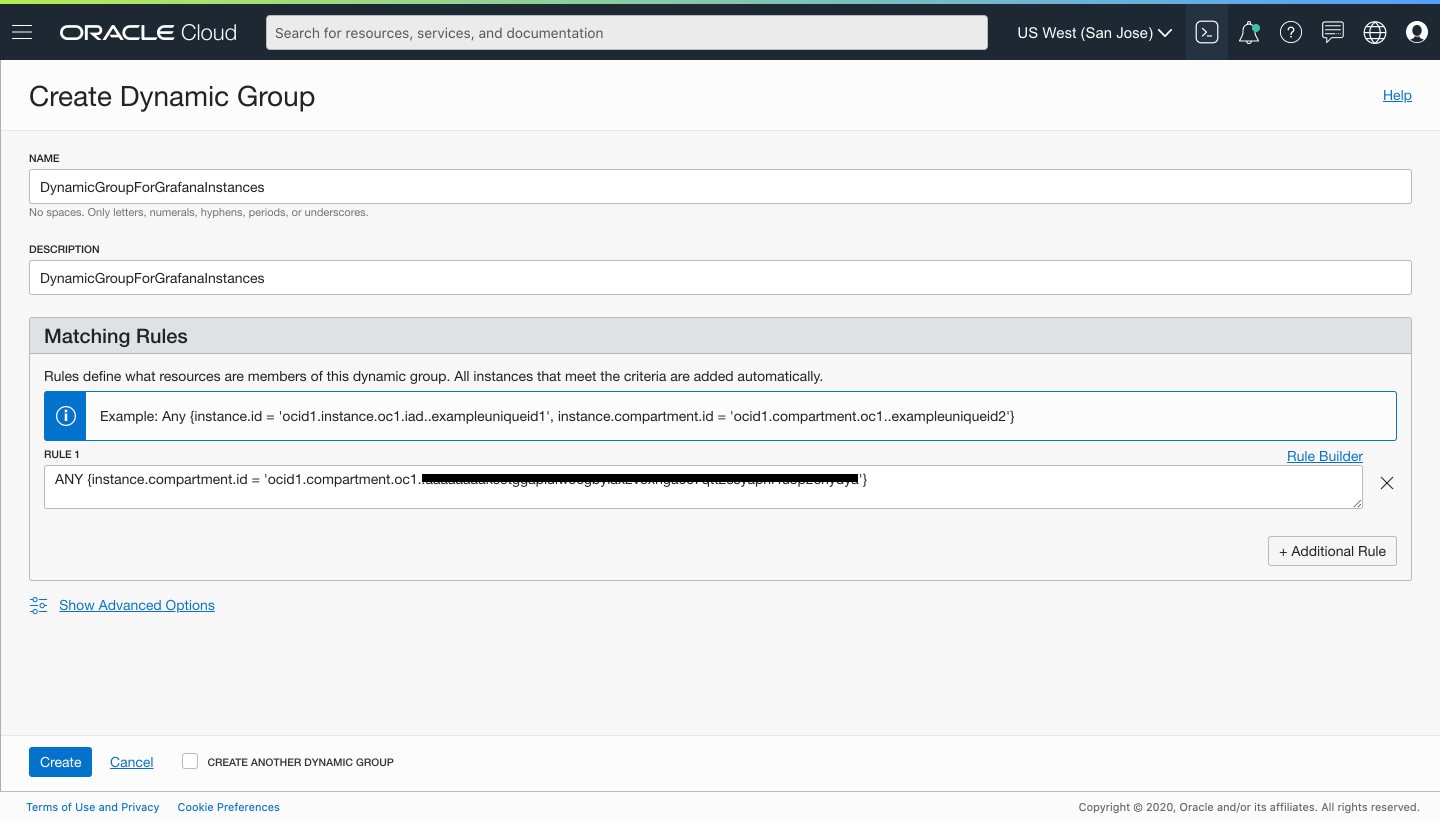
After creating your VM, the next step is to create a dynamic group used to group virtual machine or bare metal compute instances as “principals” (similar to user groups).
You can define the dynamic group similar to below, where your instance is part
of the compartment given in the definition of the dynamic group.
Next, create a policy named “grafana_policy” in the root compartment of your tenancy to permit instances in the dynamic group to make API calls against Oracle Cloud Infrastructure services. Add the following policy statements:
allow dynamicgroup DynamicGroupForGrafanaInstances to read log-groups in tenancyallow dynamicgroup DynamicGroupForGrafanaInstances to read log-content in tenancy

Please refer to the docs folder in this GitHub repository
Issues and questions about this plugin can be posted as an issue in this GitHub repository.
This project welcomes contributions from the community. Before submitting a pull request, please review our contribution guide.
Please consult the security guide for our responsible security vulnerability disclosure process.
Copyright (c) 2021 Oracle and/or its affiliates.
Released under the Universal Permissive License v1.0 as shown at https://oss.oracle.com/licenses/upl/.