Turn stereoscopic images into a wigglegram.

🧪 This is experimental 🧪
🧪 Python software to capture wigglegrams using multiple cameras
🧪 Software synchronized Raspberry Pi camera modules, using picamera2
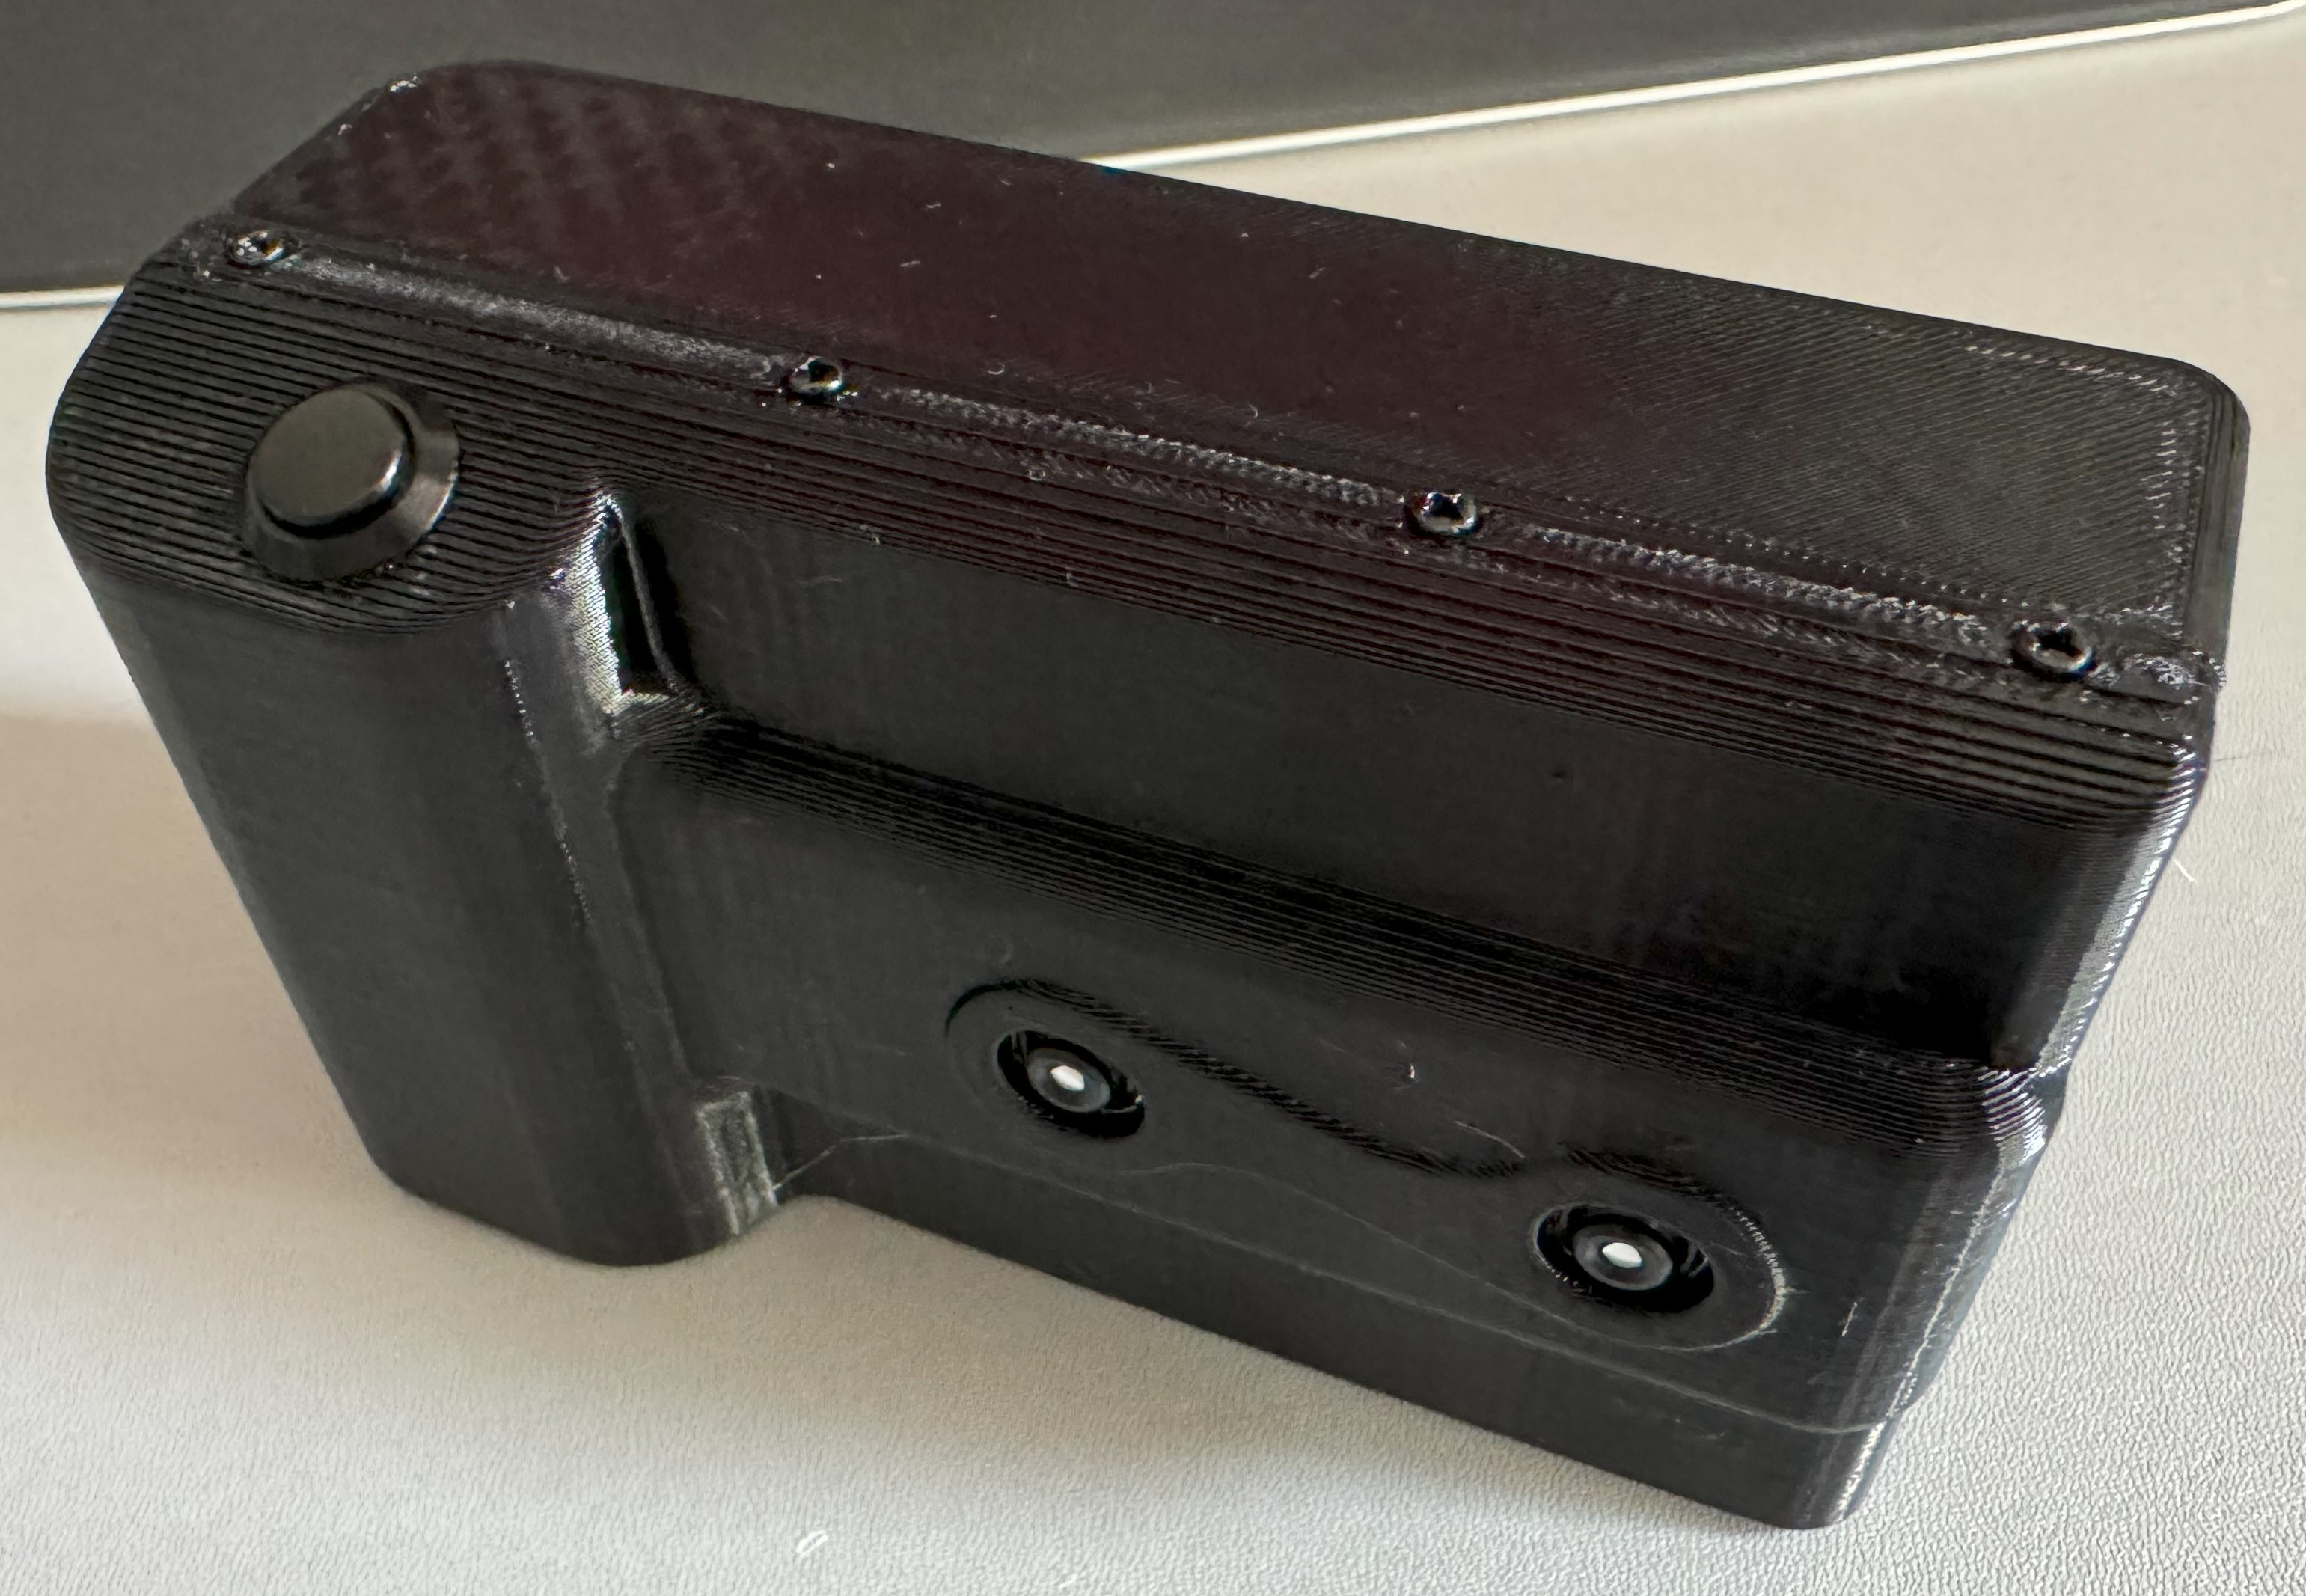
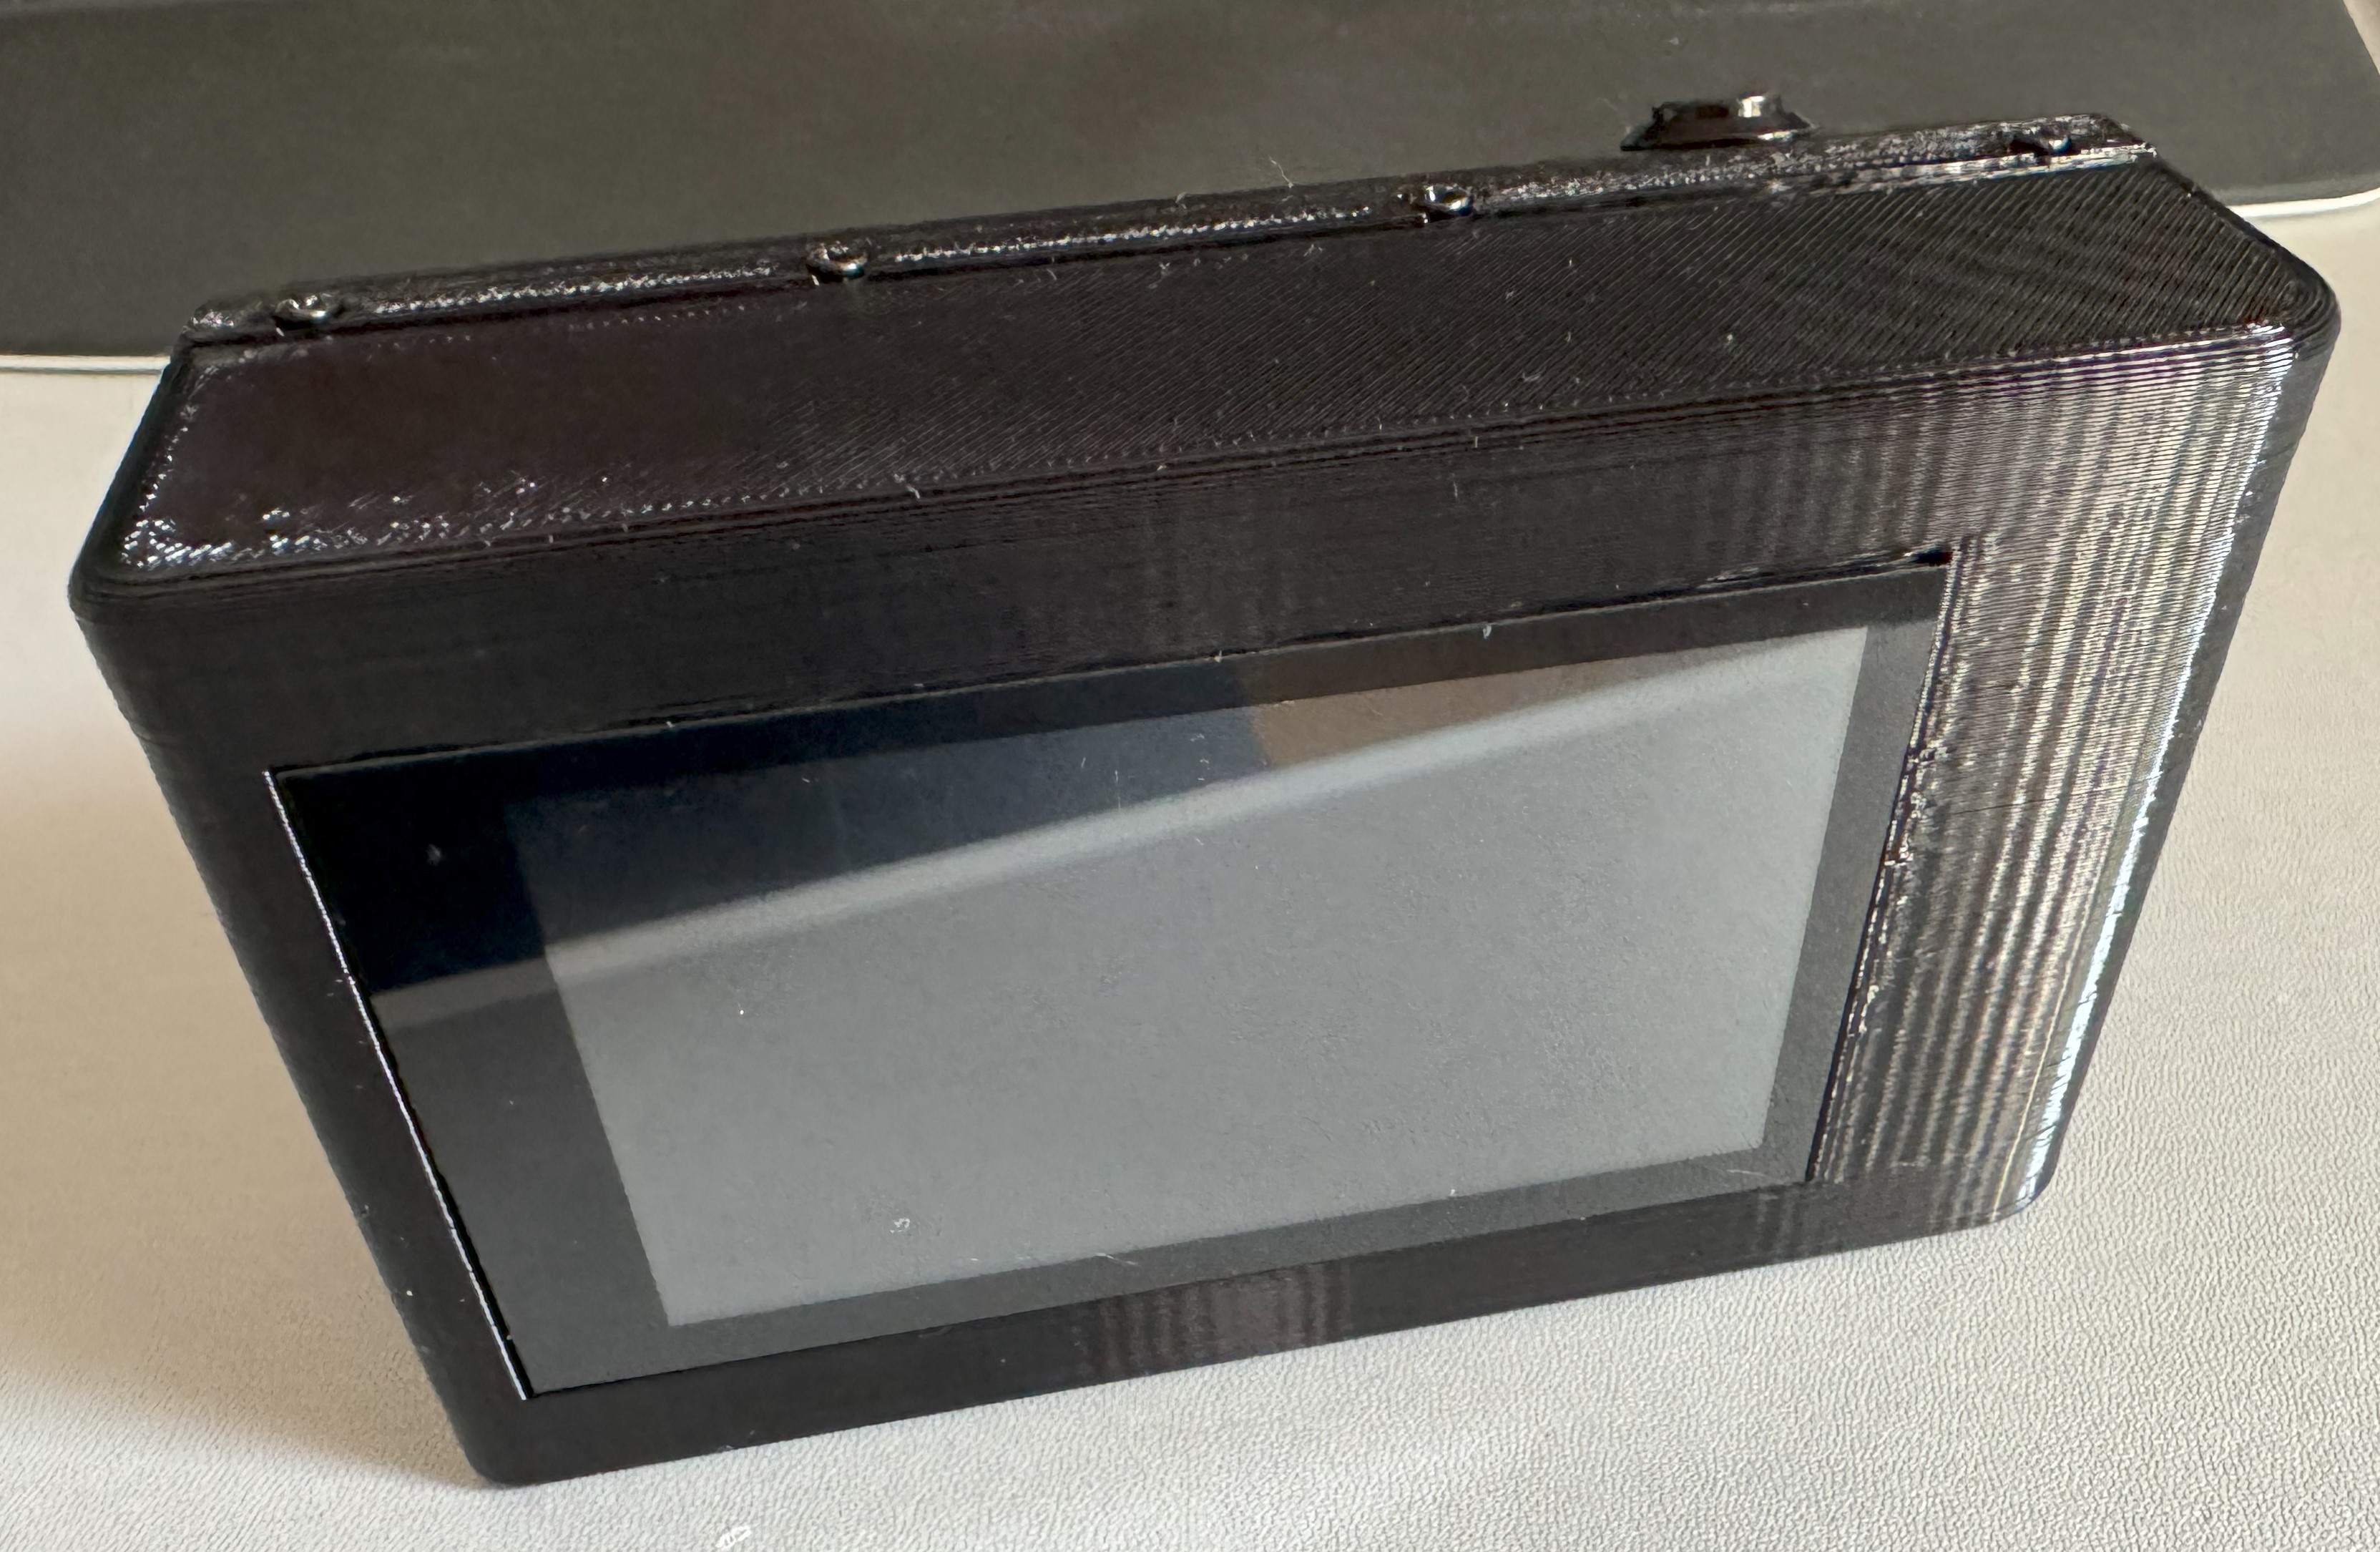
🧪 3d printed enclosure
🧪 Creating smooth videos from just two images using frame interpolation AI algorithms
sudo apt update
sudo apt full-upgrade

sudo usermod --append --groups gpio $(whoami)

sudo apt install -y python3-picamera2 python3-opencv python3-pip pipx git vim
pipx ensurepath # reboot afterwards!

pipx install --system-site-packages git+https://github.com/photobooth-app/wigglecam.gitOn all systems edit /boot/firmware/config.txt as follows:
# add to all section
[all]

# camera
# rotate=0 because camera is upside down in case
dtoverlay=imx708,rotation=0

# depending on the camera resolution you might need little more cma memory, for example:
dtoverlay=vc4-kms-v3d,cma-320

# display (primary node)
display_auto_detect=0
dtoverlay=vc4-kms-dsi-waveshare-800x480,invx,invy #https://github.com/raspberrypi/linux/issues/6414

# master clock (primary node)
dtparam=audio=off # because GPIO18 interferes with audio
dtoverlay=pwm,pin=18,func=2 # GPIO18 reserved for hardware pwm


#

# shutdown button signal
# TODO
On the primary node, edit /boot/firmware/cmdline.txt prepend the following video=DSI-1:800x480M@60,rotate=180 to the existing text. The result could look like this:
video=DSI-1:800x480M@60,rotate=180 console=tty1 root=PARTUUID=0dfd3080-02 rootfstype=ext4 fsck.repair=yes rootwait cfg80211.ieee80211_regdom=DEThe nodes are configured using .env files
The primary node has a display attached and is responsible to generate the clock signal the secondary nodes synchronize to. To save hardware, a primary node can be used as secondary node simultaneously.
Edit ~/.env.primary and place following for the reference 3d printed wigglecam:
# enable clock generator on primary:
backend_gpio__enable_clock="True"
backend_gpio__fps_nominal=10
backend_gpio__pwmchip="pwmchip0" # or pwmchip2 for Pi5
backend_gpio__pwm_channel=0 # or 2 for Pi5

# primary is also preview display device:
syncedacquisition__backends__picamera2__enable_preview_display="True"
Edit ~/.env.node and place following for the reference 3d printed wigglecam:
# likely empty... hahaAfter installation AND reboot, following commands are available:
wigglecam_minimal: Useful for first testing and a very basic setup for the 3d printed camera. There is no need to have an active ethernet connection between the nodes in the wild.wigglecam_api: Currently a very basic implementation providing a HTTP server and a REST api to automate the capture and data collection from all nodes. The REST api documentation is available browsing tohttp://localhost:8000/api/docson the same device after starting the api. This command is the default on secondary nodes.
On the node with the display, there might be issues on startup QT complaining about missing drivers on the lite system. Try different platform drivers by prepending an environment variable for example as follows:
QT_QPA_PLATFORM=linuxfb wigglecam_minimalorQT_QPA_PLATFORM=eglfs wigglecam_minimal
Create following folder and file ~/.local/share/systemd/user/wigglecam.service with content as follows:
[Unit]
Description=wigglecam
After=default.target

[Service]
Type=simple
Restart=always
# working directory is used as datafolder
WorkingDirectory=%h/
Environment="QT_QPA_PLATFORM=linuxfb"
#ExecStart=/home/pi/.local/bin/wigglecam_minimal # true for pipx install
ExecStart=/home/pi/.local/bin/wigglecam_api # true for pipx install

[Install]
WantedBy=default.target
systemctl --user daemon-reload
systemctl --user enable wigglecam.service
systemctl --user start wigglecam.servicePi3, Pi4 it's pwmchip0 channel 0
echo 0 > /sys/class/pwm/pwmchip0/export
pi@wigglecam-main:/sys/class/pwm/pwmchip0/pwm0 $ echo 100000000 > period
pi@wigglecam-main:/sys/class/pwm/pwmchip0/pwm0 $ echo 50000000 > duty_cycle
pi@wigglecam-main:/sys/class/pwm/pwmchip0/pwm0 $ echo 1 > enable
pi@wigglecam-main:/sys/class/pwm/pwmchip0/pwm0 $ echo 0 > enable
Pi5 it's pwmchip2 channel 2
echo 2 > /sys/class/pwm/pwmchip2/export
pi@wigglecam-main:/sys/class/pwm/pwmchip2/pwm0 $ echo 100000000 > period
pi@wigglecam-main:/sys/class/pwm/pwmchip2/pwm0 $ echo 50000000 > duty_cycle
pi@wigglecam-main:/sys/class/pwm/pwmchip2/pwm0 $ echo 1 > enable
pi@wigglecam-main:/sys/class/pwm/pwmchip2/pwm0 $ echo 0 > enable