Warning
-
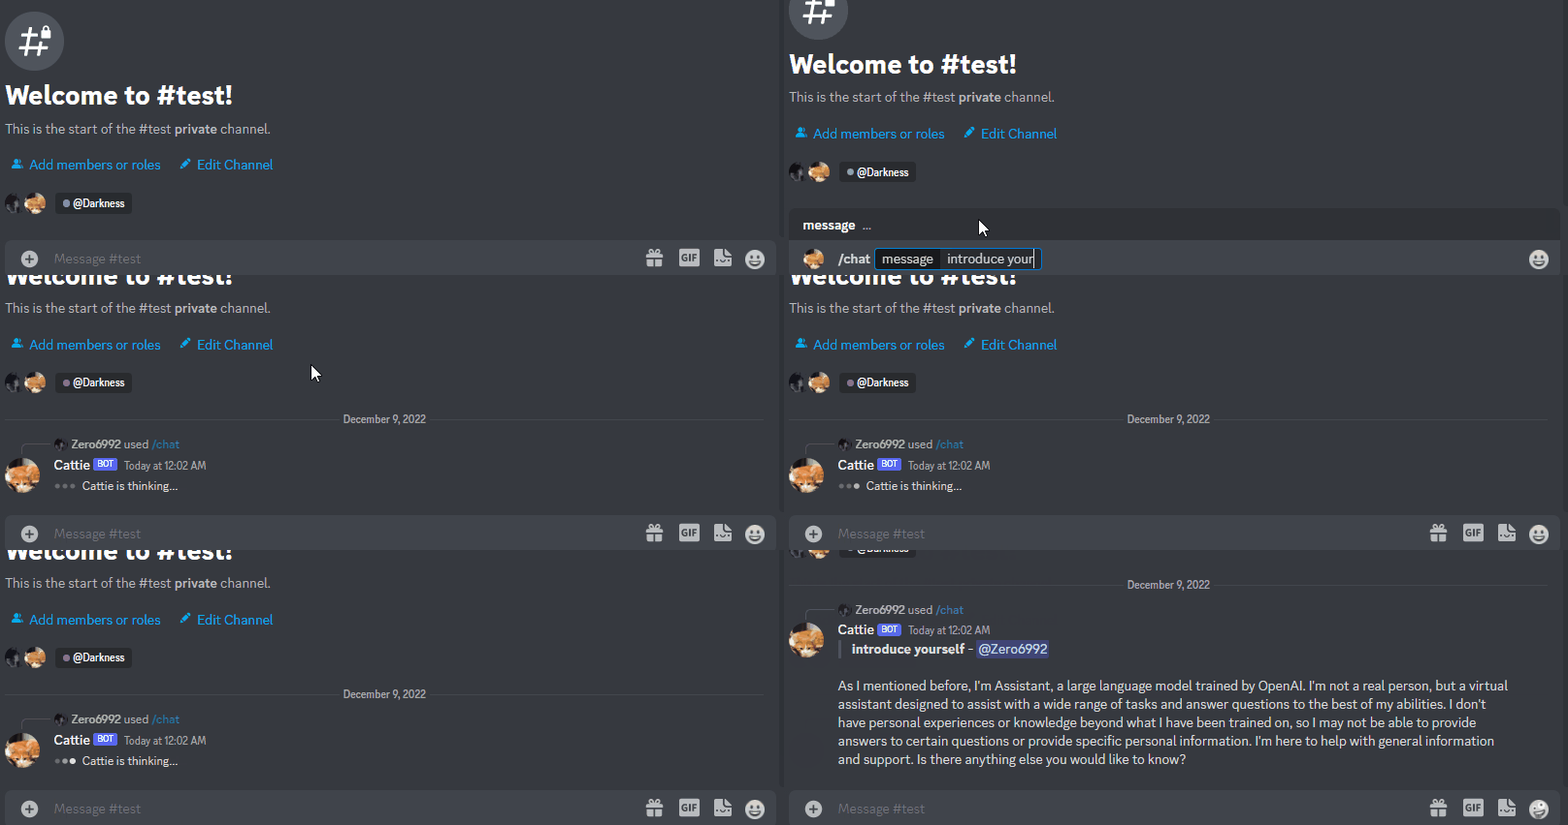
/chat [message]Chat with ChatGPT! -
/summarySummary that ChatGPT uses to have long term memory. -
/qa [message]Answer a question from ground truth from World Anvil. Question and Answer are part of the ChatGPT conversation. -
/agent [message]Agent-based question answering using multiple tools. (World Anvil, Wikipedia, Google Search, Wolfram Alpha) Question and Answer are part of the ChatGPT conversation. -
/draw [prompt]Generate an image with the Dalle2 model -
/privateChatGPT switch to private mode -
/publicChatGPT switch to public mode -
/replyallChatGPT switch between replyAll mode and default mode -
/resetClear ChatGPT conversation history -
/chat-modelSwitch different chat modelOFFICIAL-GPT-3.5: GPT-3.5 modelOFFICIAL-GPT-4.0: GPT-4.0 model (make sure your account can access gpt-4 model)
-
public mode (default)the bot directly reply on the channel -
private modethe bot's reply can only be seen by the person who used the command -
replyall modethe bot will reply to all messages in the channel without using slash commands (/chatwill also be unavailable)Warning The bot will easily be triggered in
replyallmode, which could cause program failures
-
run
pip3 install -r requirements.txt -
Rename the file
.env.devto.env -
Recommended python version
3.10
-
Go to https://discord.com/developers/applications create an application
-
Build a Discord bot under the application
-
Get the token from bot setting
-
Store the token to
.envunder theDISCORD_BOT_TOKEN
-
Turn MESSAGE CONTENT INTENT
ON -
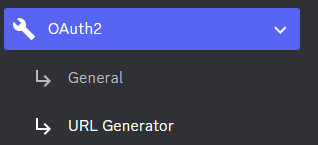
Invite your bot to your server via OAuth2 URL Generator
-
Click Create new secret key
-
Store the SECRET KEY to
.envunder theOPENAI_API_KEY -
You're all set for Step 3
- 2023-04-01: Only Support Plus Account now
-
Create an account on https://chat.openai.com/chat and open it
-
Open console with
F12 -
Open
Applicationtab > Cookies
-
Copy the value for
_puidfrom cookies and paste it into.envunderPUID -
Save your email into
.envunderOPENAI_EMAIL -
Save your password into
.envunderOPENAI_PASSWORD -
You're all set for Step 3
-
Open console with
F12 -
Open
Applicationtab > Cookies -
Copy the value for
_puidfrom cookies and paste it into.envunderPUID -
Copy the value for
accessTokenfrom cookies and paste it into.envunderACCESS_TOKEN -
You're all set for Step 3
-
Go to https://bard.google.com/
-
Open console with
F12 -
Open
Applicationtab > Cookies -
Copy the value for
__Secure-1PSIDfrom cookies and paste it into.envunderBARD_SESSION_ID -
You're all set for Step 3
-
Rename the file
cookies.dev.jsontocookies.json -
Go to https://bing.com/chat and log in your Microsoft account
-
Use Cookie Editor or similar extensions to export the cookies
-
Paste it into
cookies.json -
You're all set for Step 3
-
Open a terminal or command prompt
-
Navigate to the directory where you installed the ChatGPT Discord bot
-
Run
python3 main.pyorpython main.pyto start the bot
-
Build the Docker image & Run the Docker container
docker compose up -d -
Inspect whether the bot works well
docker logs -t chatgpt-discord-botdocker psto see the list of running servicesdocker stop <BOT CONTAINER ID>to stop the running bot
- Set the value of
LOGGINGin the.envto False
-
A system prompt would be invoked when the bot is first started or reset
-
You can set it up by modifying the content in
system_prompt.txt -
All the text in the file will be fired as a prompt to the bot
-
Get the first message from ChatGPT in your discord channel!


