-
Notifications
You must be signed in to change notification settings - Fork 24
How to use StandNote?
Rajat Verma edited this page Dec 20, 2020
·
5 revisions
-
Download the extension from the Chrome Web Store
-
After Installation, StandNote automatically opens up a new tab to ask for your microphone access. Grant it the access.
- You are now all set to generate meeting notes using StandNote.
- 📌 Pin the Extension for easy usage.
- Now, click on the extension it will ask you to login via Email or your Google Account. Login using any of them or click on
Create Nowif you don't have an account.

- After login it will show you another screen that ask you to
Generate Meeting Notes. Click on this button during a meeting to automatically generate meeting notes for this meeting.

- You should now see a 3s countdown and after that you will have a minimalist tab to help you to the needful.

- You can also see the time of the meeting. The play pause button helps you to stop converting your audio to text. You can always resume it. thus eliminating the chances of converting any confidential message to text, hence removing the possibility of having them in the meeting notes generated. This is done to maintain the rapport of confidence.
- You can also mute yourself while others can continue with the meeting.
- The tick button will end the processing of the meeting's speech and take you to the section where you can see your meeting notes converted to text.

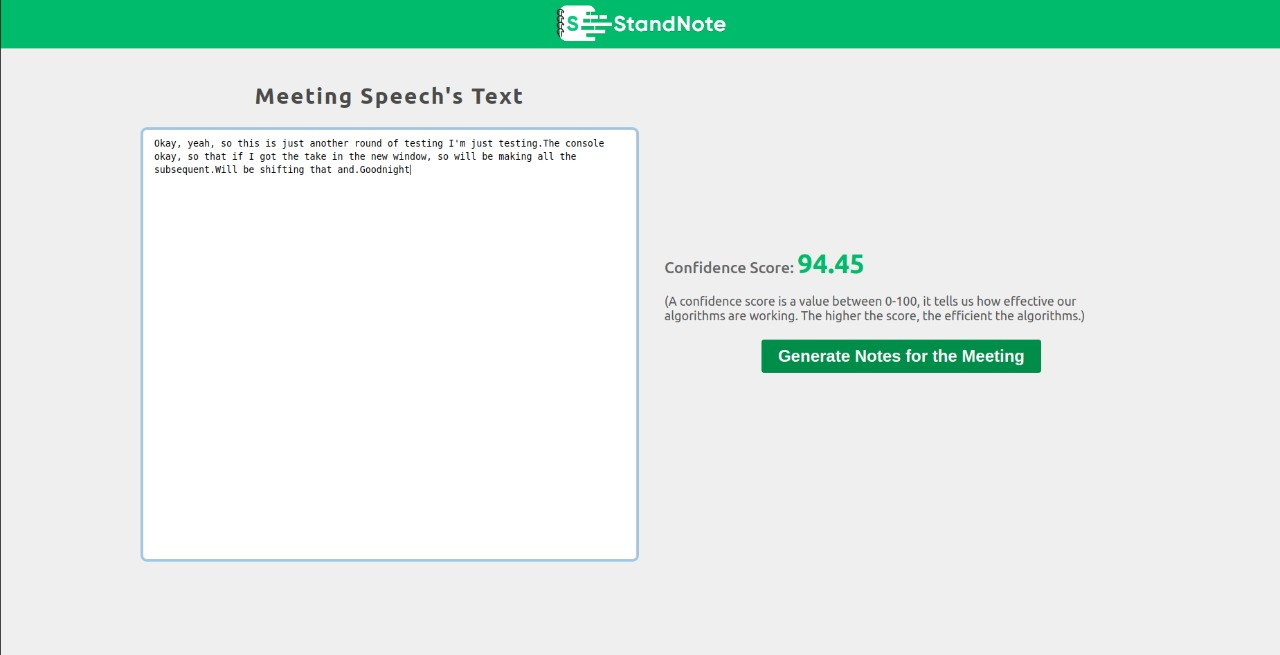
- You can edit the meeting's text and make it more clear, after that click on the
Generate Notes for the Meetingbutton to submit the meeting's details. You should then see a page similar to this.

- You can now sit back and relax, once the meeting's notes are ready we will notify you via Email.
- You are all set now. Our ML algorithms will do their job and will give you the generated minutes of the meeting.
- After receiving the email, visit your dashboard at https://standnote.netlify.app/dashboard to view your meeting notes. It should look similar to this:

- Choose your meeting from the list of meetings and you will get the notes for that meeting.

- This page contains many options to edit, delete, save and view the full text of the meeting. Now you can share these notes with your team via Notion Docs.
- To submit your notion credentials visit the
integrations(https://standnote.netlify.app/integrations) page. We will be adding integrations of more tools in the future. - Once you have added your notion credentials, visit the meeting page and click on
Push to Notionbutton to send the notes to the specified notion doc.
That's it, you now know how to use StandNote on any online and offline meetings.
Happy Meetings :)