Setting up is always the most painstaking part of software development. My goal here is to provide a simple step-by-by guide that walks through the perfect web development setup for Mac OS X.
- Install XCode command line tools
- Set up Homebrew
- Install and configure git
- Install and configure nvm & Node.JS
- Install PostgreSQL & MongoDB
- Add on optional software
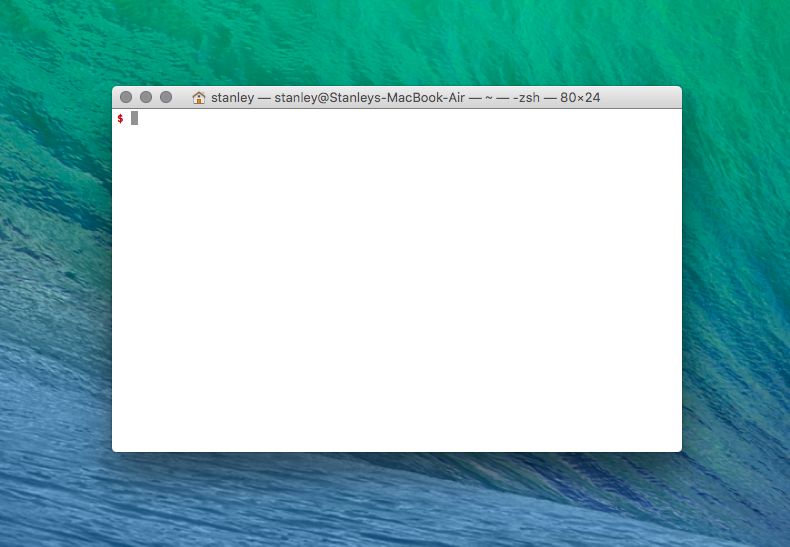
We will be doing most of the work within the Terminal, which looks like this:
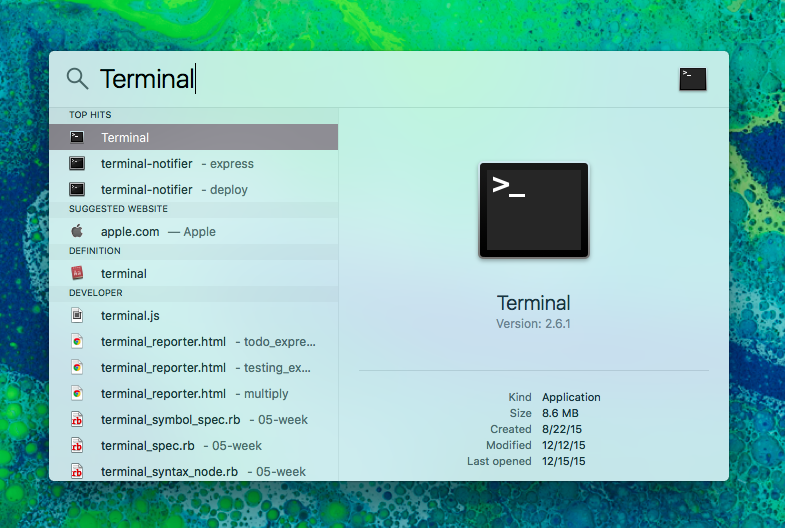
To open the Terminal in your Mac, simply open up the Finder by pressing command + spacebar and type in Terminal.
Once, your Terminal is open, you are ready to begin!
The XCode Command Line Tools Package is a small package that allows you to do command line development in OS X. It consists of two components: OS X SDK and command-line tools like Clang, which are installed in /usr/bin.
In the Terminal, type the following to install:
$ xcode-select --installNote: The $ denotes the beginning of an entry in the terminal. You should not type the '$' in.
If you plan on going into Native iOS application development down the road, I recommend you download the whole XCode package from the App Store.
Homebrew is an open-source software package management system that makes the installation of software a breeze on OS X.
In the Terminal, type the following to install:
$ ruby -e "$(curl -fsSL https://raw.githubusercontent.com/Homebrew/install/master/install)"In the Terminal, type:
$ brew doctorSee what the Doctor says. You may need to edit your ~/.bash_profile or make other adjustments.
To update packages in the future, simply run:
$ brew update
$ brew upgradeYou can also find out which packages are outdated with:
$ brew outdatedSince Homebrew does not uninstall old versions of a formula, you will accumulate them over time. Simply use:
$ brew cleanupThis command will clean everything at once.
Install git:
$ brew install gitConfigure your name:
$ git config --global user.name "Insert Name"Then, if Github account, insert your email below. Otherwise, sign up.
$ git config --global user.email [email protected]To cache your credentials, run in the following command in your Terminal:
$ git config --global credential.helper cachenvm is an awesome Node.JS version manager. The best part? It can be installed easily with Homebrew.
Rule of Thumb: If you are running npm with sudo, you are doing it wrong.
Run in your Terminal:
$ brew install nvmInstall the latest version of Node.JS (currently 5 at the time of writing):
nvm install 5In order to utilize the version of Node.JS you want, add the following lines to your ~/.bash_profile or whichever environment profile you choose to use:
# load nvm
source ~/.nvm/nvm.sh
# Choose the Node.JS version
nvm use 5
PostgreSQL is one of the most advance open-source SQL databases in the world (more on that down the road).
MongoDB is a document-oriented (NoSQL) database. It stands for huMONGOus because it's designed for big data.
In your Terminal, run:
brew install mongodb postgresqlWe will be exploring both of these databases more in-depth down the road.
React Native is the library we will be using to build native iOS and Android applications!
Run these commands:
brew install node
brew install watchman
npm install -g react-native-cli
Follow the instructions here for more details on iOS and Android setup
For running on iOS:
react-native init AwesomeProject
cd AwesomeProject
react-native run-ios
For running on Android:
react-native init AwesomeProject
cd AwesomeProject
react-native run-androidInstall MacDown. MacDown allows you to create, read, and edit Markdown files.
A lot of programs will require Java. You can download the latest by googling "Java OS X"
Atom is an open-source text-editor created by Github. You will need a trustworthy text-editor for your journey. Some alternatives are: Sublime, Vim, or Visual Studio.

