-
Notifications
You must be signed in to change notification settings - Fork 0
Administrative Assistant Use
The side navigation bar located on the left-side displays the different pages available to the administrative assistant: the "Overview" page, the "My Account" page, the "Mechanics" page, the "Customers" page and the "Log Out" option.
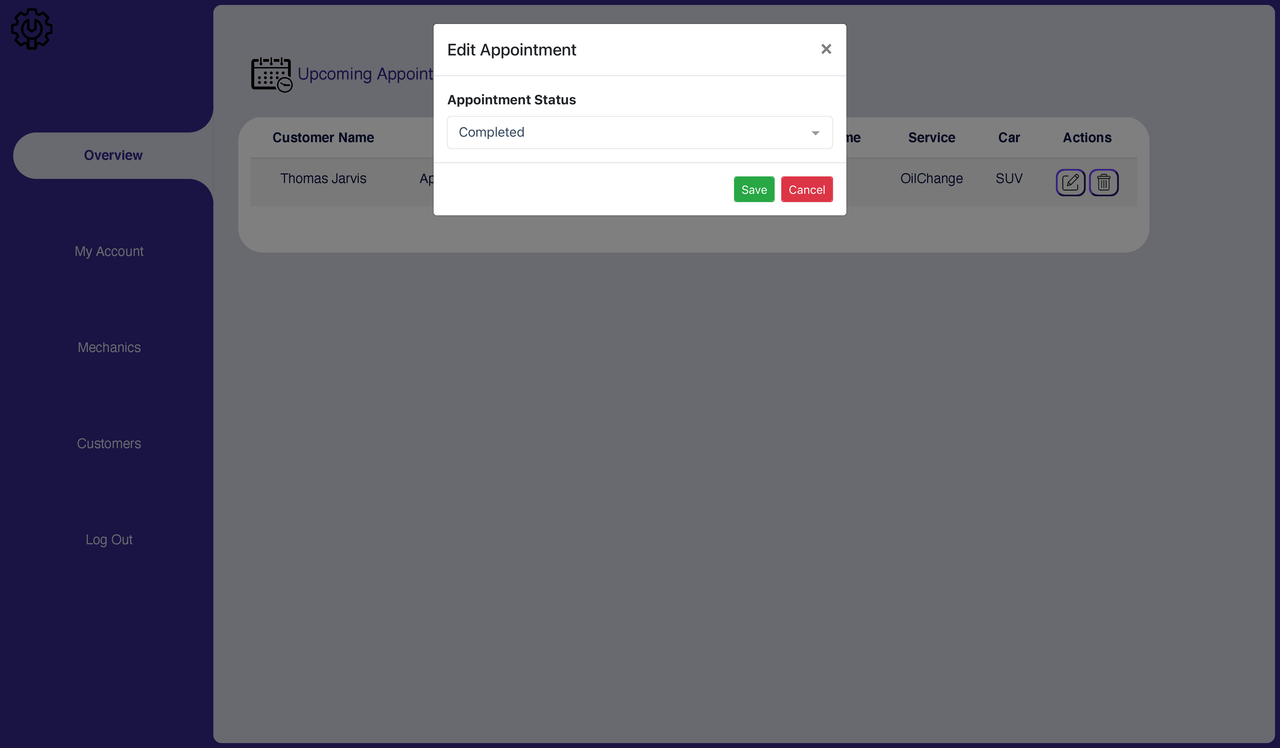
This page displays all the appointments of the shop, along with the relevant information to each appointment: the customer, the status, the time slot, the mechanic, the service and the car. The assistant may also edit the status of an appointment by clicking the edit button (pencil icon) and may also delete an appointment by clicking the delete button (garbage icon).

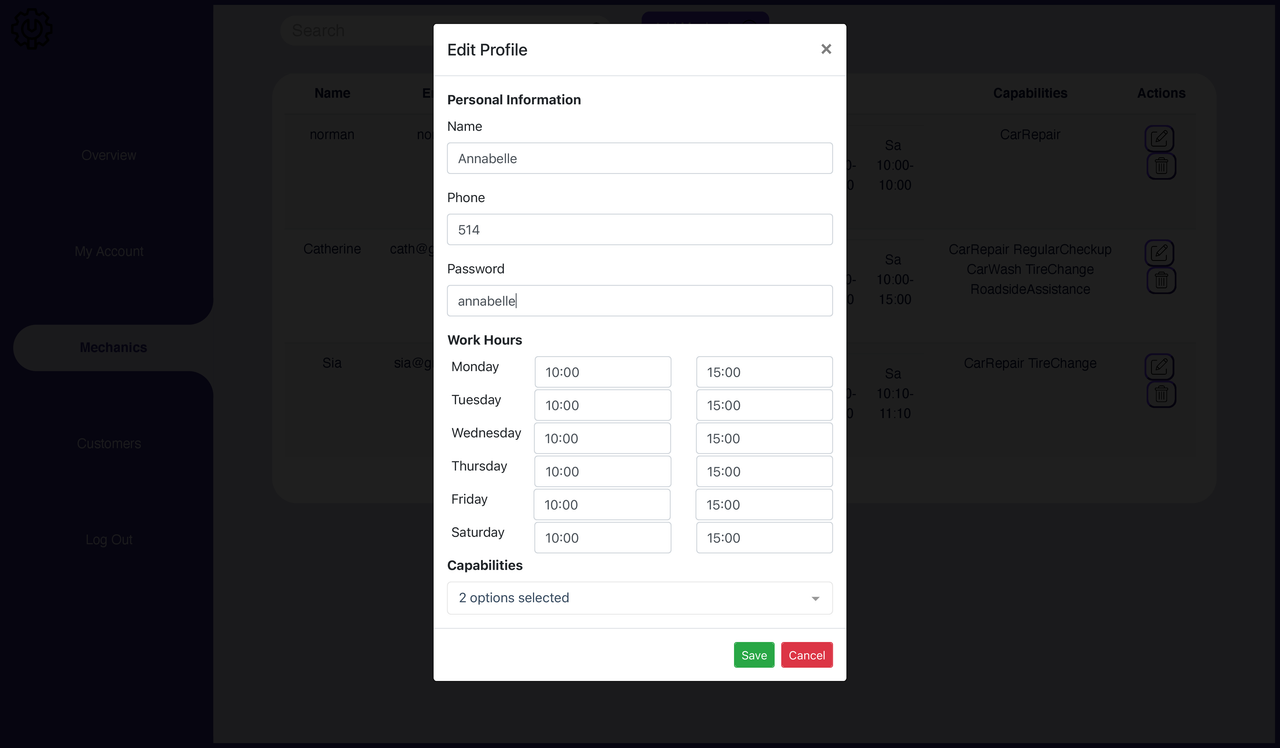
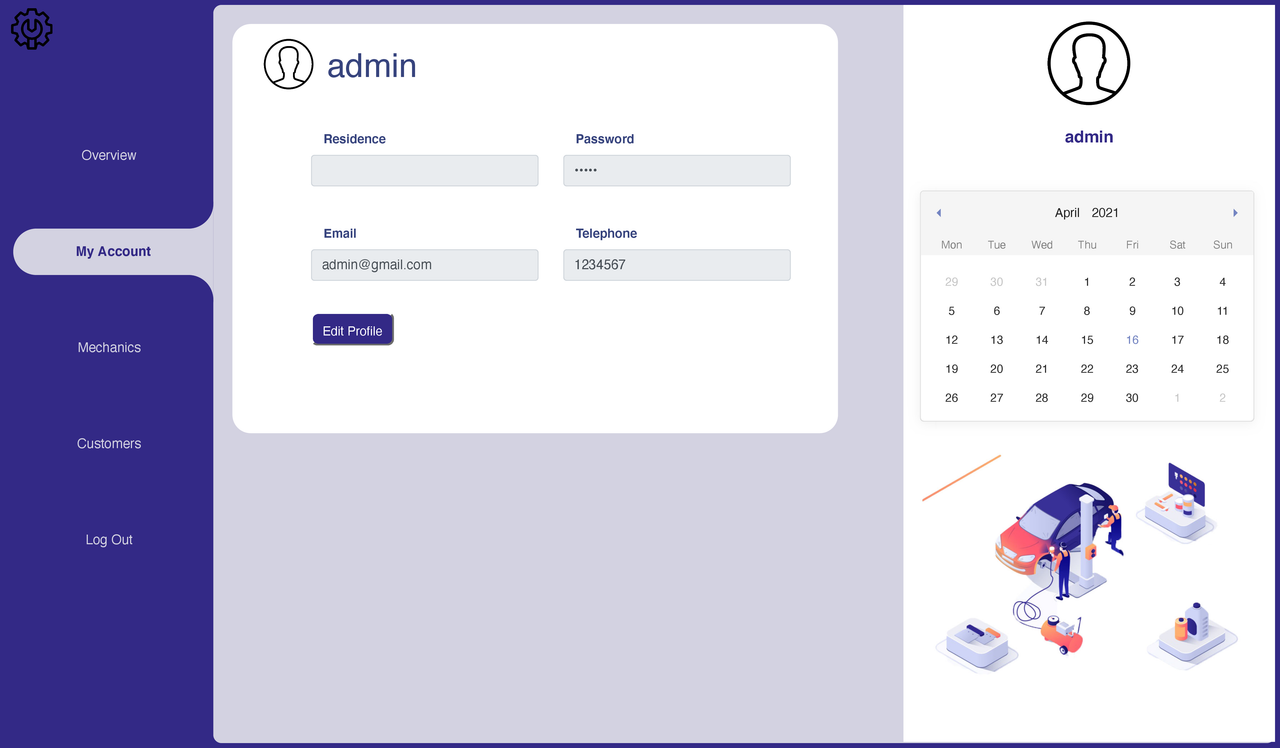
This page displays the administrator’s profile information (residence, password, email and telephone). The assistant may also edit their profile. Selecting the “Edit Profile” button will trigger a pop-up, in which the administrator can modify their information.
Note about field constraints:
- The "Name" field can be any string (any sequence of characters).
- The "Phone" field must be an integer (whole number).
- The "Password" field can be any string (any sequence of characters).
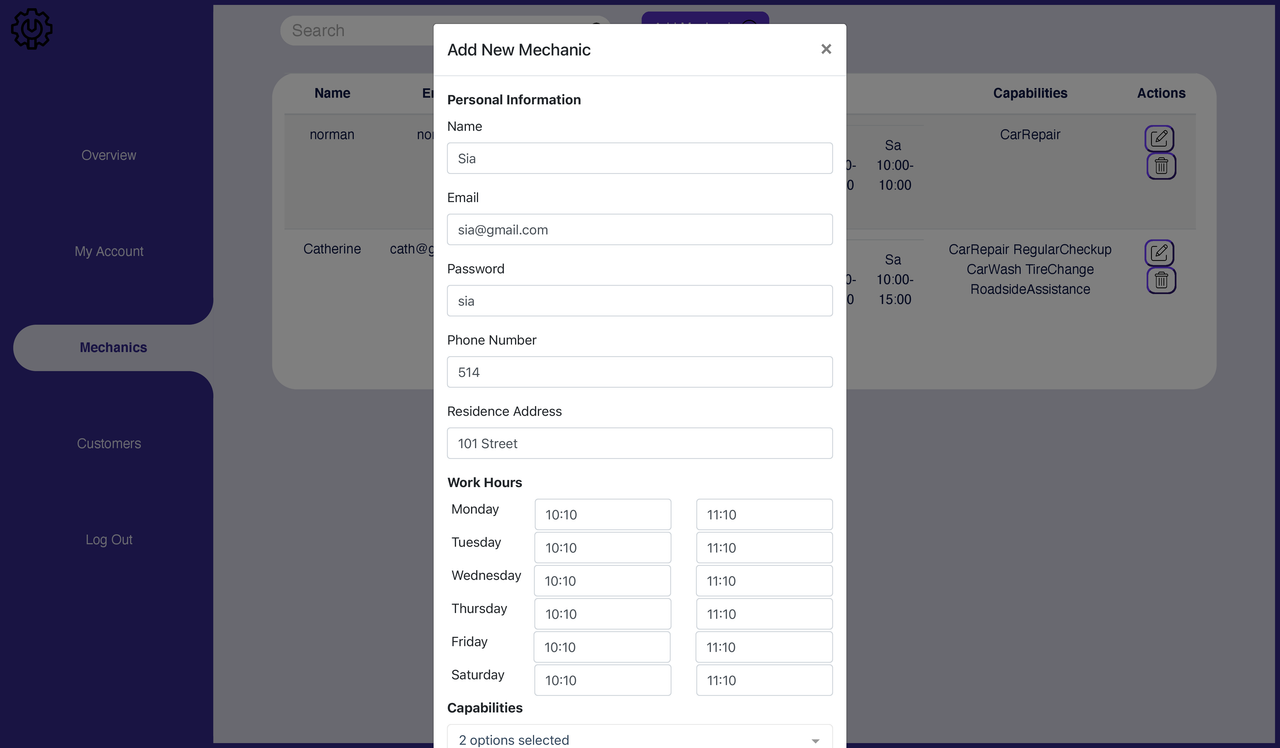
This page displays the information of each mechanic in a table; this includes their name, email, phone number, work schedule and their capabilities (services they are capable of providing). In addition, the assistant can perform several actions:
- Add a mechanic: Clicking the "Add Mechanic" button at the top allows the assistant to add a mechanic to the table. The assistant will need to enter the mechanic's name, email, password, phone number, address, work hours and capabilities (inputs: string, that is, any sequence of characters, string, string, integer, that is, a whole number, string and time in the form "HH:mm"; capabilities are listed in a drop down box, respectively).
- Edit a mechanic: Clicking the edit button (pencil icon) triggers a pop up that allows the assistant to edit a mechanic's information, which includes their name, phone number, password, work hours and capabilities.
- Search mechanics: Input in the search bar at the top will filter through mechanics by name, and if no match is found (between the input and the names of the mechanics), then by email, and if no match is found (between the input and the mechanic emails), then by phone number.
- Remove a mechanic: Clicking the delete button (the garbage icon) will remove the mechanic of that icon's row.

This page displays the information of each mechanic in a table; this includes their name, email, phone number, address and their cars. In addition, the assistant can perform several actions:
- Add a customer: Clicking the "Add Customer" button at the top allows the assistant to add a customer to the table. The assistant will need to enter the customer's name, email, password, phone number, address, credit number and debit number (inputs: string, string, string, integer, string, integer and integer, respectively).
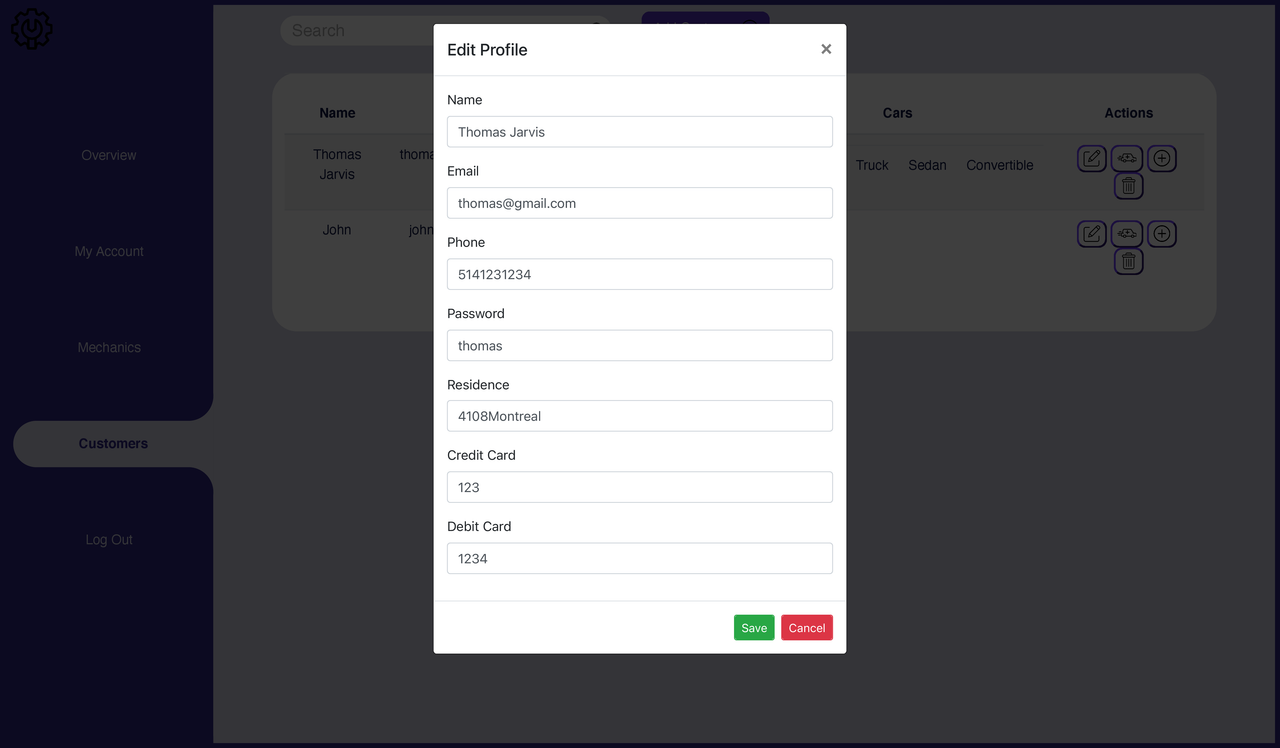
- Edit a customer: Clicking the edit button (pencil icon) triggers a pop up that allows the assistant to edit a customer's information, which includes their name, phone number, password, residence (address), credit number and debit number. Note that although the email field is available for edit, it should not be changed as this will cause errors within the database. This will be fixed in a future release.
- Add a car for a customer: Clicking the add a car button (car icon) will add a car for the customer of that icon's row. The assistant will need to fill in the "Car" field (which must be one of the following: "Sedan", "Coupe", "Sports", "Hatchback", "Minivan", "StationWagon", "Convertible", "Truck", "SUV" or "Other"), "Winter Tires" field (which must hold either the value "true" or "false") and the "Number of Kilometres" field (which must be an integer (whole number).
- Search customers: Input in the search bar at the top will filter through customers by name, and if no match is found (between the input and the names of the customers), then by email, and if no match is found (between the input and the customer emails), then by phone number.
- Remove a mechanic: Clicking the delete button (the garbage icon) will remove the customer of that icon's row.


Selecting the log out option will immediately log the assistant out, returning them to the landing page.
