-
Notifications
You must be signed in to change notification settings - Fork 415
Working With The GUI Builder
The designer and the GUI builder sometimes fail. Some of these revolve around their connection to the IDE. The reason for this is that they are external tools that aren’t a part of the IDE, this allows us to support all 3 IDE’s without too much of an effort but also creates some issues that are often hard to debug.
When you open either the designer or the GUI builder we install a JAR file within your system. This JAR file is located under the .codenameone directory in your home directory. E.g. on Linux/Mac it would be ~ but for Windows it can be under several hierarchies, see this.
Once you locate the home directory peak inside, you should see two files: designer_1.jar & guibuilder_1.jar.
|
Note
|
Both will only exist if you opened the designer and GUI builder, also notice that the _1 part of the file name might be missing and that’s fine
|
You can launch both tools from Command Line. These tools write errors to the system console and you would see errors if they occur. Notice that both tools need Java 8 to work… To launch the designer use:
java -jar designer_1.jar path-to-file.res
To launch the GUI builder use:
java -jar guibuilder_1.jar
If you see errors please look them over and let us know what the full set of errors is.
This happens to some Eclipse users. The designer will launch from command line but not from Eclipse. Despite many attempts we failed to reproduce this.
Our current working theory is that Java home and the Java in the system path are incompatible maybe due to 64/32 bit modes or an older version of Java. Another theory is that a path with spaces or invalid characters is causing this issue.
If you are experiencing this issue please review your environment:
-
The bin directory of the JDK (important, the JDK not the JRE) must be first in the system path. Before anything else! Especially before Windows as some versions of the JDK stick Java into the system directory
-
JAVA_HOMEmust point at the JDK directory -
You should have administrator privileges, I’m not sure if this is essential but please test this
-
Look in eclipse.ini and verify that the JDK listed there matches the JDK from the path
There are several reasons for this and we try to address them with newer releases. To understand how this works check out the .guiBuilder directory in your home directory. In this directory you should see a file called guibuilder.input which is responsible for picking the right file to edit. This is mine:
<?xml version="1.0" encoding="UTF-8"?>
<con name="GuiBuilderTutorial" formName="MyGuiForm"  file="file:/Users/shai/temp/GuiBuilderTutorial/res/guibuilder/com/mycompany/myapp/MyGuiForm.gui" javaFile="file:/Users/shai/temp/GuiBuilderTutorial/src/com/mycompany/myapp/MyGuiForm.java" resFile="file:/Users/shai/temp/GuiBuilderTutorial/src/theme.res" outputFile="file:/Users/shai/.guiBuilder/733a5319-ceeb-458c-abad-6e2a6a061e05.ouput" running="file:/Users/shai/.guiBuilder/733a5319-ceeb-458c-abad-6e2a6a061e05" />
The important attributes here are file and javaFile. The former represents the XML gui file and the latter represents the Java source file related to that. If the path is invalid the GUI builder won’t find the right files and won’t know what to do.
The content of the .gui file might also be important if the GUI builder suddently stops working for a specific file.
|
Important
|
This section refers to the "old" GUI builder. Codename One is in the process of replacing the GUI builder with a new version that uses a radically different architecture. We recommend migrating to the new GUI builder and don’t recommend starting new projects with this tool. We are leaving this section for reference at this time |
The basic premise is this: the designer creates a UI version and names GUI components. It can create commands as well, including navigation commands (exit, minimize). It can also define a long running command, which will, by default, trigger a thread to execute.
Since the Resources class is essential for using Codename One, adding the UIBuilder as an import would cause any application (even those that don’t use the UIBuilder) to increase in size! We don’t want people who aren’t using the feature to pay the penalty for its existence!
The UIBuilder is designed for use as a state machine, carrying out the current state of the application, so when any event occurs a subclass of the UIBuilder can just process it. The simplest way and most robust way for changes is to use the Codename One Designer to generate some code for you (yes, we know it’s not a code generation tool, but there is a hack).
When using a GUI builder project, it will constantly regenerate the state machine base class, which is a UIBuilder subclass containing most of what you need.
|
Warning
|
The trick is not to touch that code! DO NOT CHANGE THAT CODE! |
Sure, you can change it and everything will be just fine, however if you make changes to the GUI, regenerating that file will obviously lose all those changes, which is not something you want!
To solve it, you need to write your code within the State machine class, which is a subclass of the state machine base class, and just override the appropriate methods. Then, when the UI changes, the GUI builder just safely overwrites the base class, since you didn’t change anything there.
The Codename One GUI builder provides several simplifications to the concepts outlined below, you can build all portions of the list through the GUI builder, or build portions of them using code if you so desire.
This is a step-by-step guide with explanations on how to achieve this. Again, you might prefer using the MultiList component mentioned below, which is even easier to use.
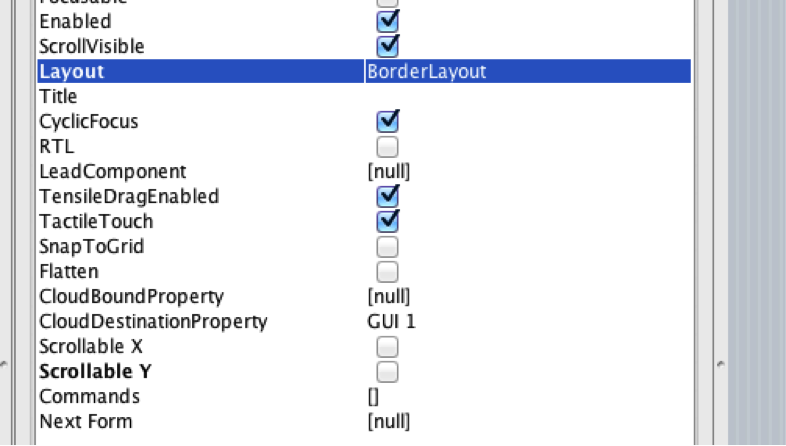
Start by creating a new GUI form, set its scrollable Y to false, and set its layout to border layout.
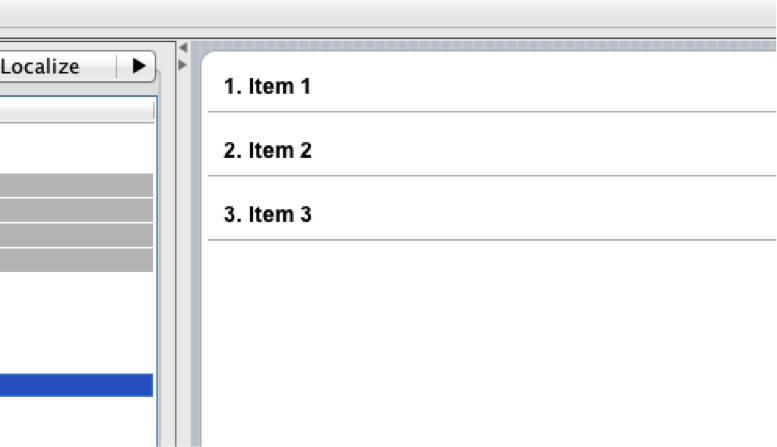
Next, drag a list into the center of the layout and you should now have a functioning basic list with 3 items.
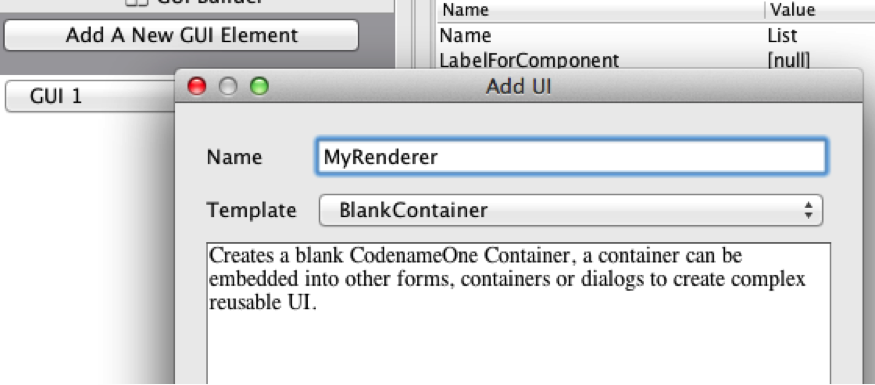
Next, we will create the Renderer, which indicates how an individual item in the list appears, start by pressing the Add New GUI Element button and select the “Blank Container” option! Fill the name as “MyRenderer” or anything like that.
Within the renderer you can drag any component you would like to appear, labels, checkboxes, etc. You can nest them in containers and layouts as you desire. Give them names that are representative of what you are trying to accomplish, e.g. firstName, selected, etc.

You can now go back to the list, select it and click the Renderer property in order to select the render container you created previously, resulting in something like this.
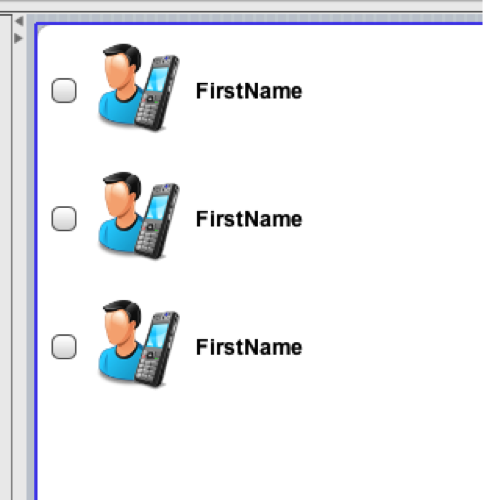
You’ll notice that the data doesn’t match the original content of the list, that is because the list contains strings instead of Hashtables. To fix this we must edit the list data.
You can place your own data in the list using the GUI builder, which is generally desired regardless of what you end up doing, since this allows you to preview your design in the GUI builder.
If you wish to populate your list from code, just click the events tab and press the ListModel button, you can fill up the model with an array of Hashtables, as we will explain soon enough (you can read more about the list model below).
To populate the list via the GUI builder, click the properties of the list, and within them, click the ListItems entry. The entries within can be Strings or Hashtables, however in order to be customizable in the rendering stage, we will need them all to be Hashtables. Remove all the current entries and add a new entry:
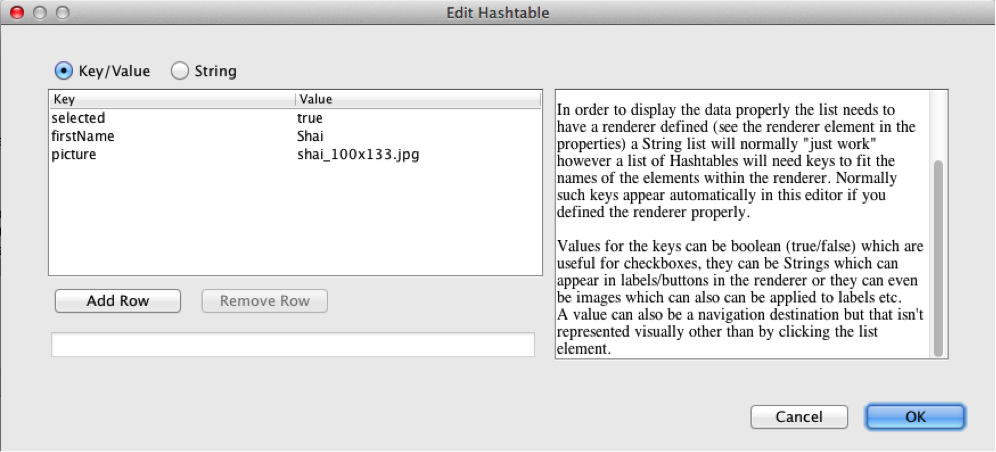
After adding two entries as such:
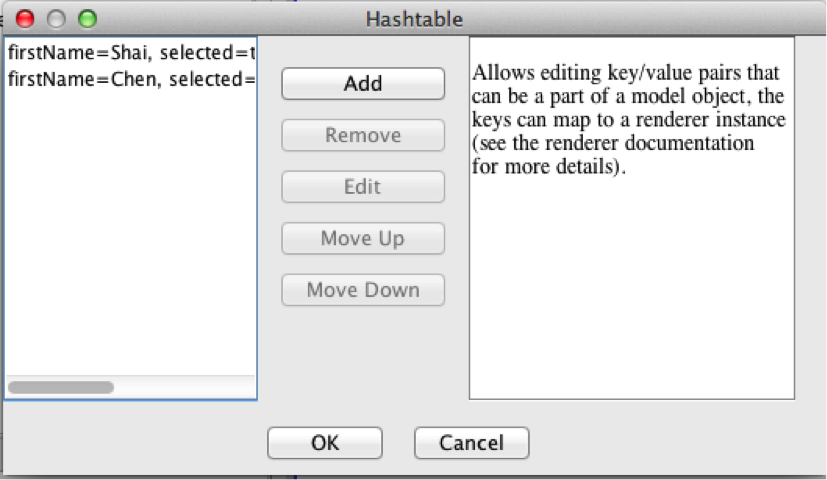
We now have a customized list that’s adapted to its renderer.
About This Guide
Introduction
Basics: Themes, Styles, Components & Layouts
Theme Basics
Advanced Theming
Working With The GUI Builder
The Components Of Codename One
Using ComponentSelector
Animations & Transitions
The EDT - Event Dispatch Thread
Monetization
Graphics, Drawing, Images & Fonts
Events
File-System,-Storage,-Network-&-Parsing
Miscellaneous Features
Performance, Size & Debugging
Advanced Topics/Under The Hood
Signing, Certificates & Provisioning
Appendix: Working With iOS
Appendix: Working with Mac OS X
Appendix: Working With Javascript
Appendix: Working With UWP
Security
cn1libs
Appendix: Casual Game Programming