-
Notifications
You must be signed in to change notification settings - Fork 11
2. Prepping the 3d Printed Parts for Painting (optional)
There are several methods to smooth and paint 3d printed parts.
For PLA printed parts, we would recommend the traditional fill/sand/paint method. It is straight-forward and doesn't involve any harsh chemicals. There are links to the recommended paint and materials in the What You'll Need section
For ASA printed parts, you can use acetone to smooth the surface. It can be rubbed on a small amount at a time, or the parts suspended over it for several hours in a sealed container. Heating the acetone in a container will speed up the process, but be sure not to expose the parts for too long or they will deform. It will only take about 10 min. Make sure to do this in a well ventilated area.
Painting is optional since the 3d printed parts kit is printed in a fine layer height, and to the correct colors. However, painting will give your display a better overall appearance.
- First decide what you want to paint. For example, you may want to paint the keypad (we didn't). The display faceplates, top and sides of the display enclosures, and outside of the main enclosure should be painted at the least
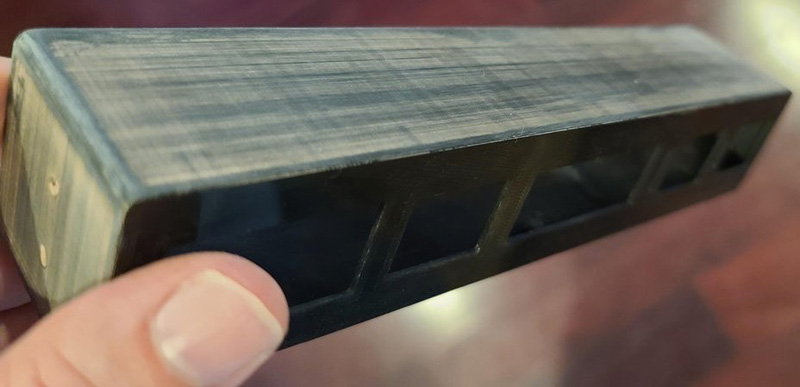
- Start by using a rougher 400 or 600 grit wet sand paper. You'll want to use a small straight edge piece of wood under the sand paper for parts that are straight to avoid creating unwanted grooves and removing too much plastic.
- After the initial sand, apply filler with a plastic spatula fill in printing lines on the parts. Even though the parts are printed in a fine layer height, it's still a good idea to user filler if you want a smooth finish.


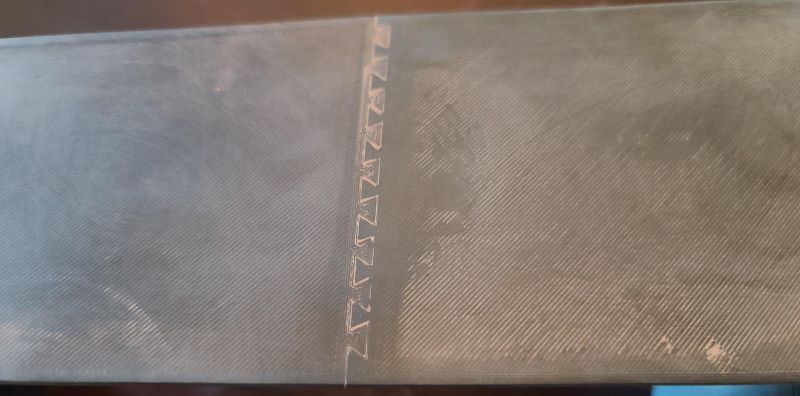
If you printed your main enclosure in 2 pieces, make sure you glue it, and use filler on the top
- After the initial coat of filler is dry, sand with 600 grit sandpaper again, if needed, and then 800 or 1000 grit.
- Use the filler again to smooth out any additional crevices - then sand again.
- It will be useful to paint with a primer before moving on to the top coat. This way you can see any imperfections that may need to be fixed.
- Wet sand with 1200 or 1500 grit sandpaper. Fill any final imperfections as necessary, sand again, then apply another coat of primer.
- Do a final wet sand with 1200 or 1500 grit.
- Apply the first thin top coat and let dry. The display enclosures and faceplates should be a hammered pewter or silver color. The outer enclosure should be an aluminum color. The keypad should be an Army green color.
- Apply 1 or 2 more top coats.
- Finish off with a clear coat to protect the paint further, if you want.