-
Notifications
You must be signed in to change notification settings - Fork 11
4. Assembling the Enclosures
John edited this page Oct 7, 2024
·
3 revisions
- Phillips head screwdriver
- Last Time Departed enclosure
- Present Time enclosure
- Destination Time enclosure
- Outer enclosure
- Keypad body
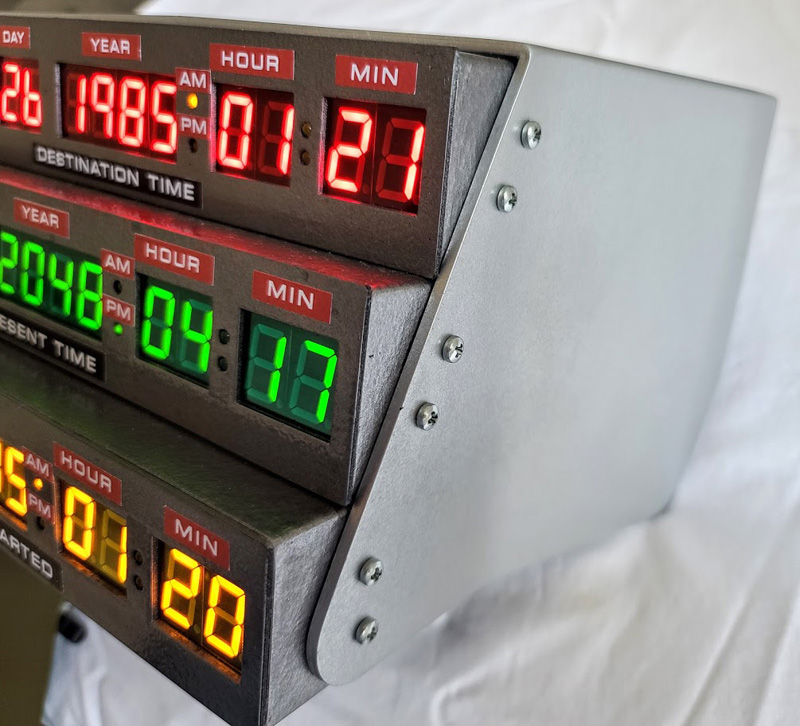
- Carefully line up the holes for the Destination Time enclosure and the outer enclosure
- Secure with 4 screws - do not over tighten!
- Repeat for the Present Time and Last Time Departed enclosures
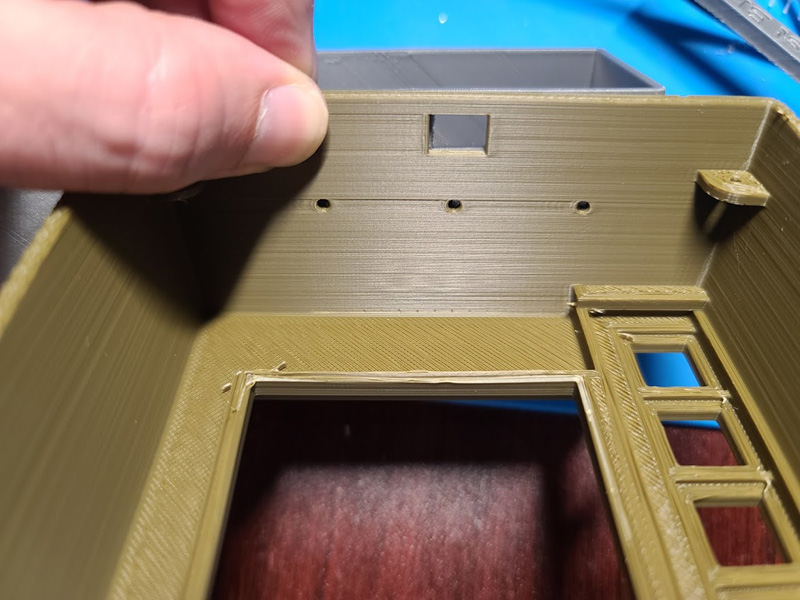
The outer enclosure is meant to have larger screw holes than the display enclosures so that the display enclosures are tight up against the outer enclosure. Kits come pre-drilled. If you print them yourself you may need to drill the outer hole enclosure screw holes to 3mm and the display enclosures to 2.5mm

Enclosures should be assembled after painting, but before faceplates and display PCBs are installed
- The keypad is secured to the Last Time Departed enclosure with 3 screws (v4 of the keypad body now has 4 screws)
- Line up the screw holes and put in the screws from inside the keypad (If you have a v4 keypad with 3 holes, and aluminum enclosures, the keypad must be secured from inside the Last Time Departed enclosure)
