-
Notifications
You must be signed in to change notification settings - Fork 1
How to upload files to Azure storage
Kantemir Tvorogov edited this page Aug 8, 2023
·
1 revision
Each environment has separate storage.
You need to install Azure Storage Explorer software https://azure.microsoft.com/en-us/features/storage-explorer/ to be able to connect and work with files in Azure storage.
- Open the link and download Azure Storage Explorer https://azure.microsoft.com/en-us/features/storage-explorer/
- Install and run it
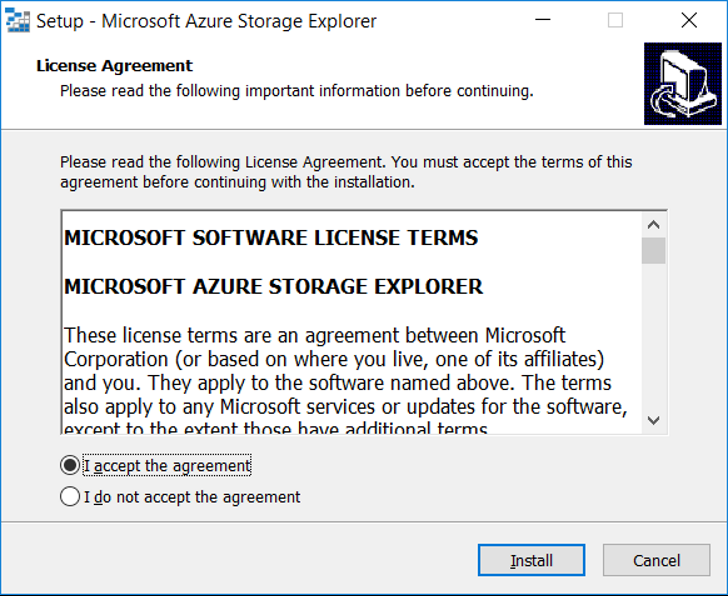
- Wait till it finishes and click 'Next' button
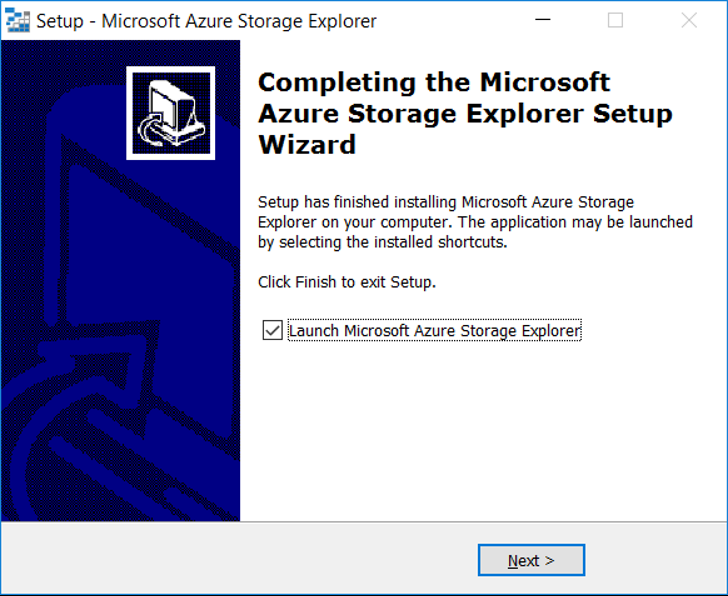
- Wait until application starts
- Choose the 'View->Explorer' from the top menu
- Choose the '(Local and Attached)->Storage Accounts' item
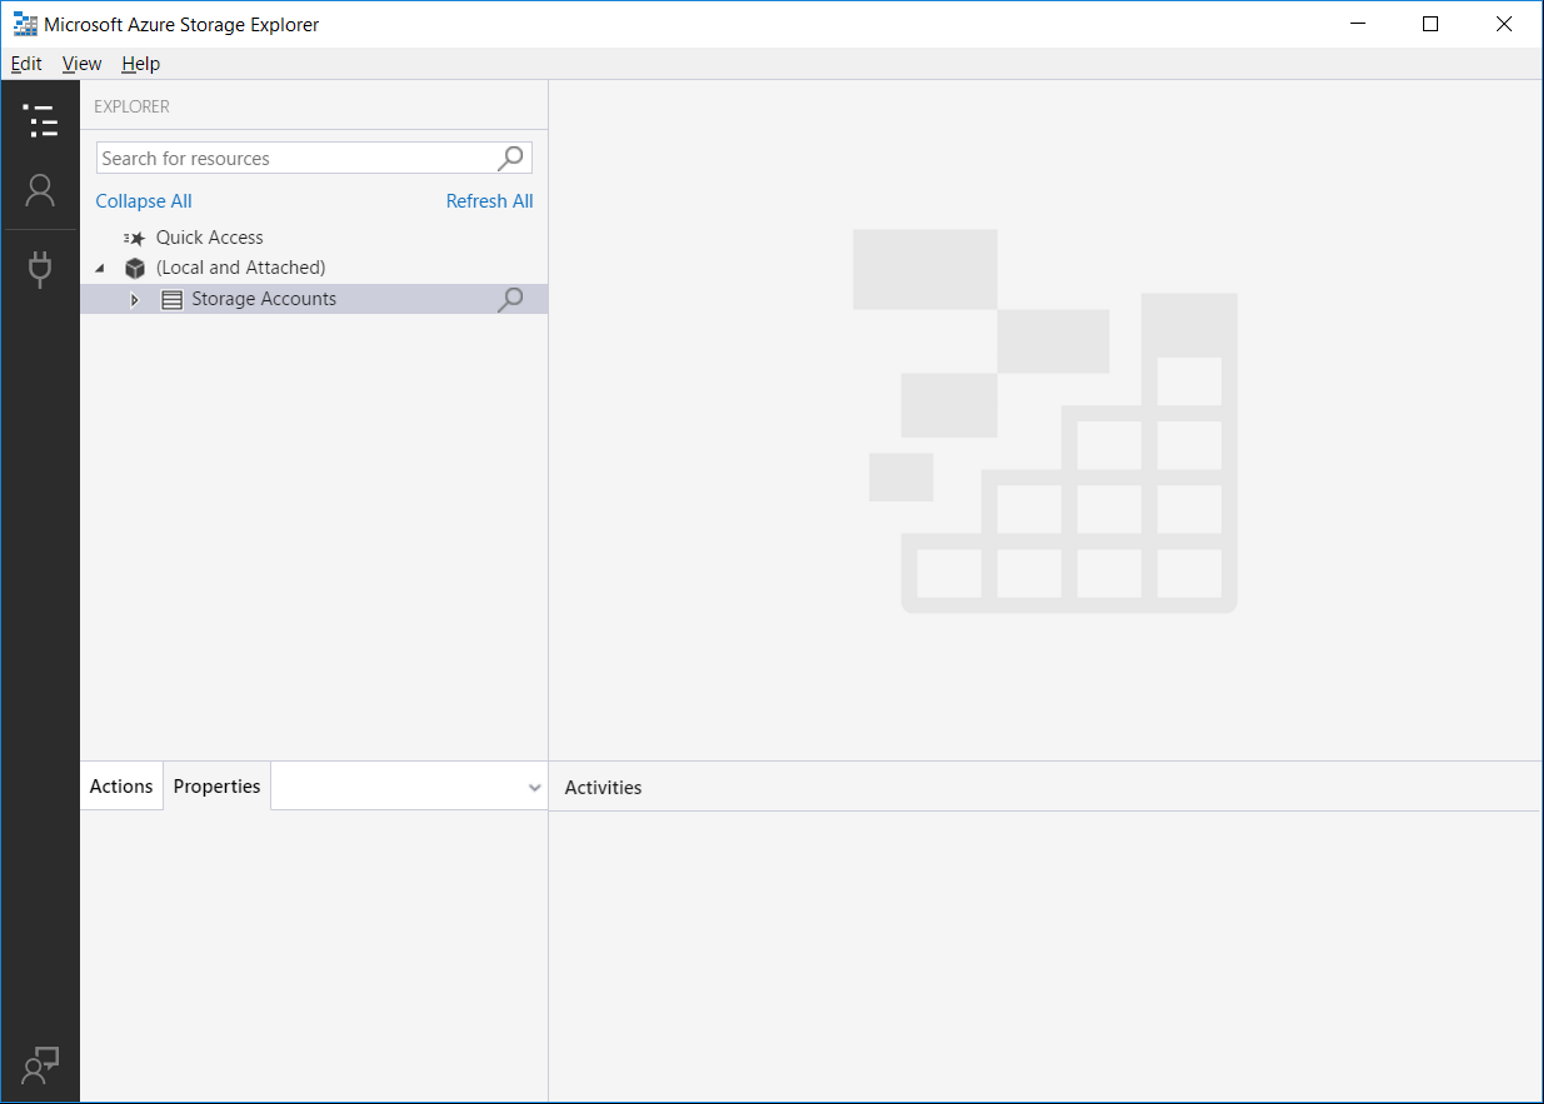
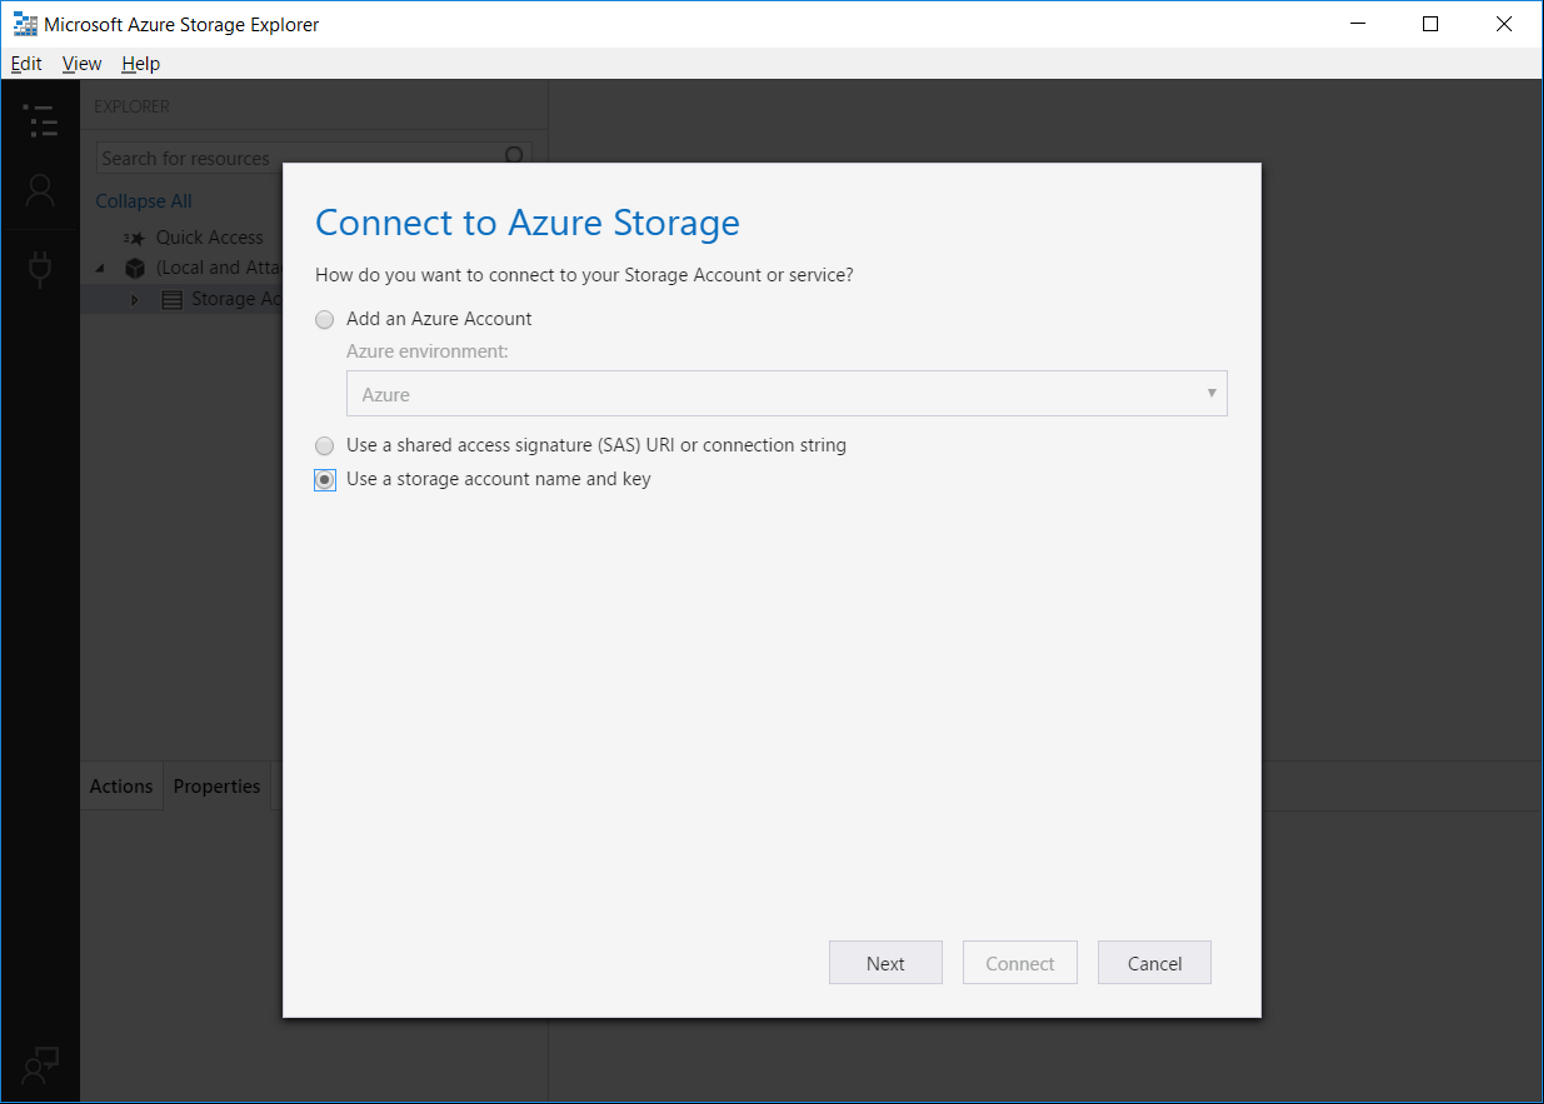
- Click right mouse button on the 'Storage Accoints' item and choose 'Connect to Azure storage…'
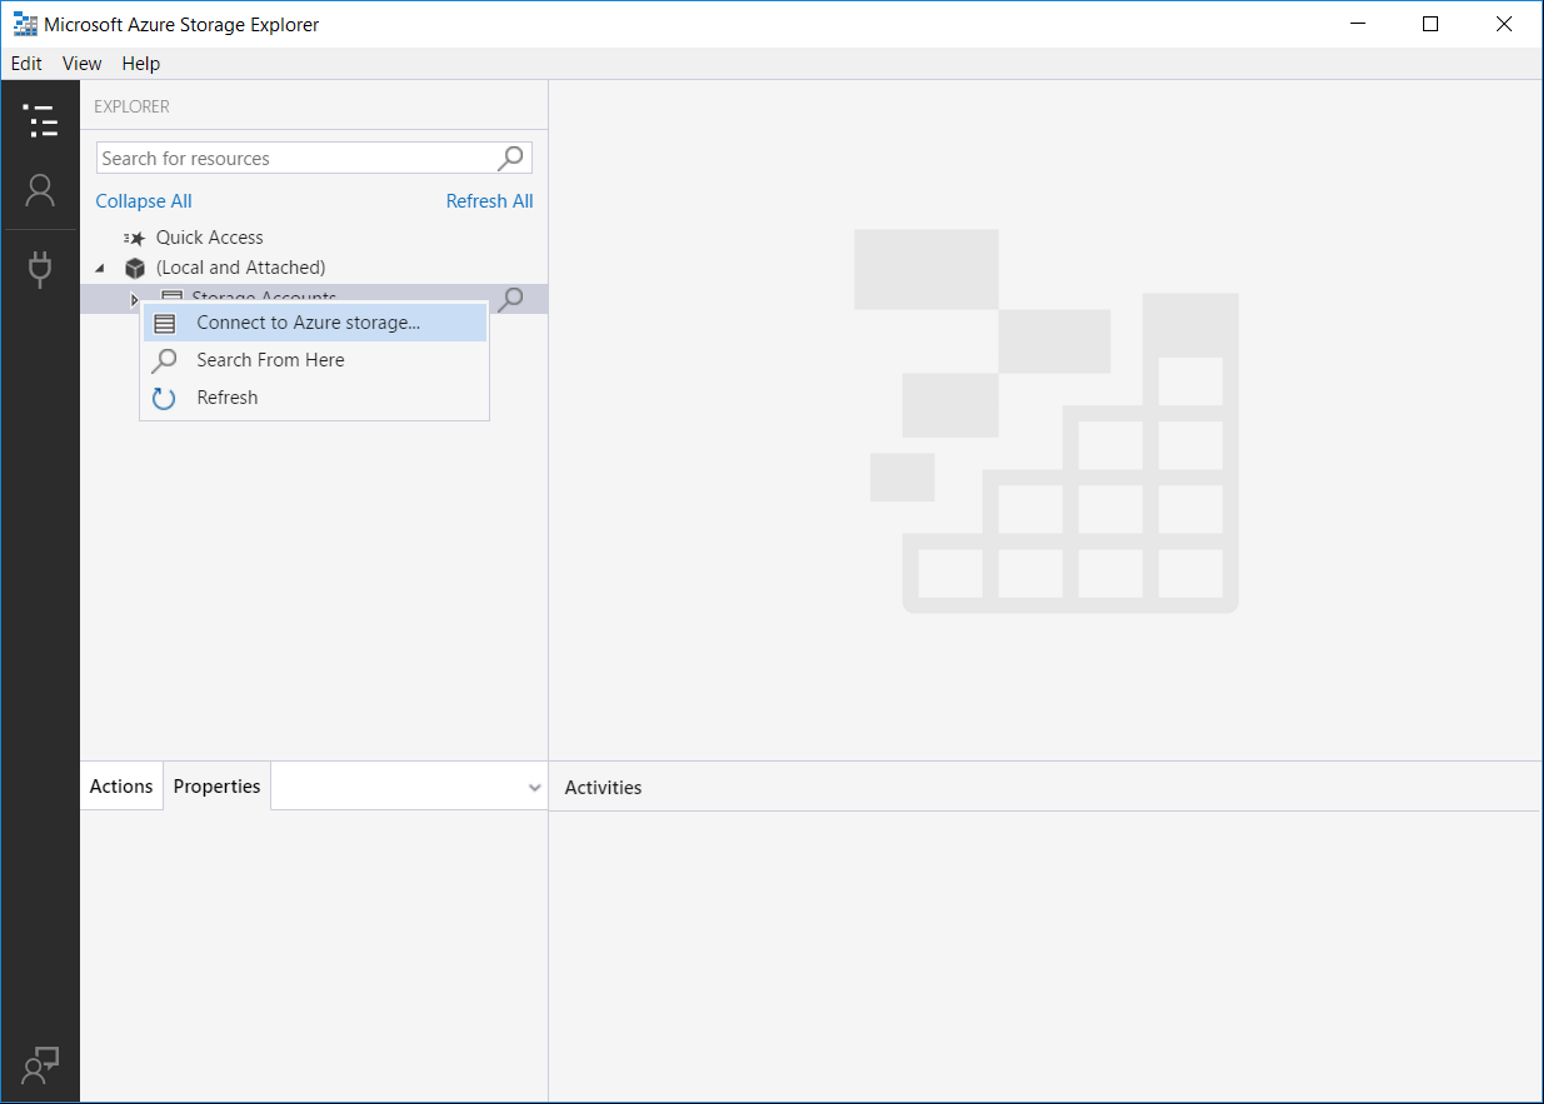
- Select 'Use storage account name and key' and click 'Next'
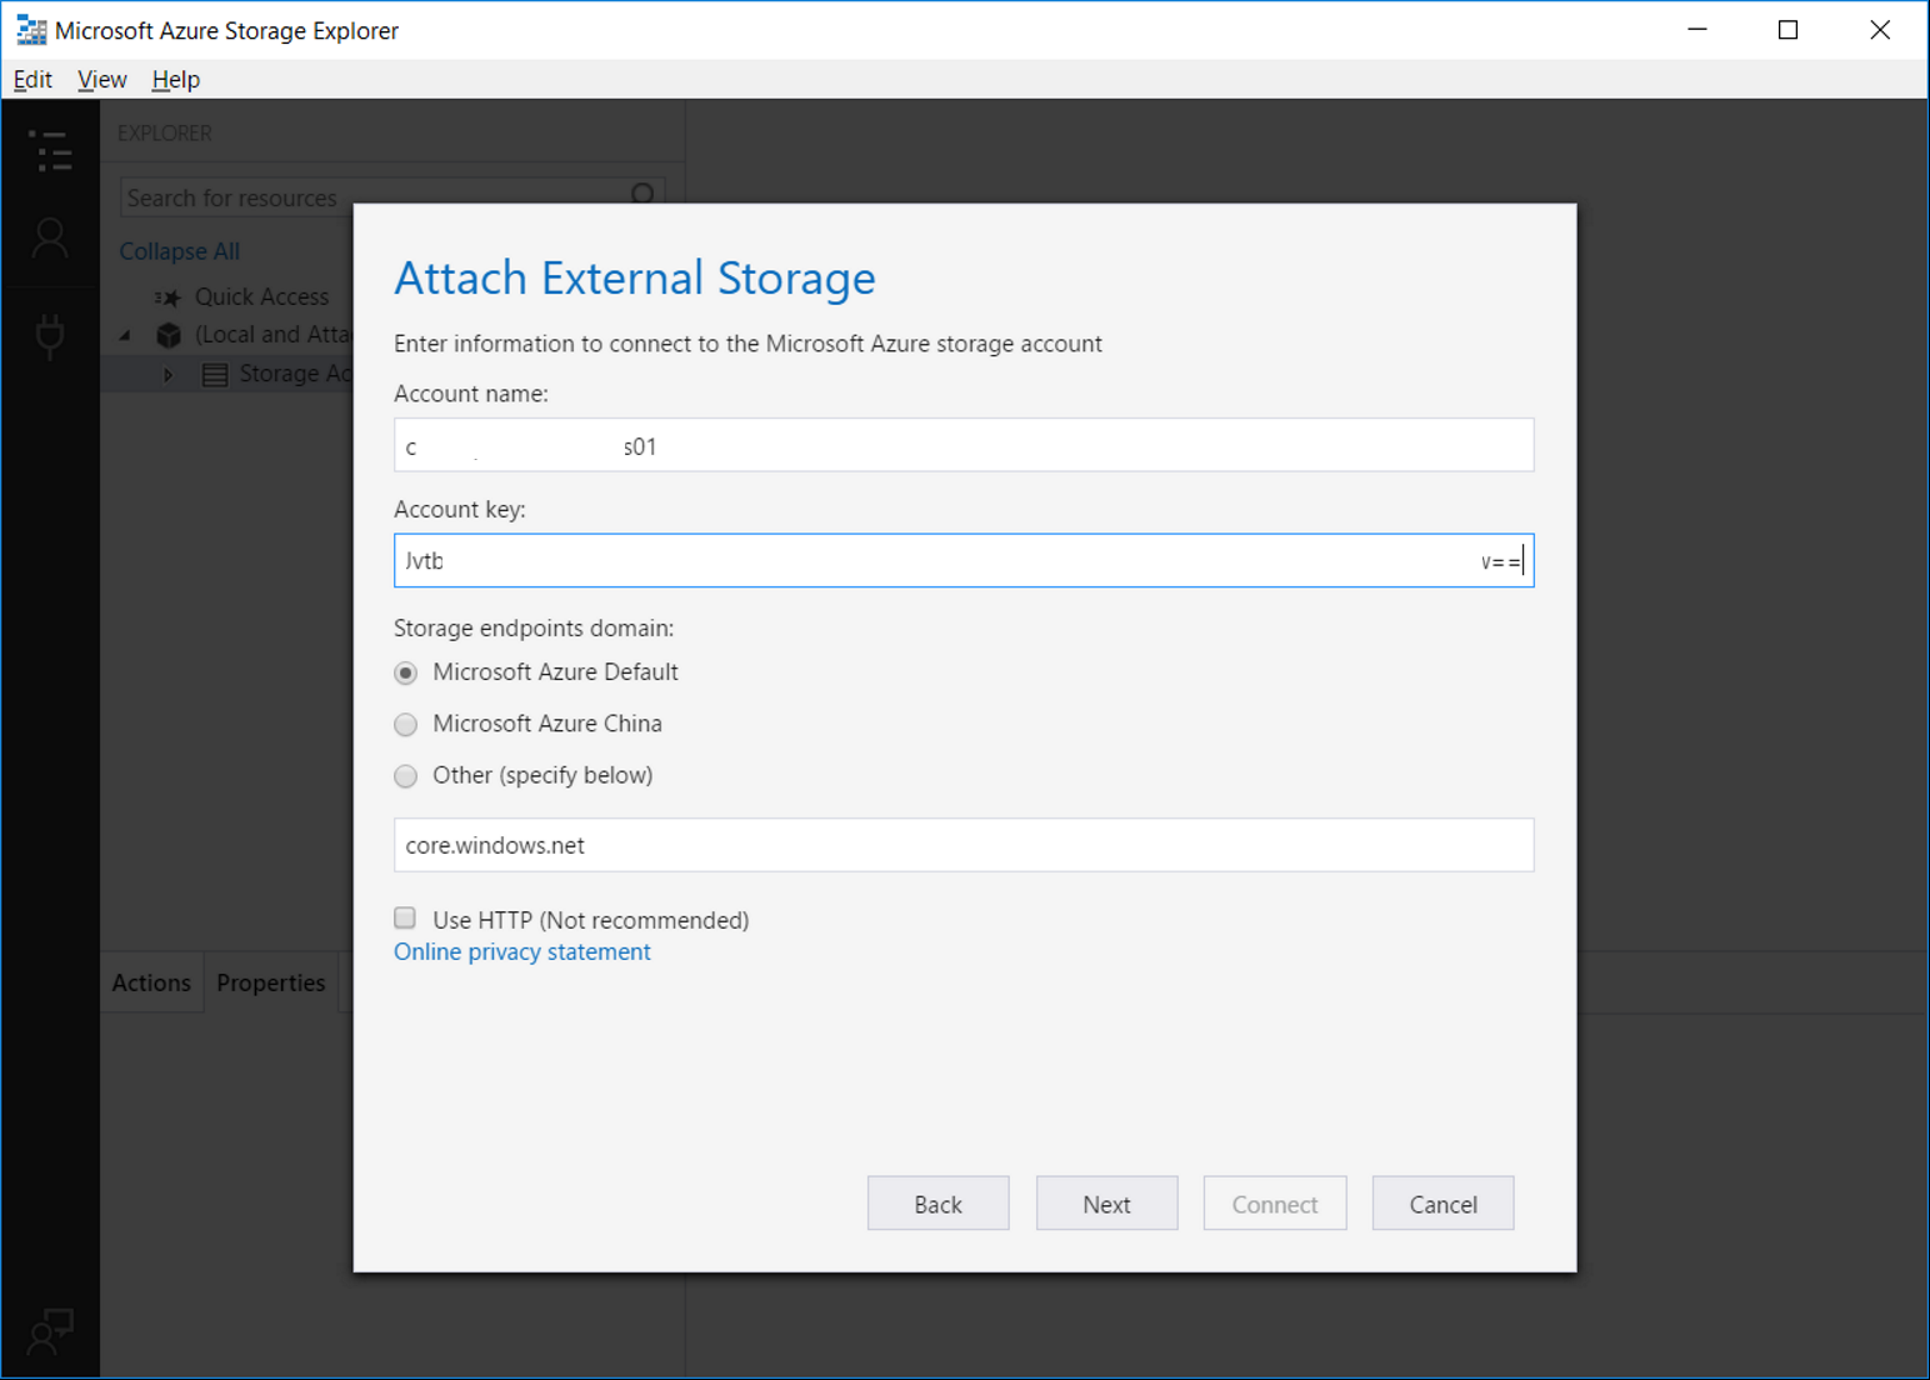
- Enter the Storage account name and the key and click 'Next' (You can take them from Azure Key Vault. They have names like: DevStorageAccountName and DevStorageAccountKey)
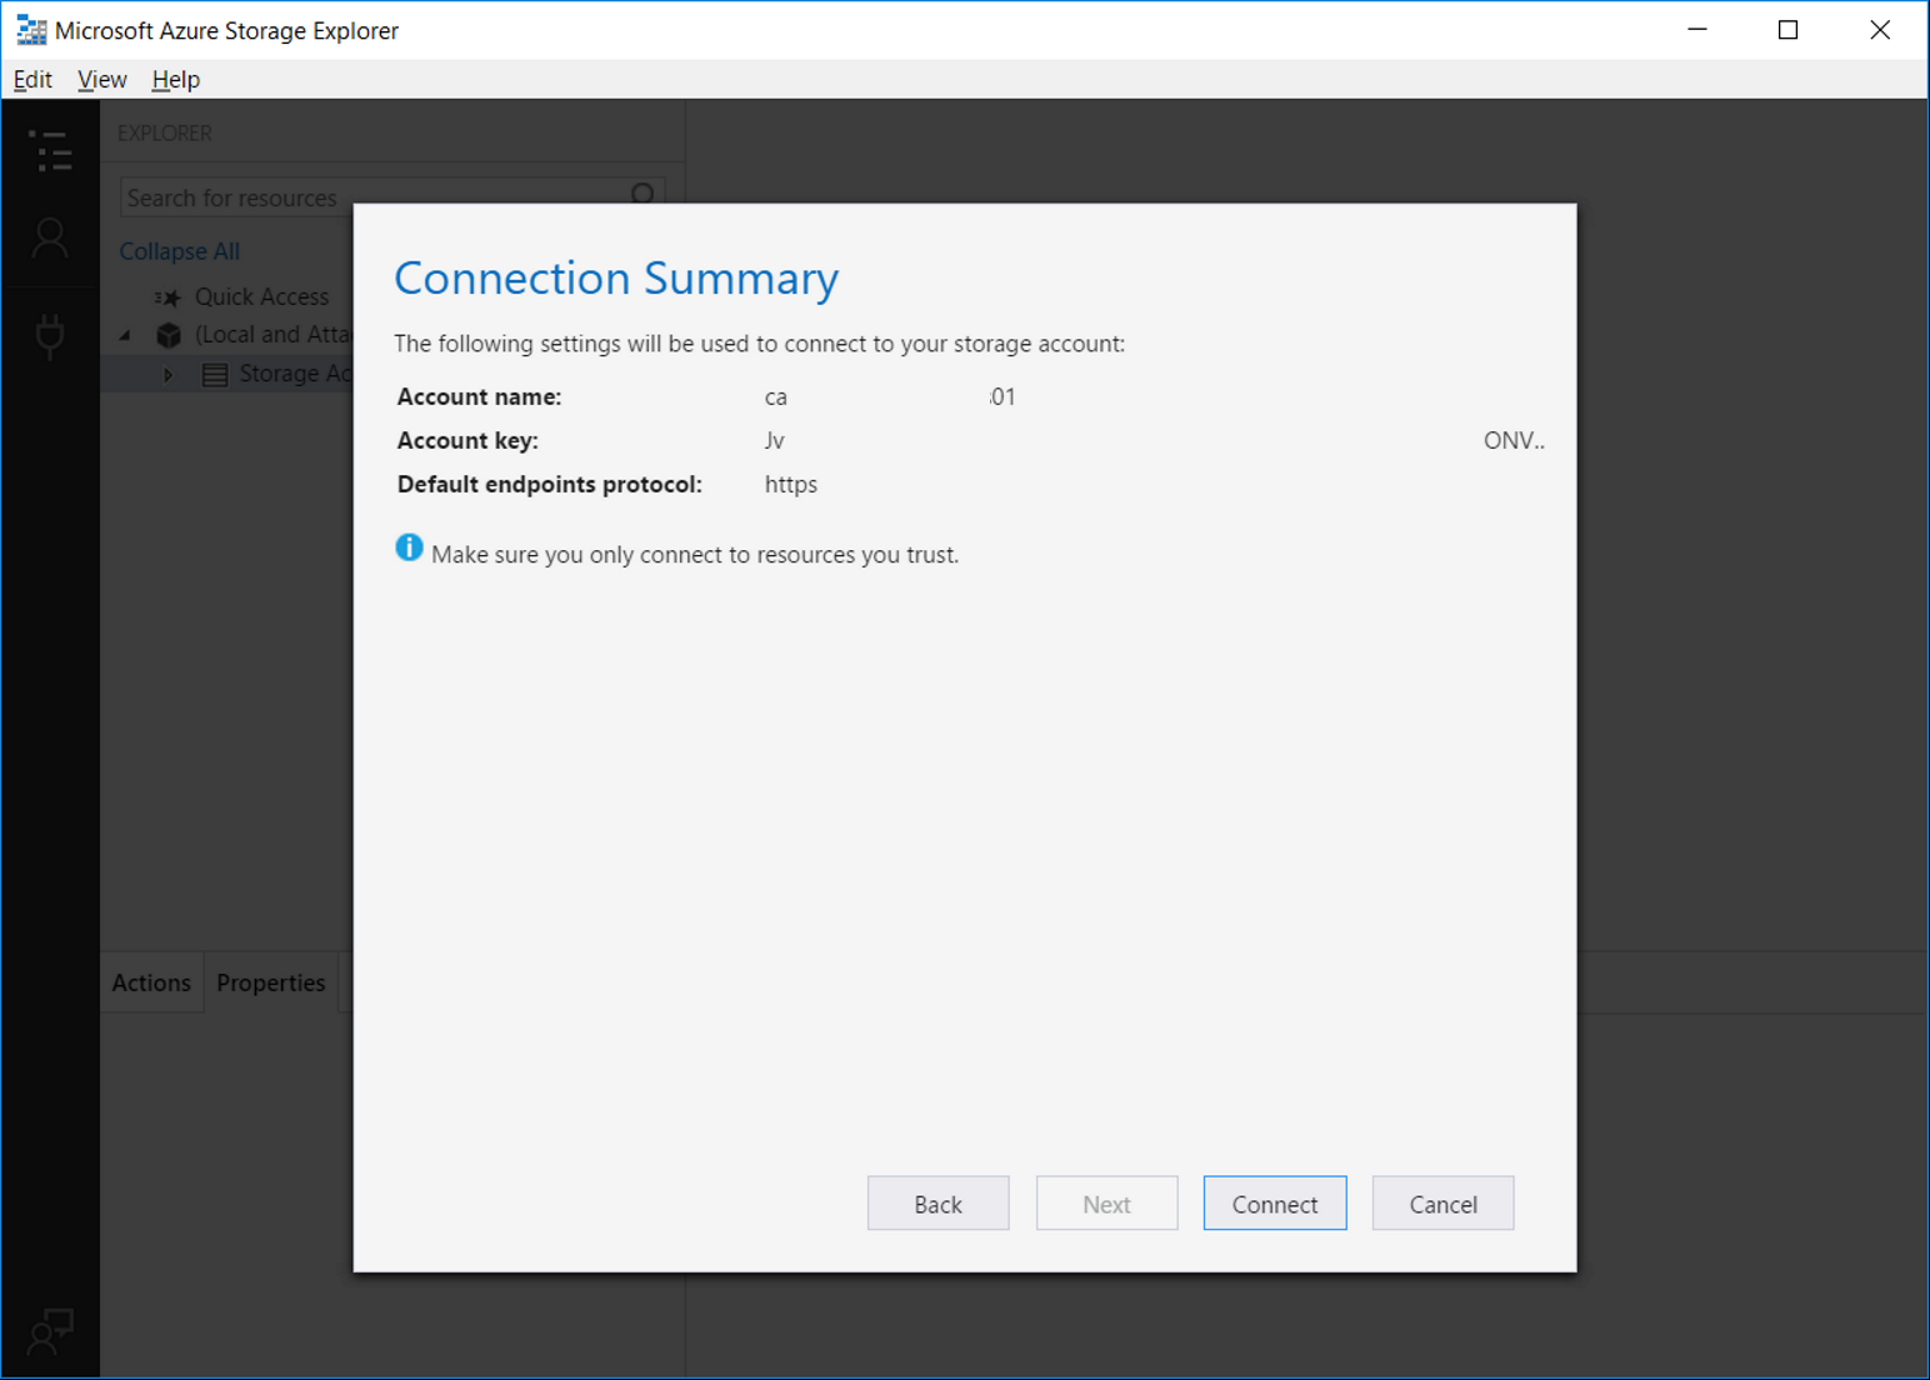
- Check provided information and click 'Connect' (If something is wrong, you could click 'Back' button and change information on the previous pages)
- Choose 'File Shares' and click on the arrow left to it
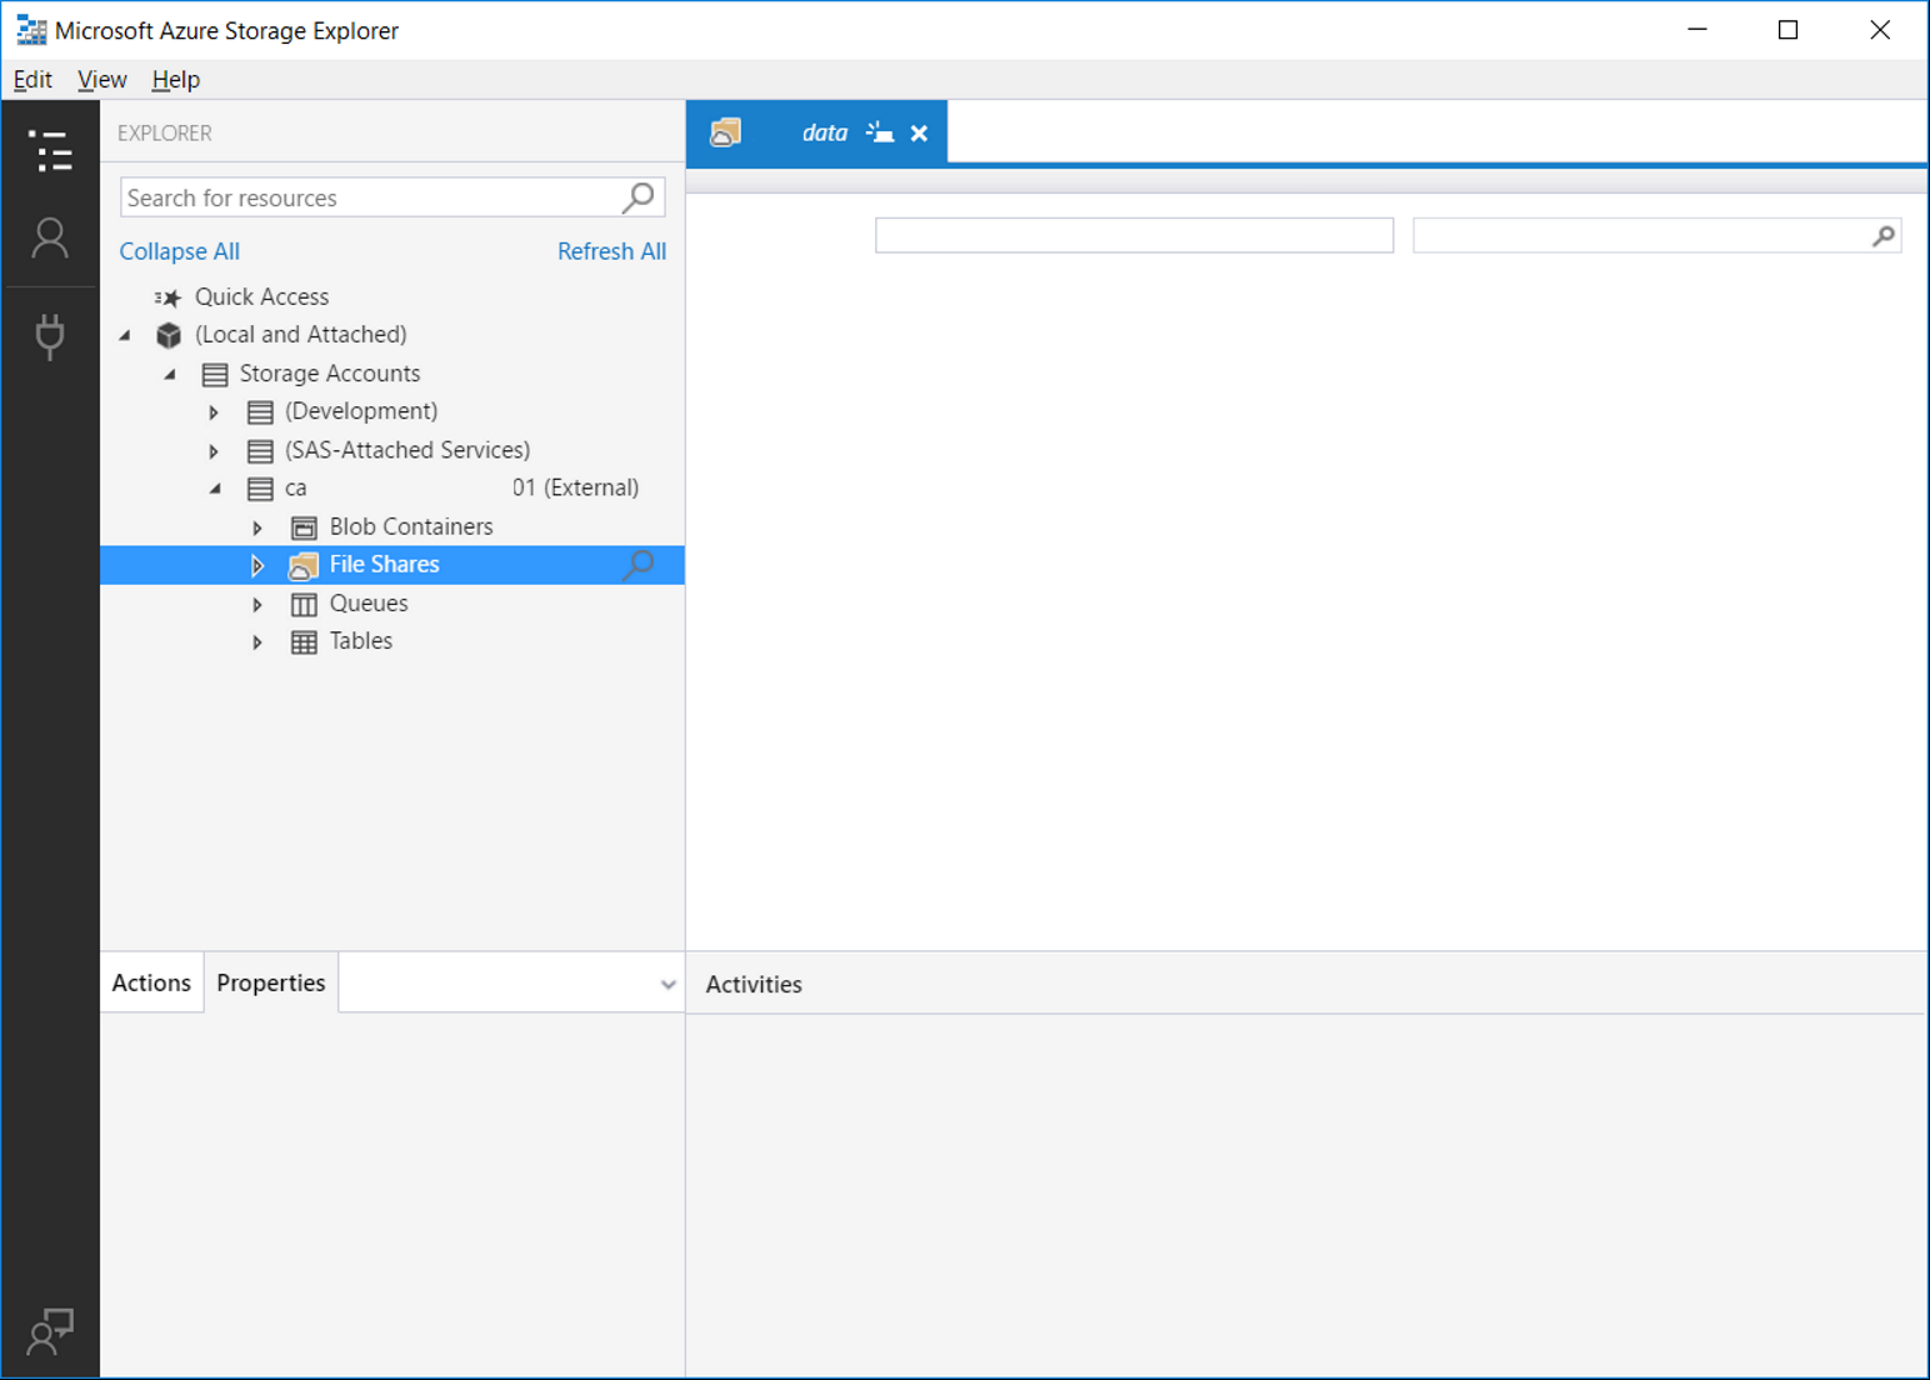
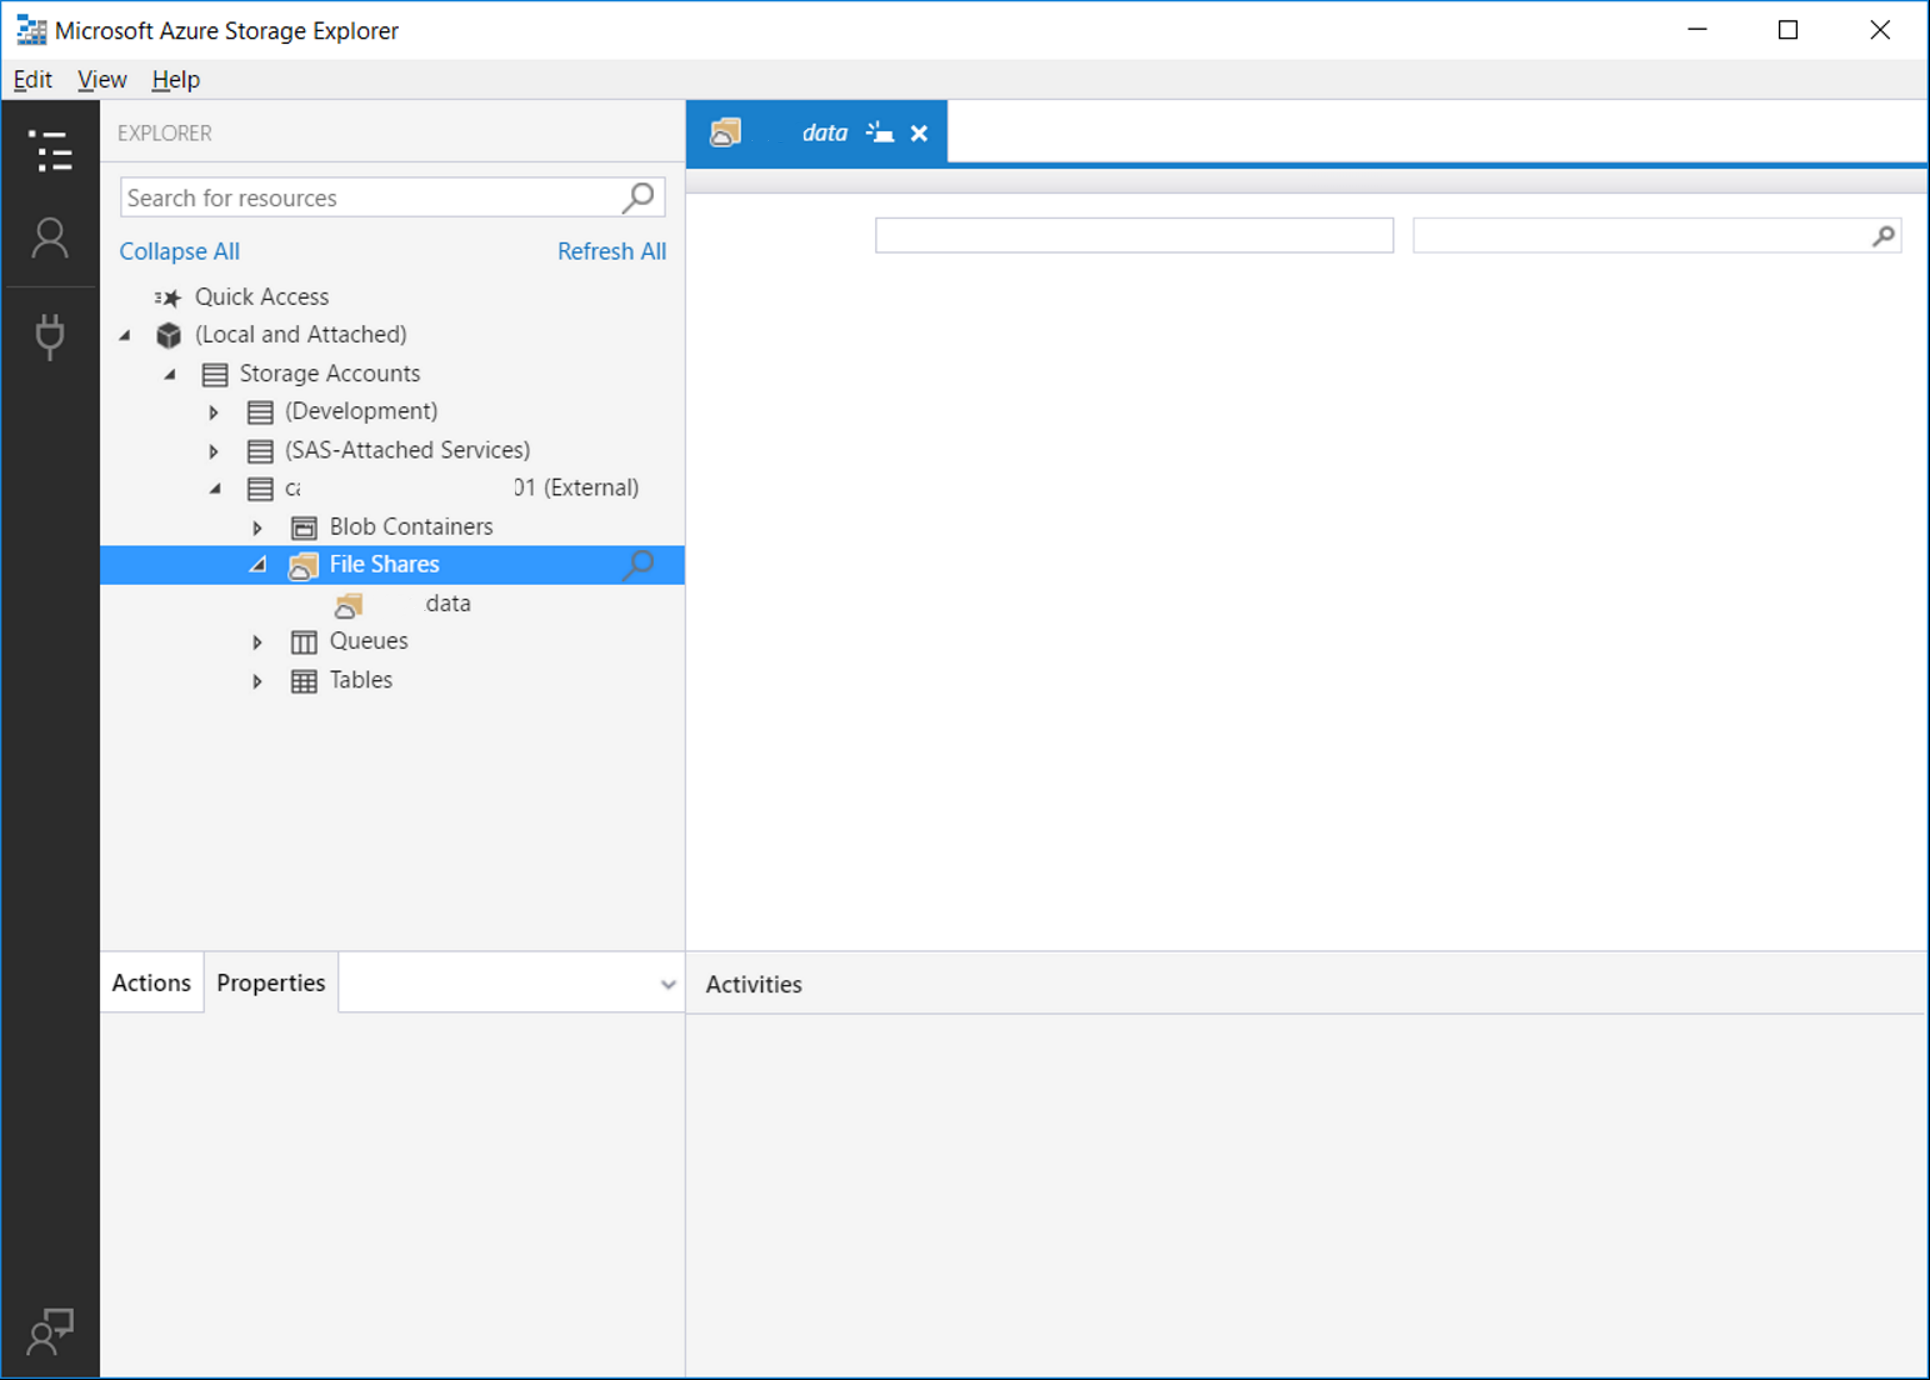
- Select 'acuitydata' item and double click on it
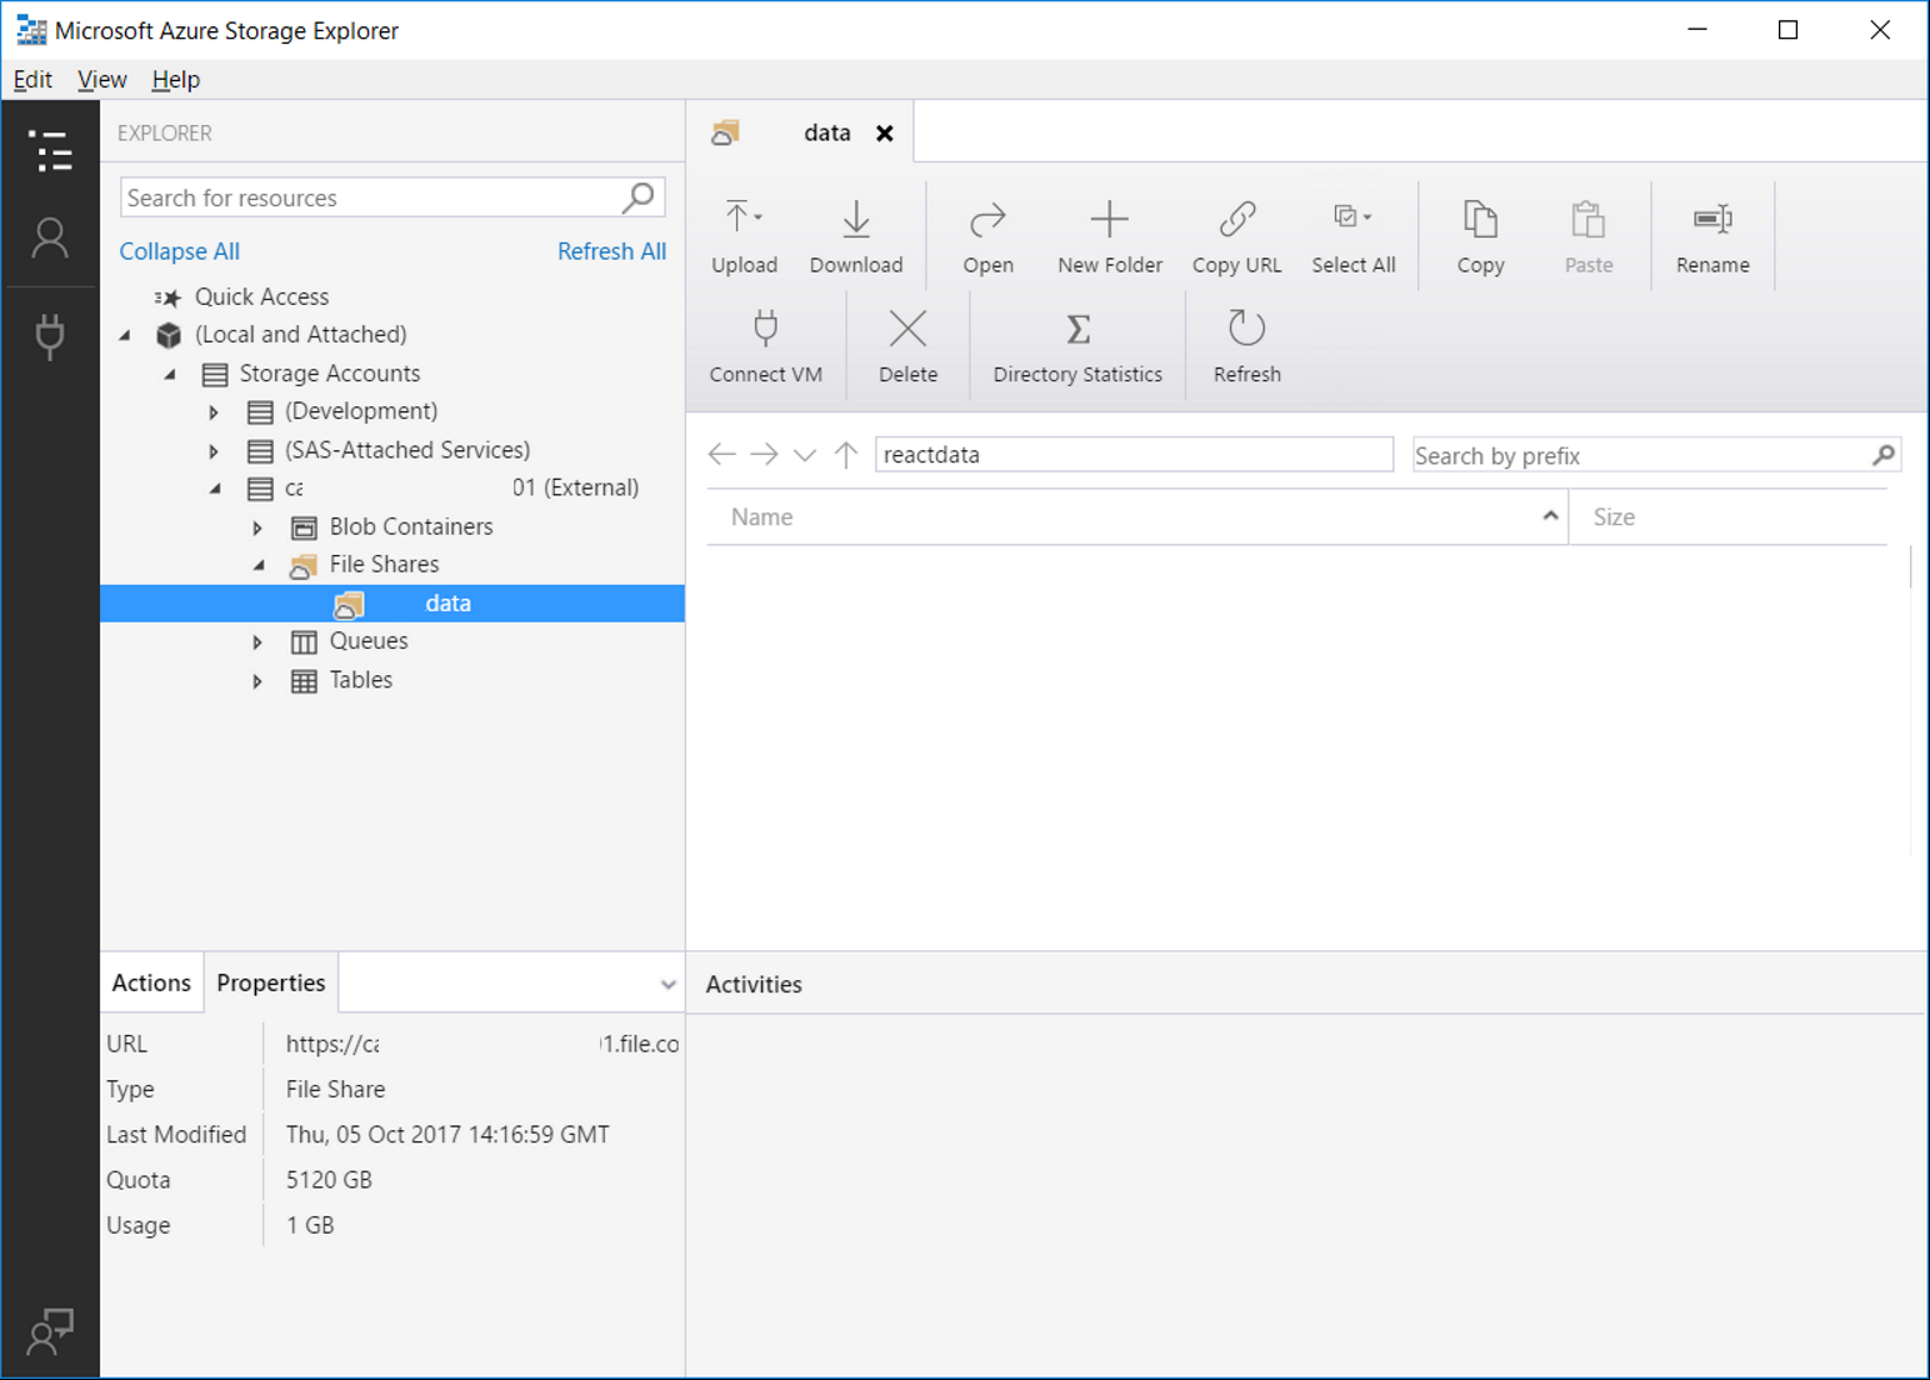
- Now you are able to upload files into the storage
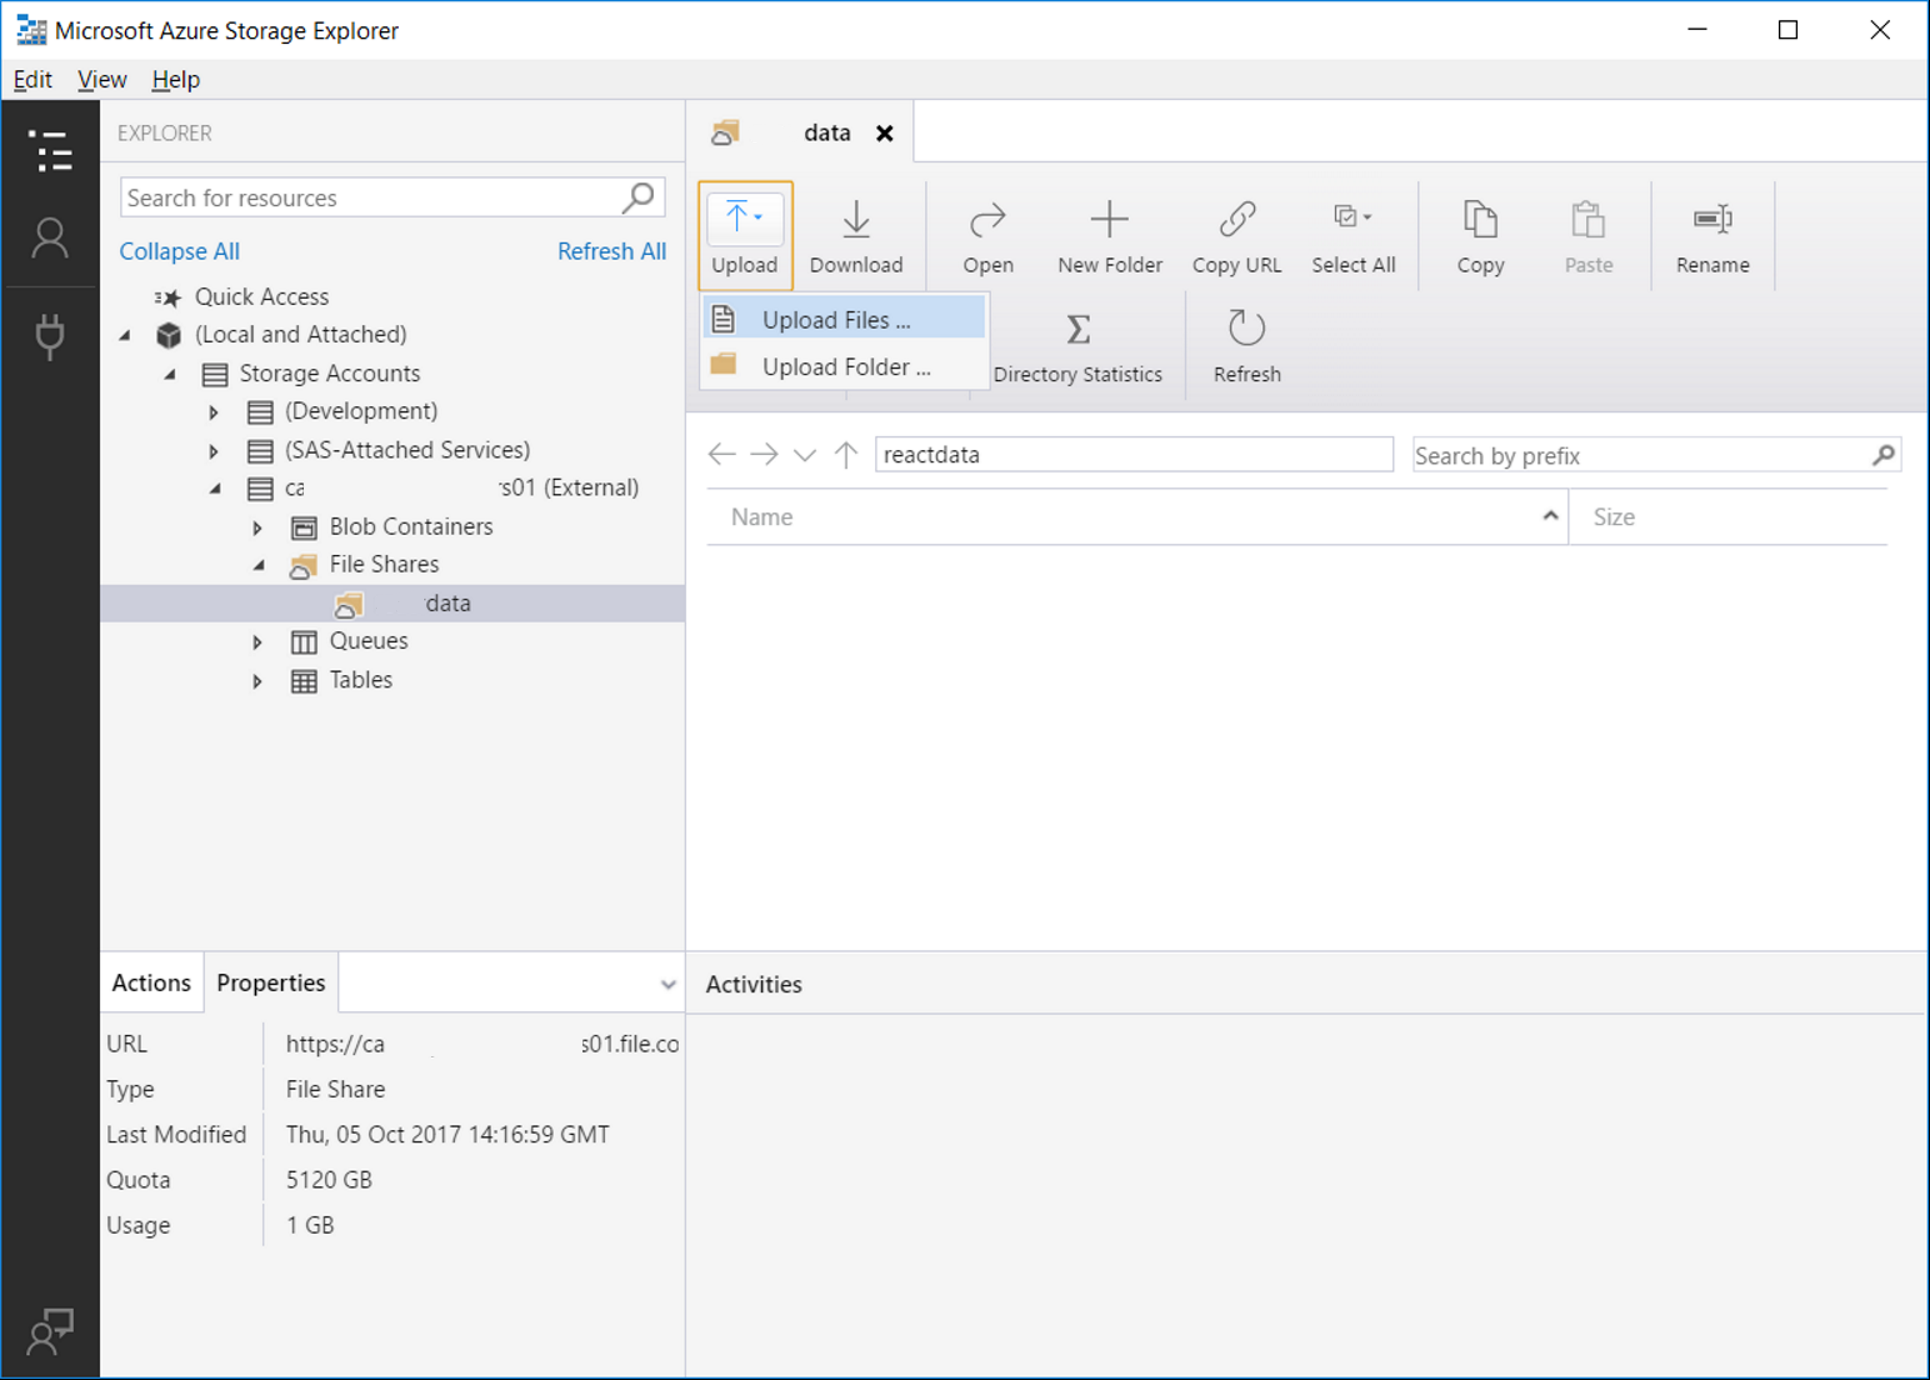
- Use 'Upload' button for uploading files into the storage
- System Requirements
- Azure Setup
- Machine Insights and CBioPortal Integration
- SSL Certificates
- Applications Setup
- Application Spring Configs
- Profiles
- Migrating to ACUITY 9
- Github packages and Docker images
- Result data tables
- Mapping data tables
- Third party solution tables
- Other data tables
- Tables to delete