-
-
Notifications
You must be signed in to change notification settings - Fork 2
FirstSteps
Welcome aboard!
When you launch gRally the Drive page appears, but the first time, before you drive, you need to configure some things:
⚠️ All the settings are saved automatically, so you only need to change them.
The video settings are quite self-explicative.
Play with the settings to find the right balance quality/performance. Some settings have more impact on performance, for example Reflections, Car mirror distance, Post Process, Draw distances and Anisotropic Levels are the most heavy for rendering. Just as example, some of the settings you see in the next images return a FPS range of 70-90 FPS on a i76700 + GTX1070.


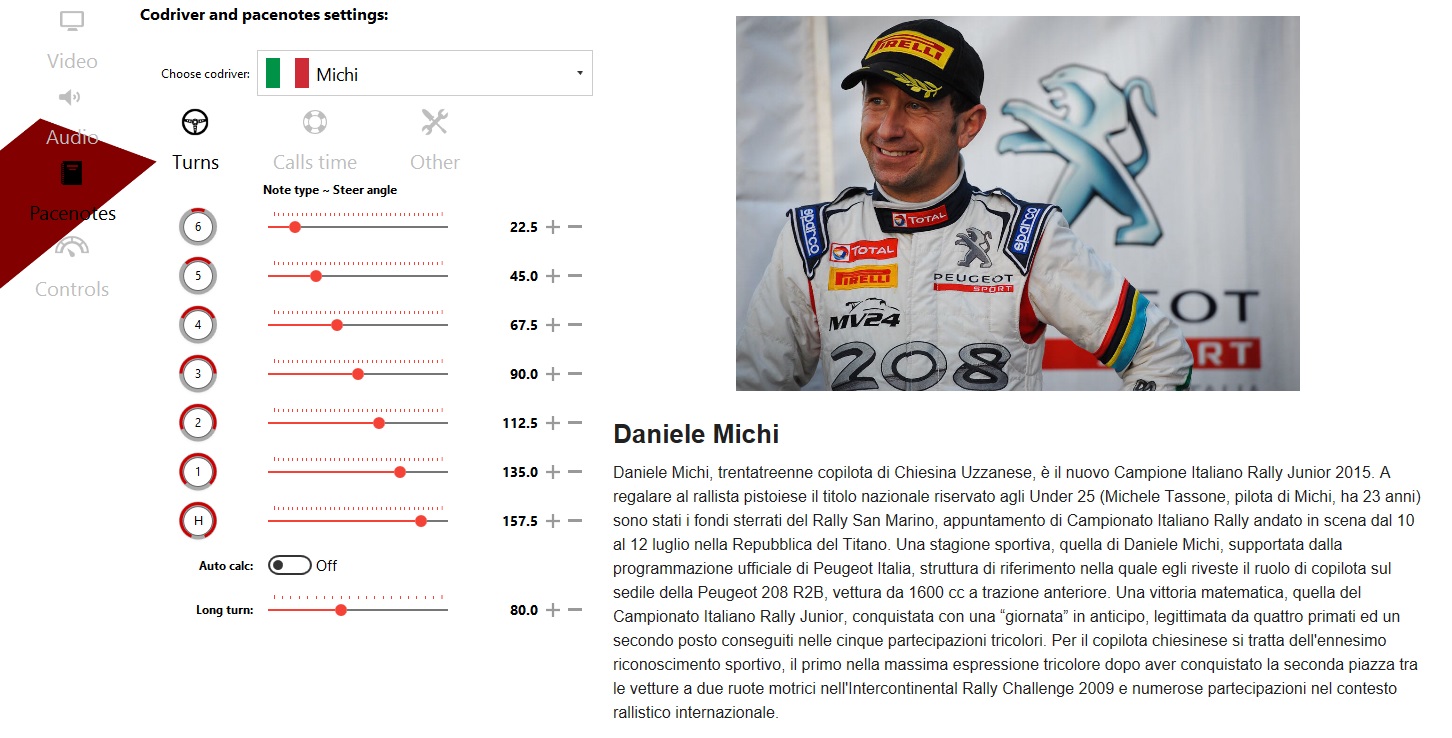
Into this page you can customize the Codriver AI, but the first thing that you should do is select the codriver, mostly for the non italian people 😁
To set your analog control you just need to click the radio button on the left of the interested control (ie: steering wheel) and move the axis, you'll see a graph that show how it' working the controller in gRally
You can set the maximum and minimum value for each control clicking the button on the left/right of the slide.
You can change the linearity of the control moving the slider below the graph
You can invert the control with the toggle button if , with controller on the rest position, you have the full axis graph visible.

The analogic and digital controls are now unified: this means that for the analog controls like steering, accelerate, handbrake, etc. it's possible use an analogic controller or a digital controller.
The big difference is for the steering, that when you use an analogic wheel you use one input, and if you use a digital controller you need to configure a left and right buttons.
To set the digital controls you do the same thing like the analogic controls.. you can click a joystick button or a keyboard key, once is set, clicking the element, the icon become red.
Here is the table of the default settings:
| control | key |
|---|---|
| Accelerate | S |
| Brake | X |
| Steer Left | ; |
| Steer Right | : |
| Shift Up | Q |
| Shift Down | SPACE |
| Handbrake | Z |
| Clutch | C |
| Engine | E |
| Lights | L |
| Look Left | N |
| Look Right | M |
| Wipers | W |
You can Load or Save controllers configuration file using this buttons.

From left to right: Load, Save and Save with a different filename.
Now the configuration is done, it's time to race!!!
 Car section
- Car selector
- Name of the car, description and version
- Car paint: it opens a new window with our showroom were you can choose a livery or paint your car with any colors you like driven by some colors patterns
- Setup garage: you can change and create your setups
- Quick setup changer: you can load one of the saved setups
- Car version selector: by default the latest car version is choosen If you want, you can select a different one changing the slider position (modders should be more interested on this option than simdriver)
Stage selection
- Stage selector
- Name of the stage, description and version on the right
- Stage version selector: by default the latest stage version is choosen. If you want, you can select a different one changing the slider position
Session section
- Set date and time to race
- Set the air temperature
- Set the cloud coverage
Drive section
- Drive: click and enjoy gRally!!
© gRally.net 2018


