Stages_gStageEditor_Layout
gRally needs some information about the stage and these info are stored in a dedicated gameobject.
In the first steps, you created, using the gRally menu, the scene "layout" that contains a gameobject named "layout".
Select it and go to the inspector.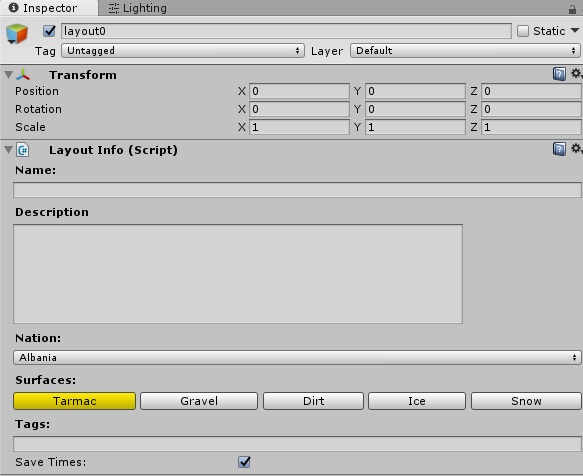
In the first component called "Layout Info" you can set some basic information.
- Name: it's the special stage name referred to this layout.
- Description: few words to describe your stage. It will be displayed during the stage loading phase.
- Nation: choose the country where stage is located.
- Surfaces and Tags: they will be useful when will introduce filters to find special stages. At the moment you can leave as default.
- Save times: uncheck it if you don't want that gRally save times (both local and remote). It's useful when you want to test your stage without creating any time record in the gRally timetable.
Next go to "Layout Path" section.
Here you have to load the path of the stage. To create the paths you can use 3 methods:
- use a spline created in Blender or 3dsmax
- use a path created with Sentieri Unity Asset
- use a path created with Moose's procedural rally stages tool
For this stage we used the first method.
Two words about the spline export both 3dsmax and Blender.
3dsmax
We created a straight spline 1km long and then exported in XML using the 3dsmax exporter script you downloaded in the prerequisities section.
The script is simple: select the spline, run the script.
It opens a new window, save the XML file as "layout0.xml".
Blender
Select the road mesh, go to edit mode and use edge select mode.
Select the edge in the middle of the road. Select the edge loops like shown below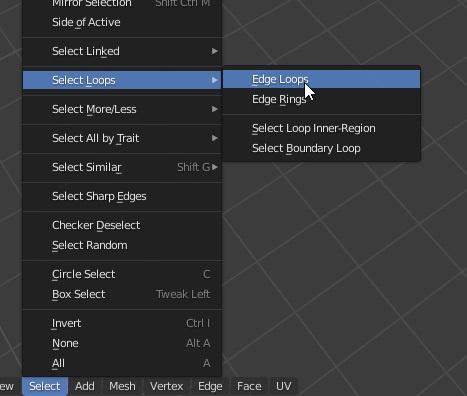
Press SHIFT+D, then press ESC and with the edge loops still selected, press P -> Selection or look at the following image.

Blender creates a new mesh with just those edges. Now exit the edit mode, select that new object and convert it to a curve using the command below.

Click again the convert to command and now select mesh. Now you can go to the file menu and export it.

In the Blender File View editor, browse the folder where you want to save the xml file.
If you want to quickly test the sample layout spline, you can download it here. Create a "LayoutPaths" folder inside "Assets" and extract the XML file inside this new folder.
Now, with the layout gameobject selected, go to the layout path", press the import XML button and select the file.
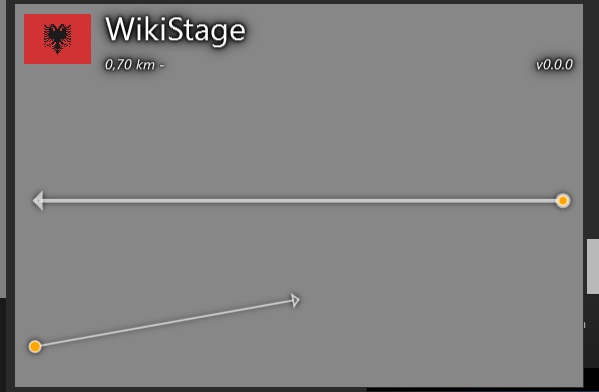
When the import finishes (with a simple layout it's very fast), you'll find some new marker in the 3d scene view and you'll find the spline points in the inspector.
 The big white one is the start position.
Now you must set the start/splits time/end positions.
Scroll down to the "start/finish" and set all the position like this.
 Now you have to add the signals for the different time positions.
In order to do this, you have to add a mesh collider component to the road gameobject.
Select the road gameobject, go to the inspector, press the Add Component button and select Physics->Mesh collider.
Now you have to add the signals for the different time positions.
In order to do this, you have to add a mesh collider component to the road gameobject.
Select the road gameobject, go to the inspector, press the Add Component button and select Physics->Mesh collider.
Select again the layout gameobject, scroll to the "start/finish" section and press the Place signals.
gStageEditor places the corrected signals mesh on the road, according to the marker positions you set before.
 Now you're ready to export the stage to gRally.
To export it you have to go to the gRally menu and choose "Export Stage".
Browse to this Steam folder

Create a folder "WikiStage" and select it to export. When it's done launch gRally and go to choose stage button
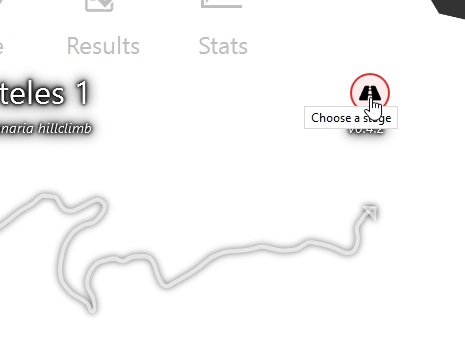
Scroll until you find the stage WikiStage.
Let's drive it now!
If you're reading at this point, you should have done all right. If something is not working and you're stuck, you can download the working full project from here https://www.ghiboz.com/gRally/WikiStage_1km.7z.
In the gRally dropdown shader list, you'll find also a shader called "Phys v2 Blend 2 Mat".
This is useful to mix two set of textures to mimic two different material blend.
To make the blend happens you have first to drag&drop the textures in the correct slots and then paint the Vertex Color Alpha channel of the mesh.
To do this you have two main ways:
- Paint the mesh inside your 3d software
- Use a Unity asset and paint directly on the Unity3d editor.
We suggest to use these free assets for Vertex Painting.
Vertex Painter Pro: a really good Vertex Paint tool (but not only) made by Jason Booth. You can find free here https://github.com/slipster216/VertexPaint .
Probuilder: not just a vertex painter tool but a set of tools to modify geometries directly inside Unity viewport. It manages also the UVs. It's free and made by Unity (actually made by Procore, now part of Unity). You'll find it on the Unity Asset Store.

© gRally.net 2018