Events Synchronization es ES
→ MetaData Sync / Events Synchronization / Manual Sync
Español
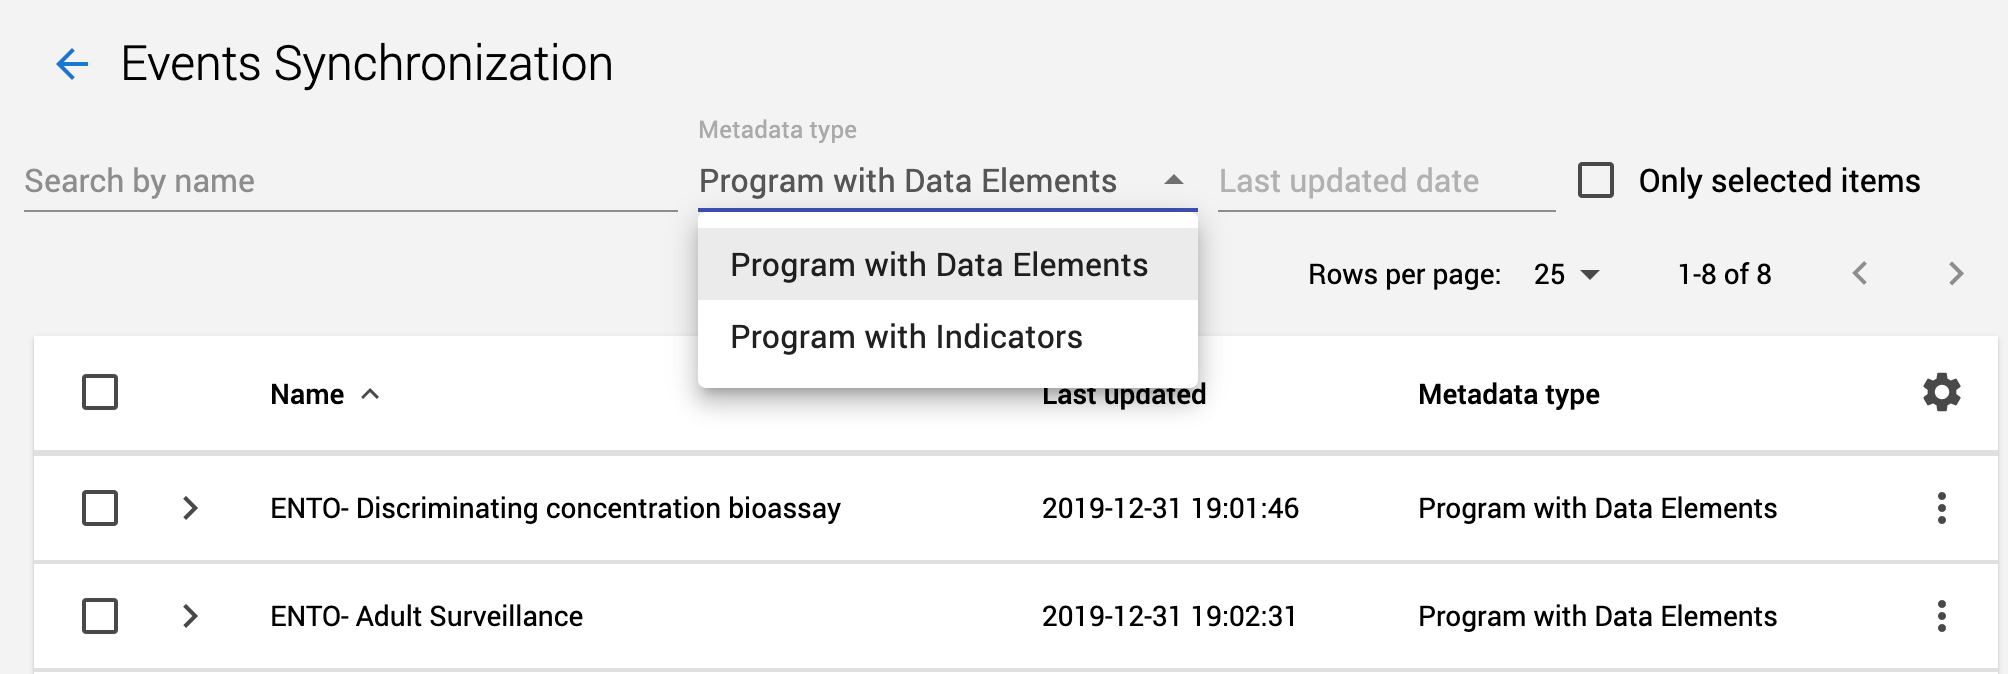
The first thing to do is choosing the data that you want to sync. The application displays by default the list of programs. You can unfold a program to select individual data elements or sync the complete list of data elements for that program. Select what you need and press the sync button (bottom right corner).
Once you have selected the type of events that you want to synchronize, MD Sync will take you through a series of steps with multiple options to :
- Select the OU for which events will be synchronized,
- Select the period of events that need to be synchronized
- Review the list of events matching the two previous filter and manually select them (optional)
- Aggregate the events (optional)
- Select the destination instance
- Finally run the synchronization or save it as a rule
The synching process is a multistep process that provides you the filtering options to choose the events that you need. Those events are connected to a place (The organisational unit where that event was recorded into the system) and the date of the event.
Sometimes you might want to synchronize all events for a program, but many other times you will need to filter the events you want, acording to dates or places. Let's go through the whole process
This first step allows you to filter the events based on the OU where they were registered. Click on each OU that you need to sync or use the selectors on the right to help you with multiple selections.
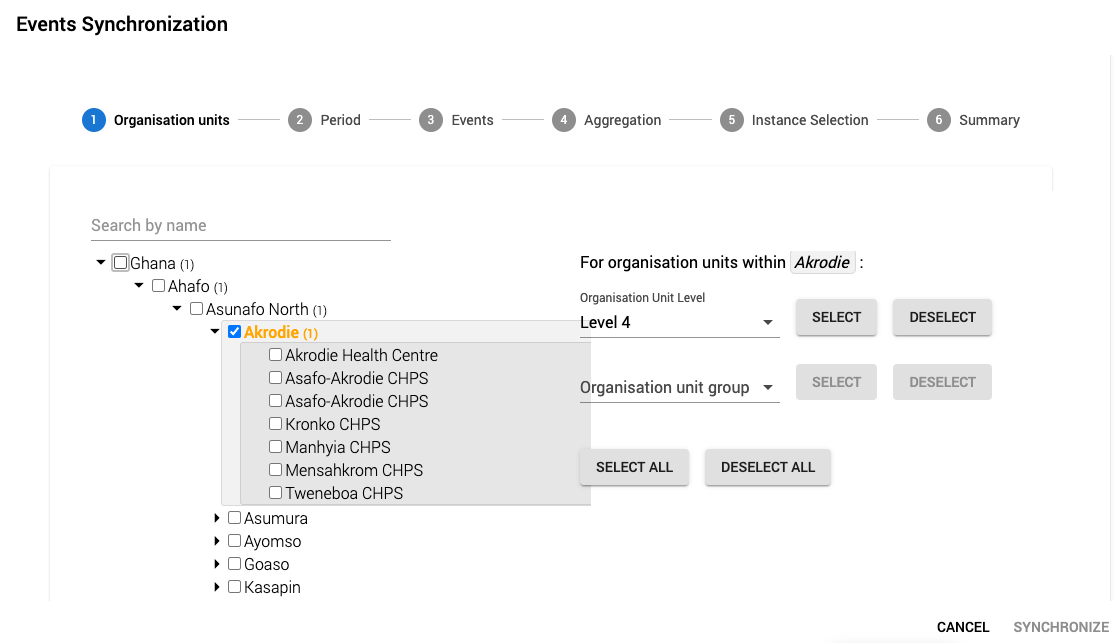
When selecting an organisation unit (OU) in the tree: notice that selecting a parent OU doesn't mean that you are selecting all its children. This behaviour is different when you choose to aggregate data on step 4
On the right side there are some selectors to help you with mass selection. Highlight a branch of the tree clicking over a OU name ( not over the checkbox). The branch gets a grey background color. The following operations select certains OU within this branch.
-
Select all organizations with the same level
- Select one Organisation Unity Level and click on Select. It is easier to understand just taking a look to the video example:
- Select the organizations belonging to a particular Organisation Unit group In the video example we select the EUR (Europe) branch and then "Central Asia" Organisation Unit Group. As a result The OU matching the two conditions are selected.
At this step you select events based on the date when they were registered. By choosing a time interval you will be sending events that fall within those dates. You can choose a pre-defined period of time or introduce the start and end date.
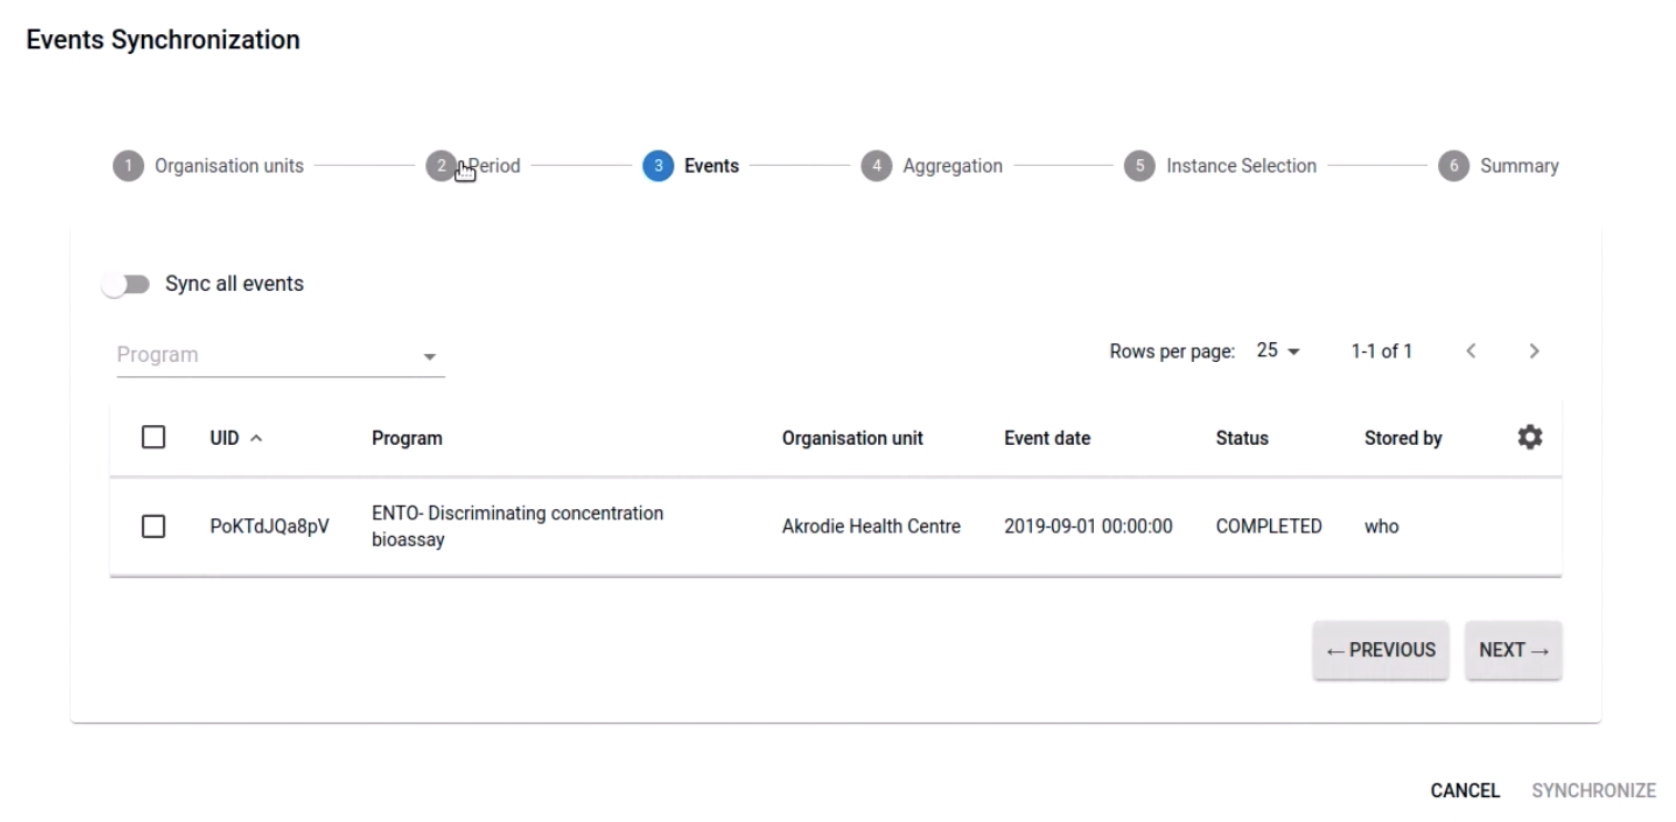
This screen displays all the events that matches the previous filters. You can choose between "Sync all events" or manually select the events that you want to sync.
If you need to display different information for each event, click on the gear icon you to hide/show other columns.
Enabling aggregation at this step allows you to aggregate event data elements and program indicators on the fly. This is helpful if you are collecting the same type of information (e.g malaria data) through Data Sets in one geographical area and through Event Programs in another one.
Aggregation differs if you are synchronizing data elements or program Indicators.
Data Elements
In this case the aggregation basically modifies the OU selection on step 1. When selecting aggregation, the events from children OU units are assigned to the parent element. In the image, Akrodie is selected. When selecting aggregation the data belonging to the children units in the OU tree ( Akrodie health Center, Kronko CHPS...) is assigned to the parent OU (Akrodie). At the destination instance, the received data elements are the same as in the source except that all events belongs to Akrodie.
Program Indicators
A program indicator is basically a formula calculated using data in the source instance, synchronizing a program indicator with this method means synchronizing only the result of this calculation. To be able to send this result you first need to map each program indicator you want to sync to a data element at the destination instance where the result will be stored.
Check [mapping section] (Mapping-DHIS2-instances) if you need to learn how to make a mapping.
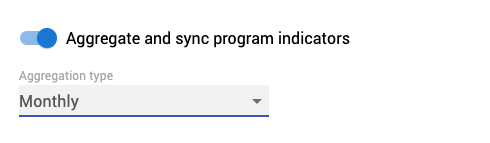
Program Indicators can be aggregated in time and space. With the "Aggregtion type" selector at this step you can define the temporal aggregation to be applied before sending the data to the destination instance. The spatial aggregation means that data coming from OU below the selected OU will be aggregated together with the parent OU.
It is easier to understand with an example . First, let's select Monthly aggregation in this "Aggregation step":
And then select one OU, Akrodie in this capture:
The program indicator will be computed aggregating the data from Akrodie and its children units in the OU tree ( Akrodie health Center, Kronko CHPS...) into Akrodie. In this case the "aggregation type" is one month (step 4) so the program indicator will be computed for each month within the period defined at step 2.
In this step you select the destination instance where the events will be sent.
Advanced options:
- Dry run: For testing. Try without actually apply changes to the destination instance.
- Generate new UID: You can decide if you want to keep the same UID or create a new one on the destination instance
This step summarises the list of actions involved in the sync. As in other kinds of synchronization you can choose between:
- Synchronize now
- Save as a rule. Link to the rules
- Download the JSON file containing the events to import it later manually into the destination instance
When the process is finished, the "Syncronization results report" provides a summary of the operation with the following information:
- Summary: How many values were synchronized (deleted, updated, deleted, created) or ignored,
- Data Statistics: The list of the data elements created/updated/deleted... with the amount of data values (Not dissaggregated by category options)
- JSON Response: The raw response from the remote instance.
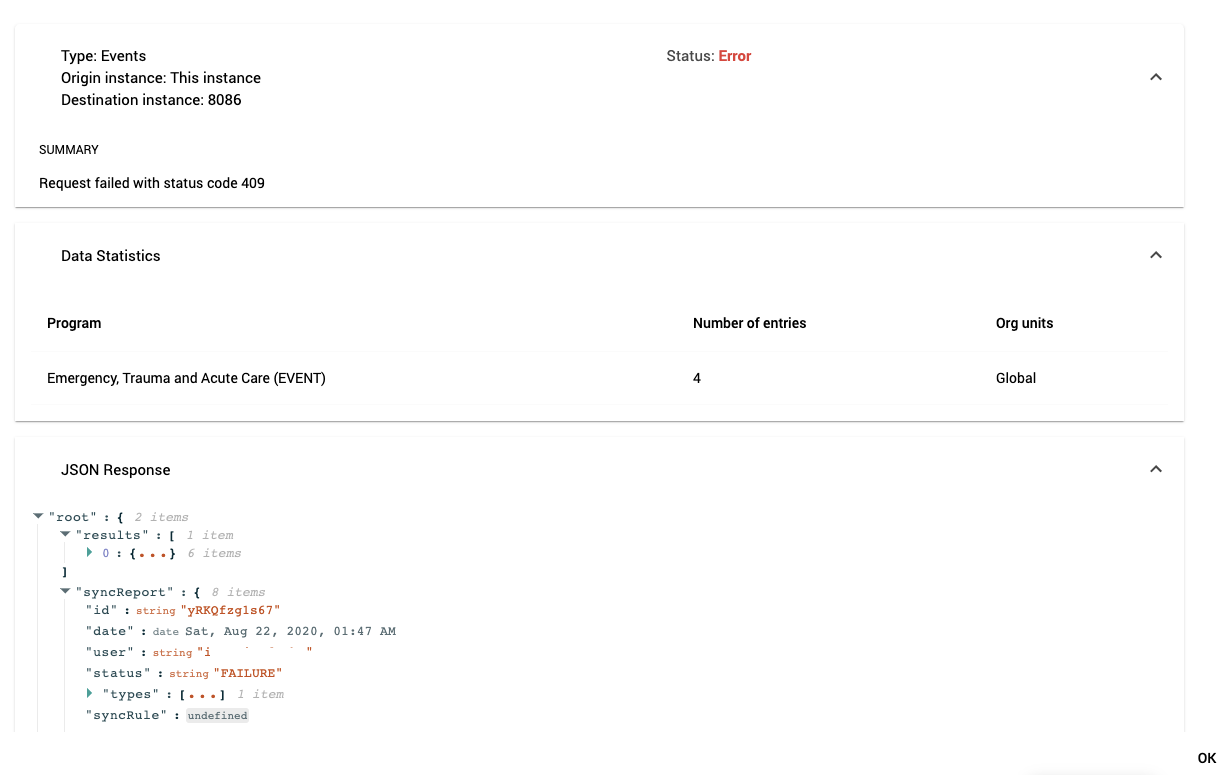
An error example
The reports from all the synchronization attempts are saved at the history section

